
tutorials5 min read
Polymer Clay Surface Applique and Confetti Inlay Guide
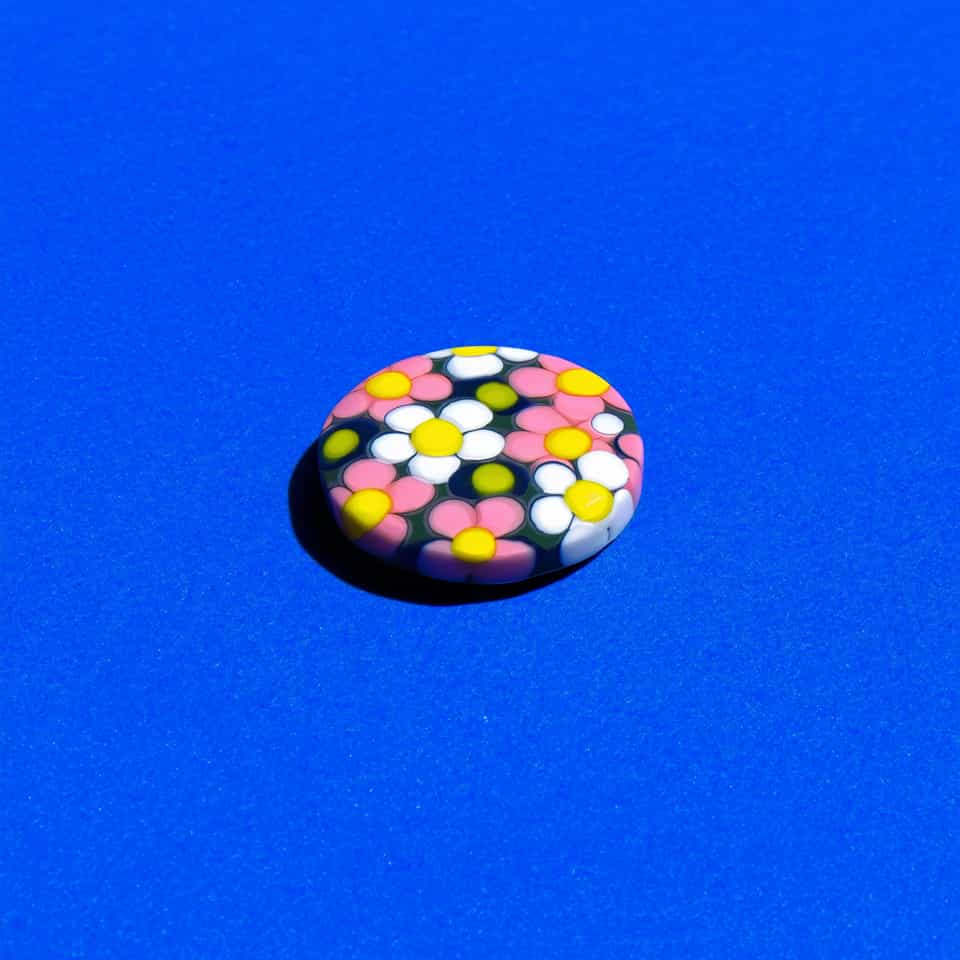
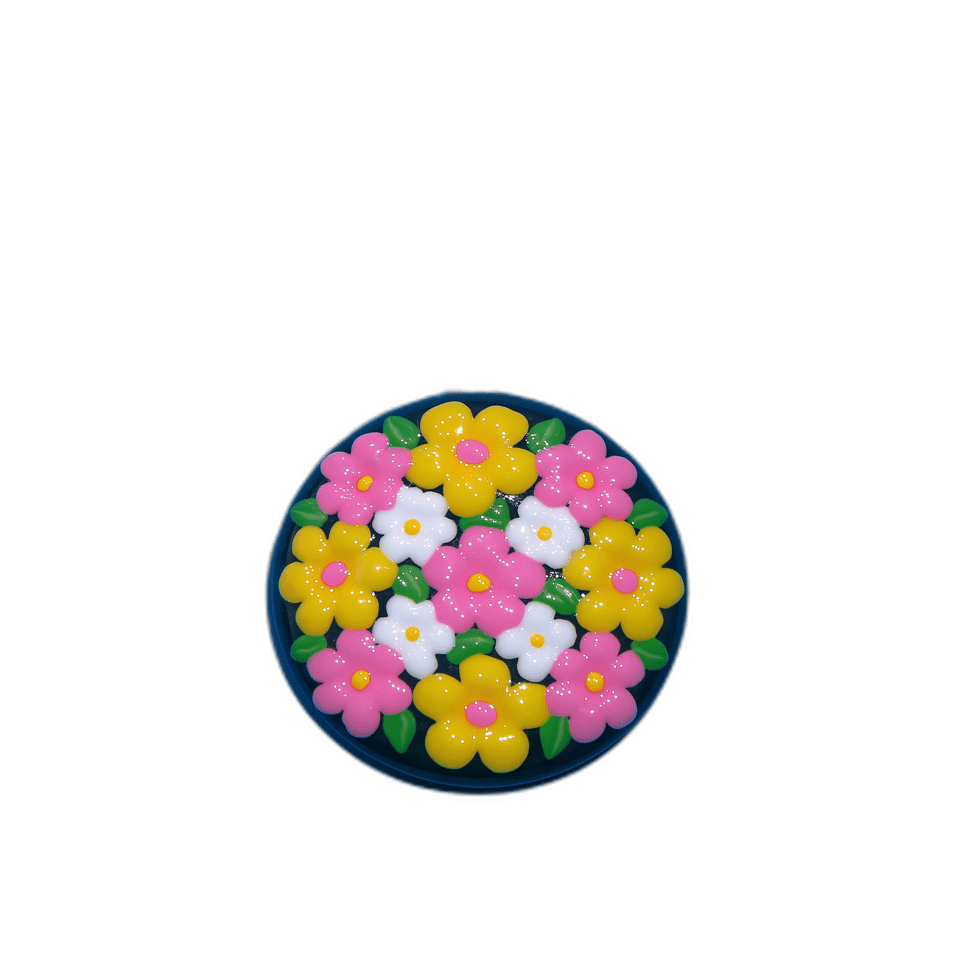
If an inspiration piece looks like it was built from placed petals, dots, lips, stars, or tiny cut motifs, this is usually the technique family you need. Learn when to applique, when to press pieces flush, and how to keep flat builds crisp instead of lumpy.
Open the guide