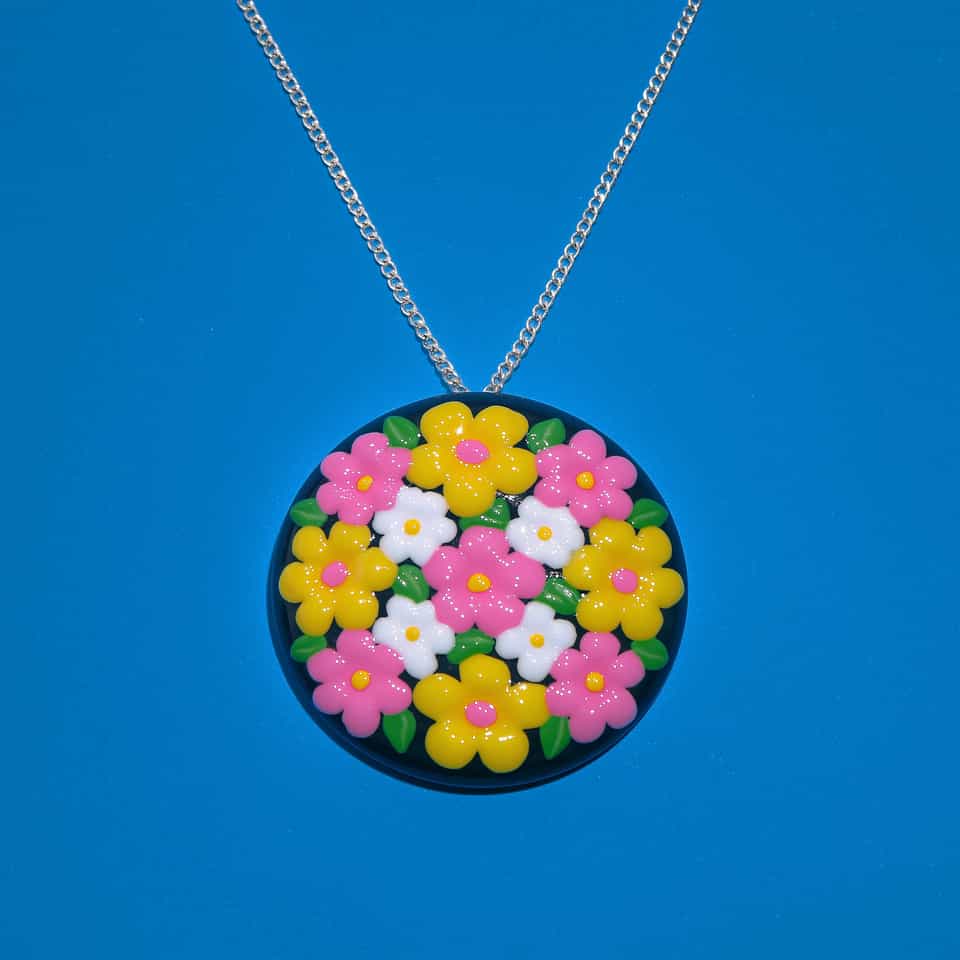
Polymer Clay Pendant Holes, Bails, and Jump Ring Placement
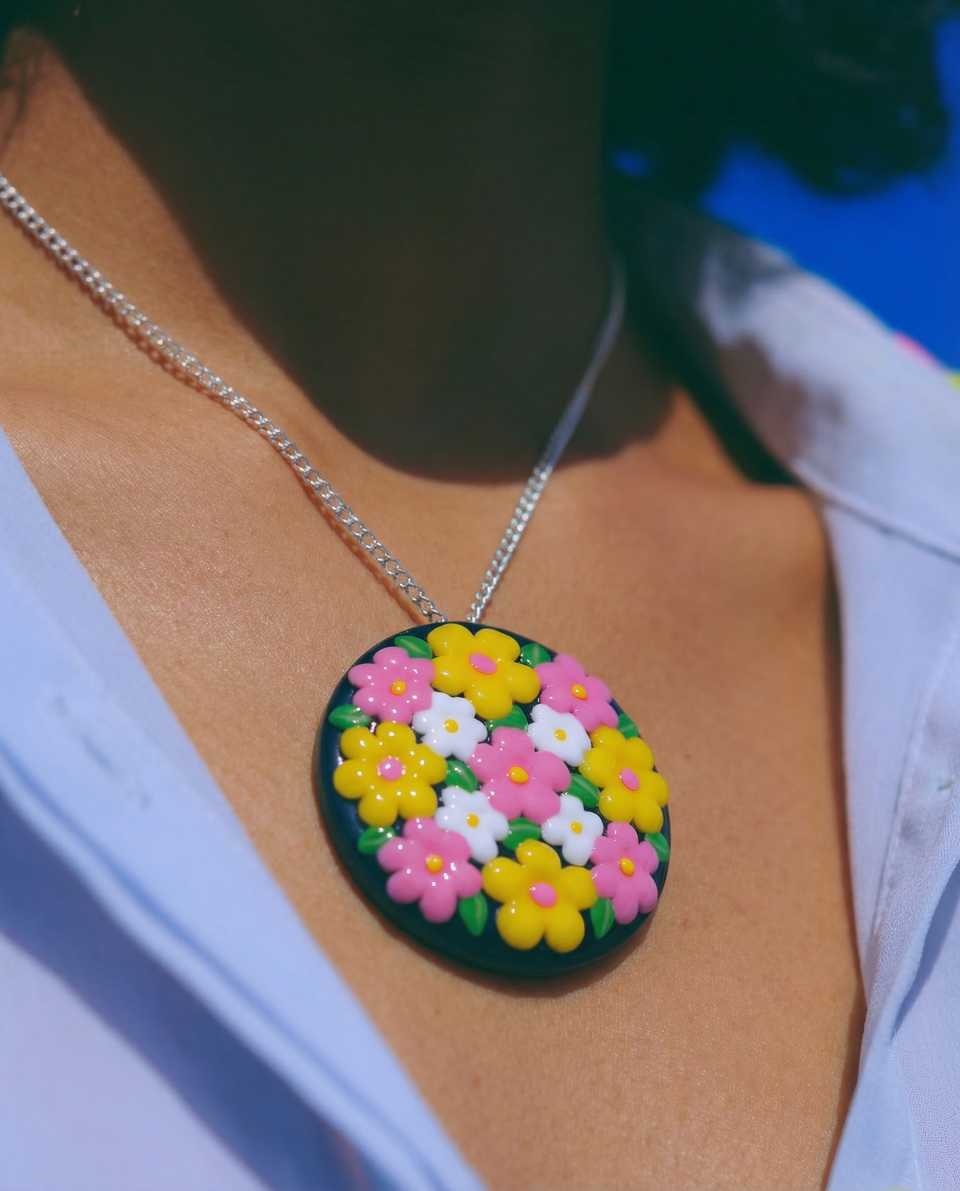
Pendants hang crooked or the hole tears through the top edge because the hardware was placed from the side instead of the visual center. Mark the real balance line, leave enough clay margin, and choose drilled hole, bail, or short jump ring from the finished front view.

In brief
Key takeaways
- 1Choose pendant hardware against the front view of the finished piece. The shape of the top edge usually picks for you
- 2A direct hole, a bail, or a jump ring can each work. The right one depends on top-edge thickness, attachment area, and how the pendant hangs once threaded
- 3Keep the jump-ring path short unless the design truly needs the extra clearance. Each ring adds rotation and offsets the centerline
- 4Hang the pendant on the actual chain you intend to ship before calling the hardware finished. The true balance line only shows up under real weight
Choose the attachment path after the pendant shape is settled. If you want a direct hole, pierce a raw test piece, bake it by the clay package, and let it cool before choosing the ring or chain.
Test A Direct Hole Before Baking
- Mark the intended hanging point on one raw test piece.
- Pierce the hole while the clay is raw.
- Bake the sample by the exact clay package directions.
- Let it cool before checking the hardware fit.
Fit Hardware To The Cured Piece
Compare the exact ring or bail dimensions with the cured hole, pendant top, and intended chain. The hardware should move without forcing or scraping the clay. Try another documented size if the first option binds.
Keep Adhesive Label-First
If the bail needs adhesive, use a product whose current label supports the cured clay, hardware, and any finish between them. Follow that label for preparation, application, and full cure.
Check One Finished Pendant
Assemble one cooled sample on the intended chain and check its orientation and movement before making a batch. Keep the result tied to that pendant and hardware instead of relying on a universal hole, ring, orientation, or load formula.
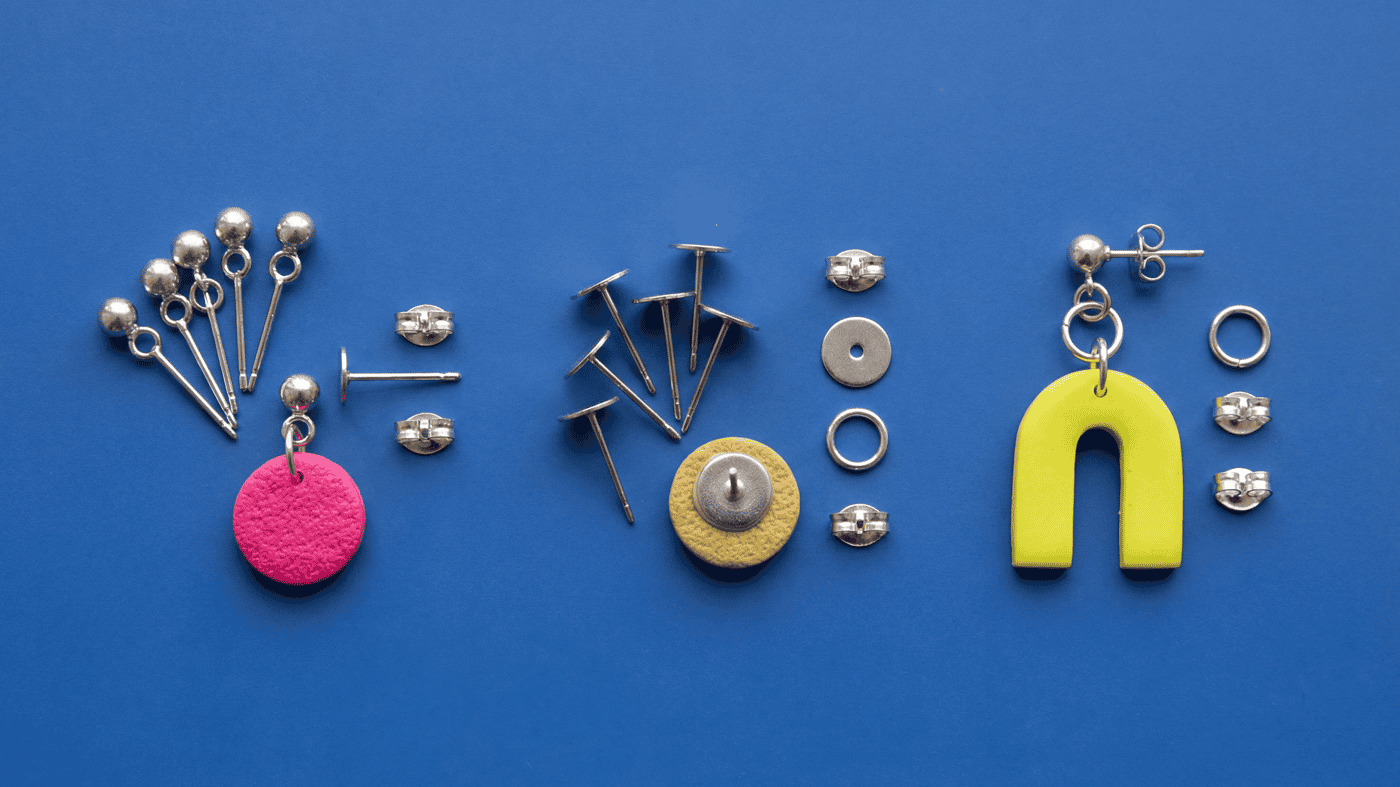
Supplies
Supplies mentioned here
Quick links to the materials and tools that fit this article. ClayBake tools stay on our own catalog.
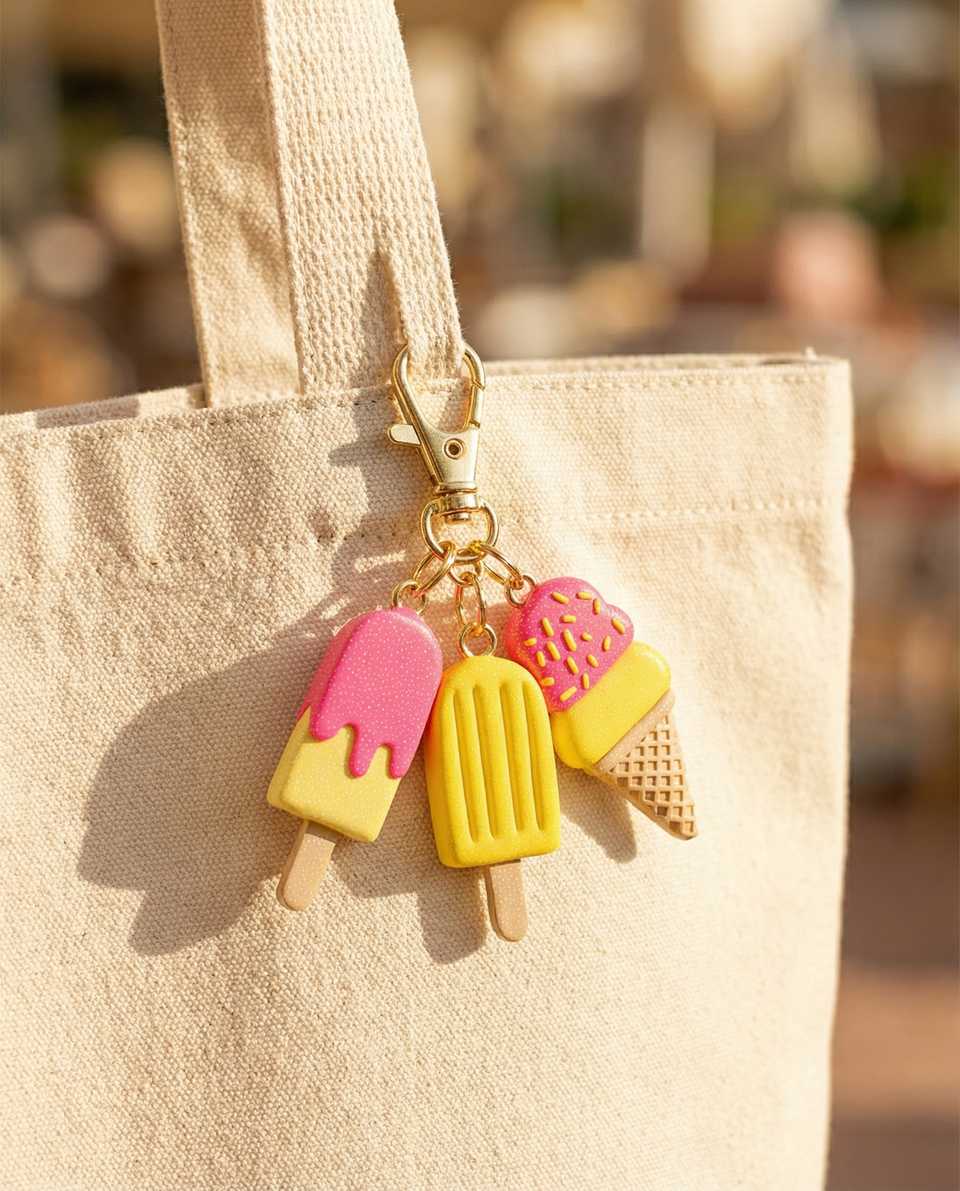
Pendant bails and jump rings
Use when a pendant needs a cleaner hanging point than a direct hole. Check bail size, ring size, finish, and how the attachment meets the finished top edge.
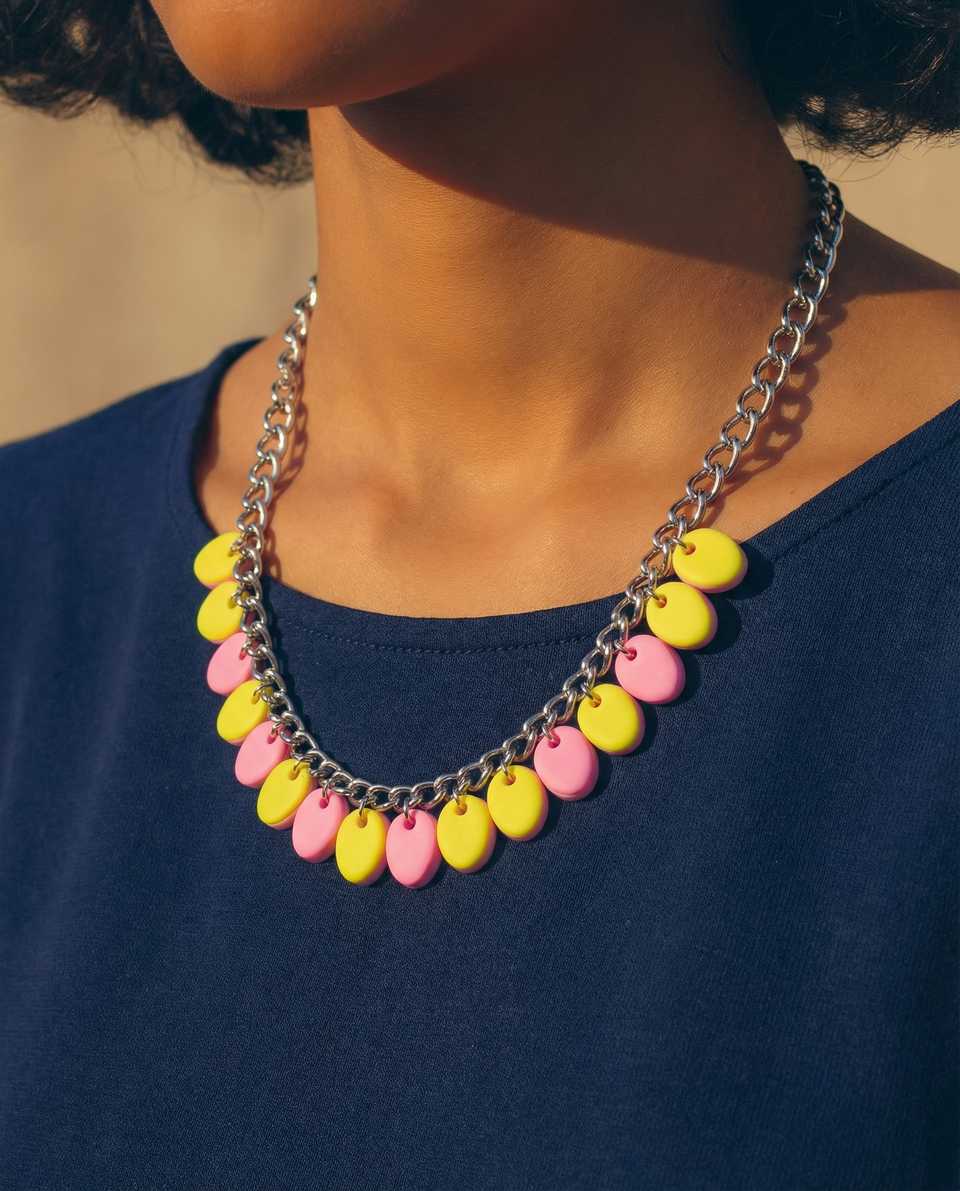
Necklace chain for pendant tests
Use the same style and length of chain you plan to finish with so you can check balance and hang angle before final assembly.
Needle tool set
Good for marking the top hole while the clay is raw and checking the real centerline before baking.
More guides in this path
Open these when the next decision is material choice, attachment, or finishing.

Earring Findings for Polymer Clay: Posts, Hooks, Jump Rings, and Attachment Planning
Verify the exact hardware and adhesive, compare dimensions with the cured piece, and test one complete pair before repeating the setup.

Jump Rings for Polymer Clay Jewelry: What to Check Before Assembly
Compare the ring's supplier-stated material and dimensions, then check one finished assembly before using that ring for a batch.
Polymer Clay Stud Toppers, Flat Pads, and Connector Rings
Choose the top connection from the front view first, then keep the attachment short and balanced. Compare visible loop-tops, flat pads, short ring paths, and balance-line marks on a sample before you make the final pair.
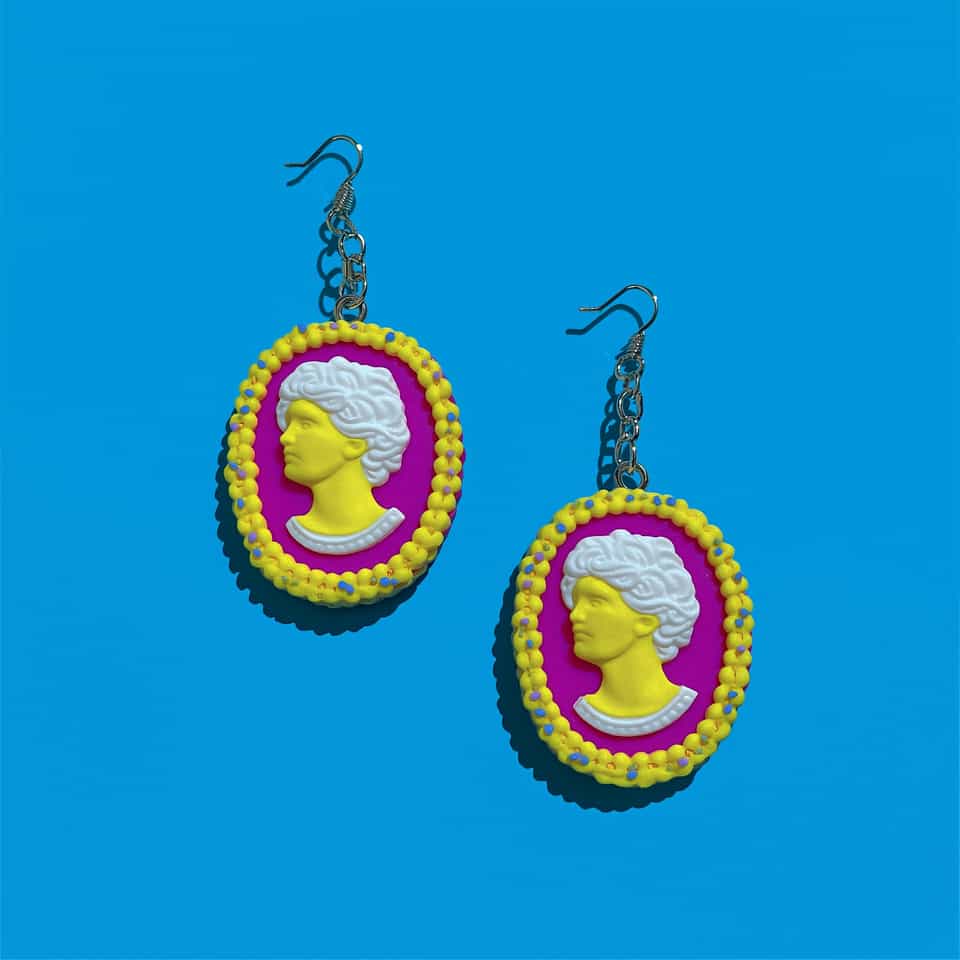
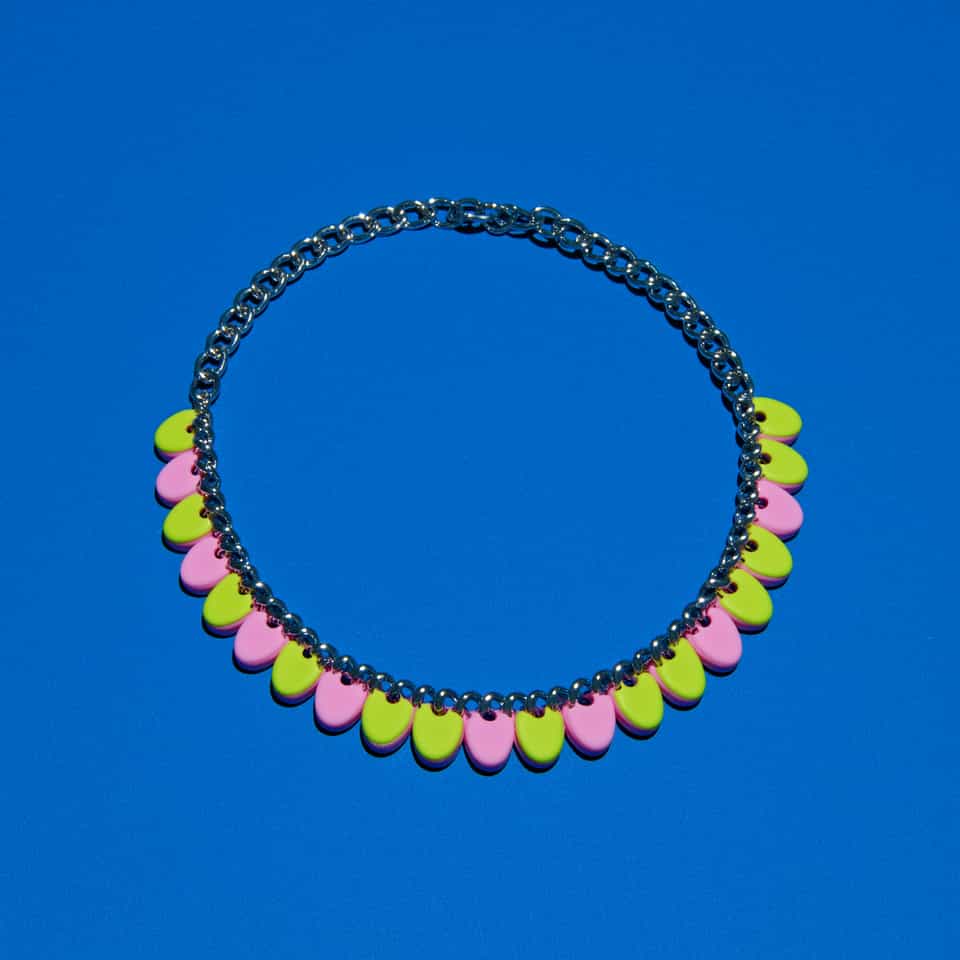
Finished examples with related clay decisions
Each piece shows how a material, attachment, or surface choice changes the final form.