
guides9 min read
Polymer Clay Miniature Food Charms: Bowls, Fish, and Tiny Toppings
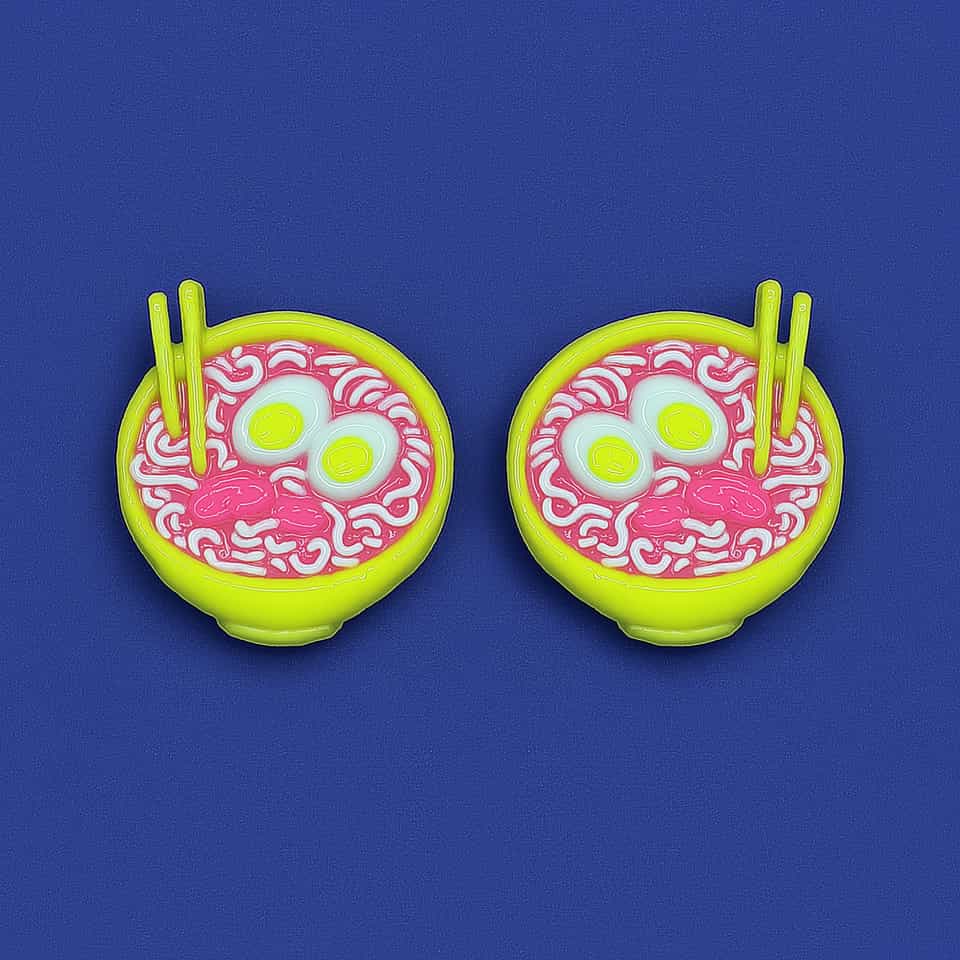
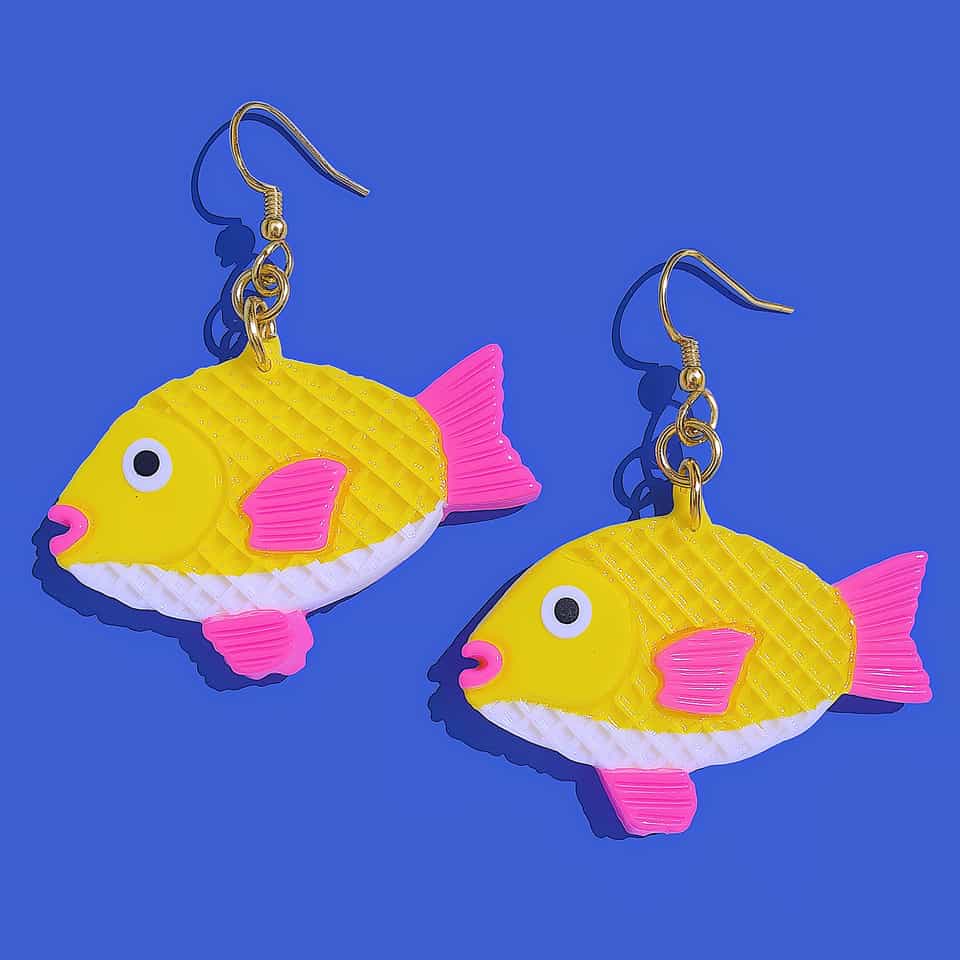
Miniature food pieces usually look clearer when the base shape, topping scale, and hardware choice are planned before the details go on. This guide covers shallow bowls, flat fish charms, noodle coils, egg slices, and keeping small food builds lighter.
Open the guide