tutorials6 min read
Polymer Clay Buttons: Holes, Flat Baking, and Thickness
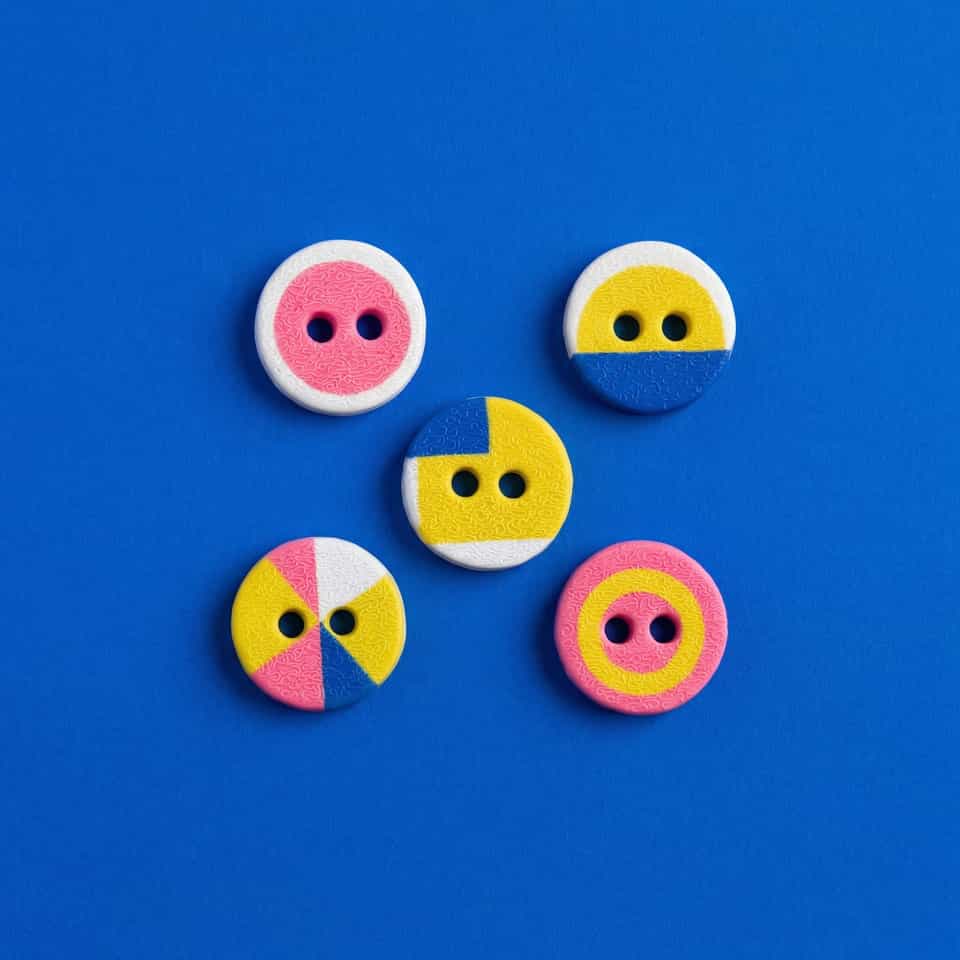
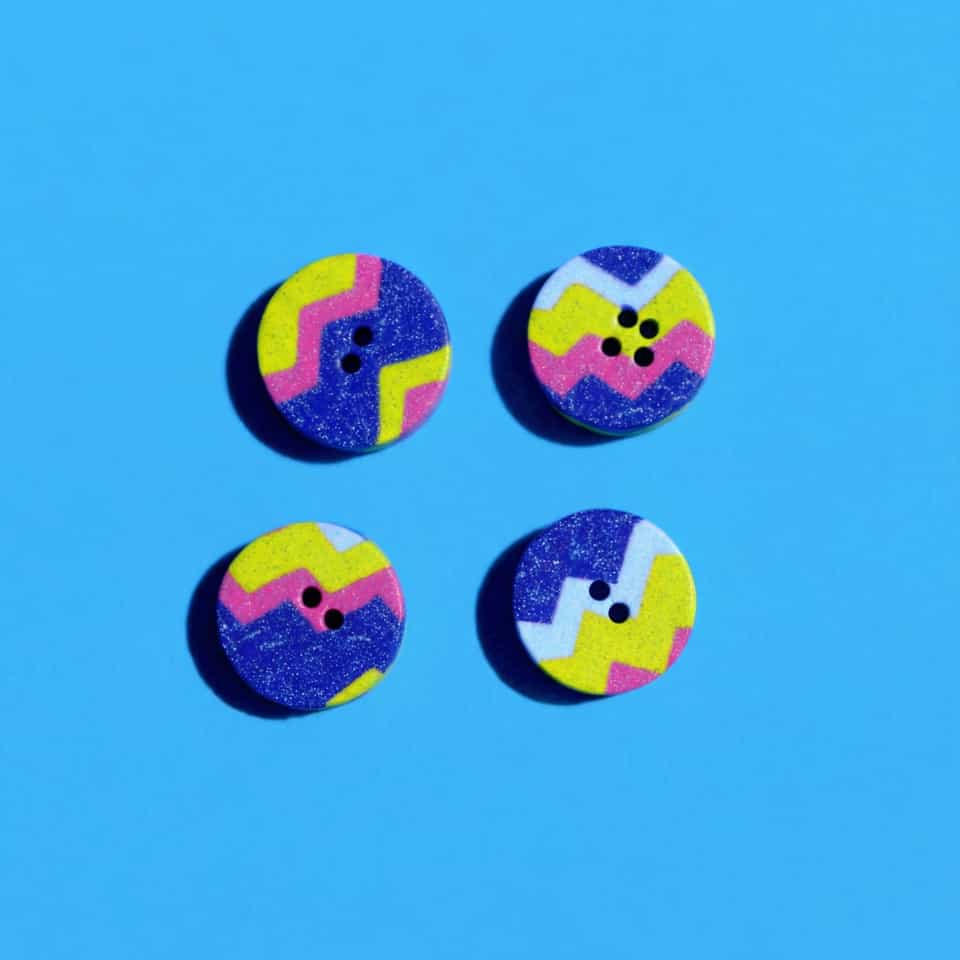
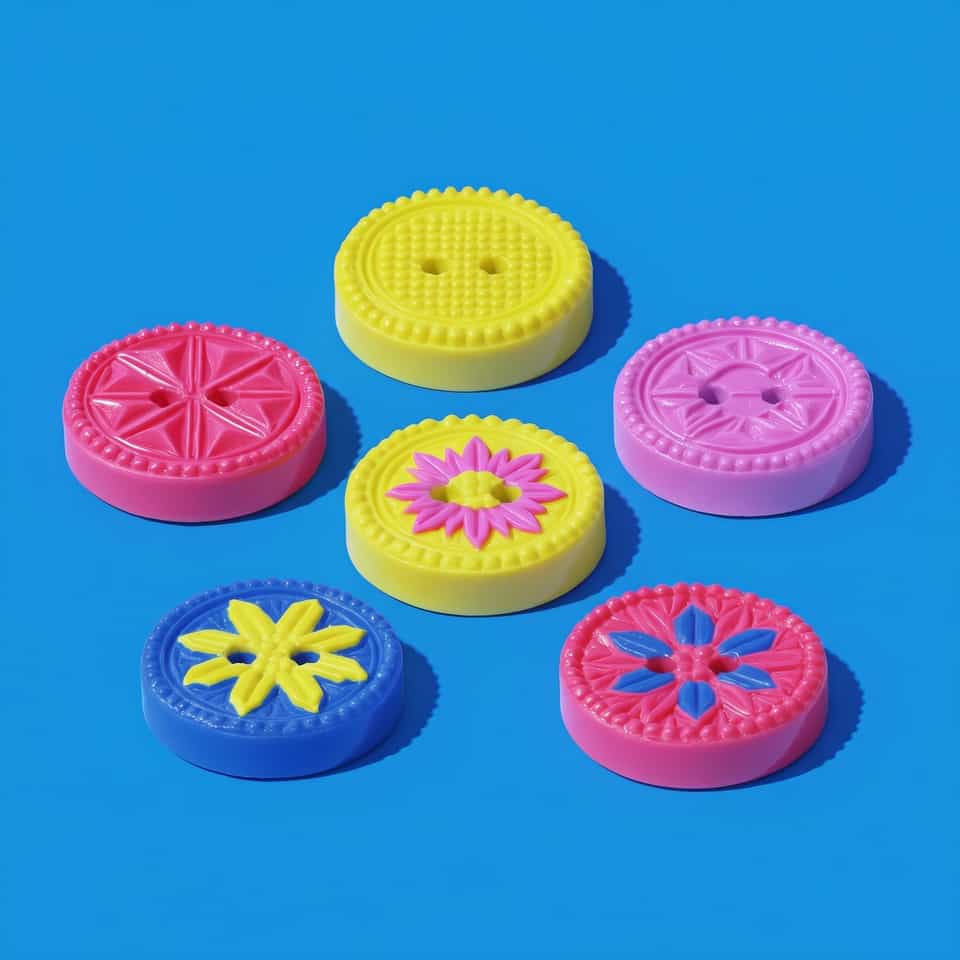
Small button sets fail when the holes are too close to the edge, the blanks bake unevenly, or the thickness drifts from one button to the next. This guide shows the repeatable build path that keeps polymer clay buttons more consistent and easier to test on garments.
Open the guide