Jump ring holes in polymer clay: punch before baking or drill after?
Punch the hole in raw clay when the slab is thick, chilled and still on the tile. Drill after baking when the piece is a thin veneer, a layered stack, a pixel corner or a hole close to an edge. Fixed-hole cutters skip the marking step but carry the raw-hole caveats.
Some links on this page are affiliate links. If you buy through them, we may earn a commission at no extra cost to you. As an Amazon Associate I earn from qualifying purchases. Disclosures

In brief
Key takeaways
- Punch the hole in raw clay when the slab is around 2 to 3 mm, chilled, conditioned and still stuck to the tile. Twist the punch in; a straight push shoves the clay
- Drill after baking on thin veneers, layered stacks, pixel corners, narrow tips and holes close to an edge. Baked clay holds its shape while the bit cuts
- Follow the kit's finished-hole schedule. For your own design, check ring wire, curve, clay thickness and edge margin together. Mark while raw, bake and cool, then drill with the back supported
- A fixed-hole cutter cuts the hole with the shape, so there is nothing to mark, but it is still a raw hole and the same stretch caveats apply
Article contentsOpenClose
Punch the jump ring hole in raw clay when the slab is around 2 to 3 mm, chilled, well conditioned and still stuck to the tile. Drill it after baking when the piece is a thin veneer, a layered stack, a narrow tip or a pixel corner, or when the hole has to sit close to an edge. Either way you want a round hole a little wider than the jump ring wire, far enough from the edge that the clay around it can carry the ring.
A jump ring is the small open metal loop that connects the clay piece to an ear wire, a post loop or a chain. There are three ways to make the hole it passes through: punch the raw clay, drill the baked clay, or press a fixed-hole cutter that cuts the hole with the shape. Each suits a different kind of piece.
When does punching raw clay work well?
A raw punch works well on a slab around 2 to 3 mm thick that is chilled, conditioned all the way through, and still lying on the tile you cut it on. Chilled clay is stiffer, so the punch cuts a plug out instead of pushing the clay aside, and the tile stops the shape from stretching while you work. A hollow tube punch cuts a plug from the clay. A solid needle or piercing pin displaces clay instead; use a fine needle to mark the centre, and check that a pierced hole has not raised or stretched the surrounding clay. A blunt punch pushed straight down squashes the clay around the hole and leaves a raised ring.
The order of moves is what keeps the hole round:
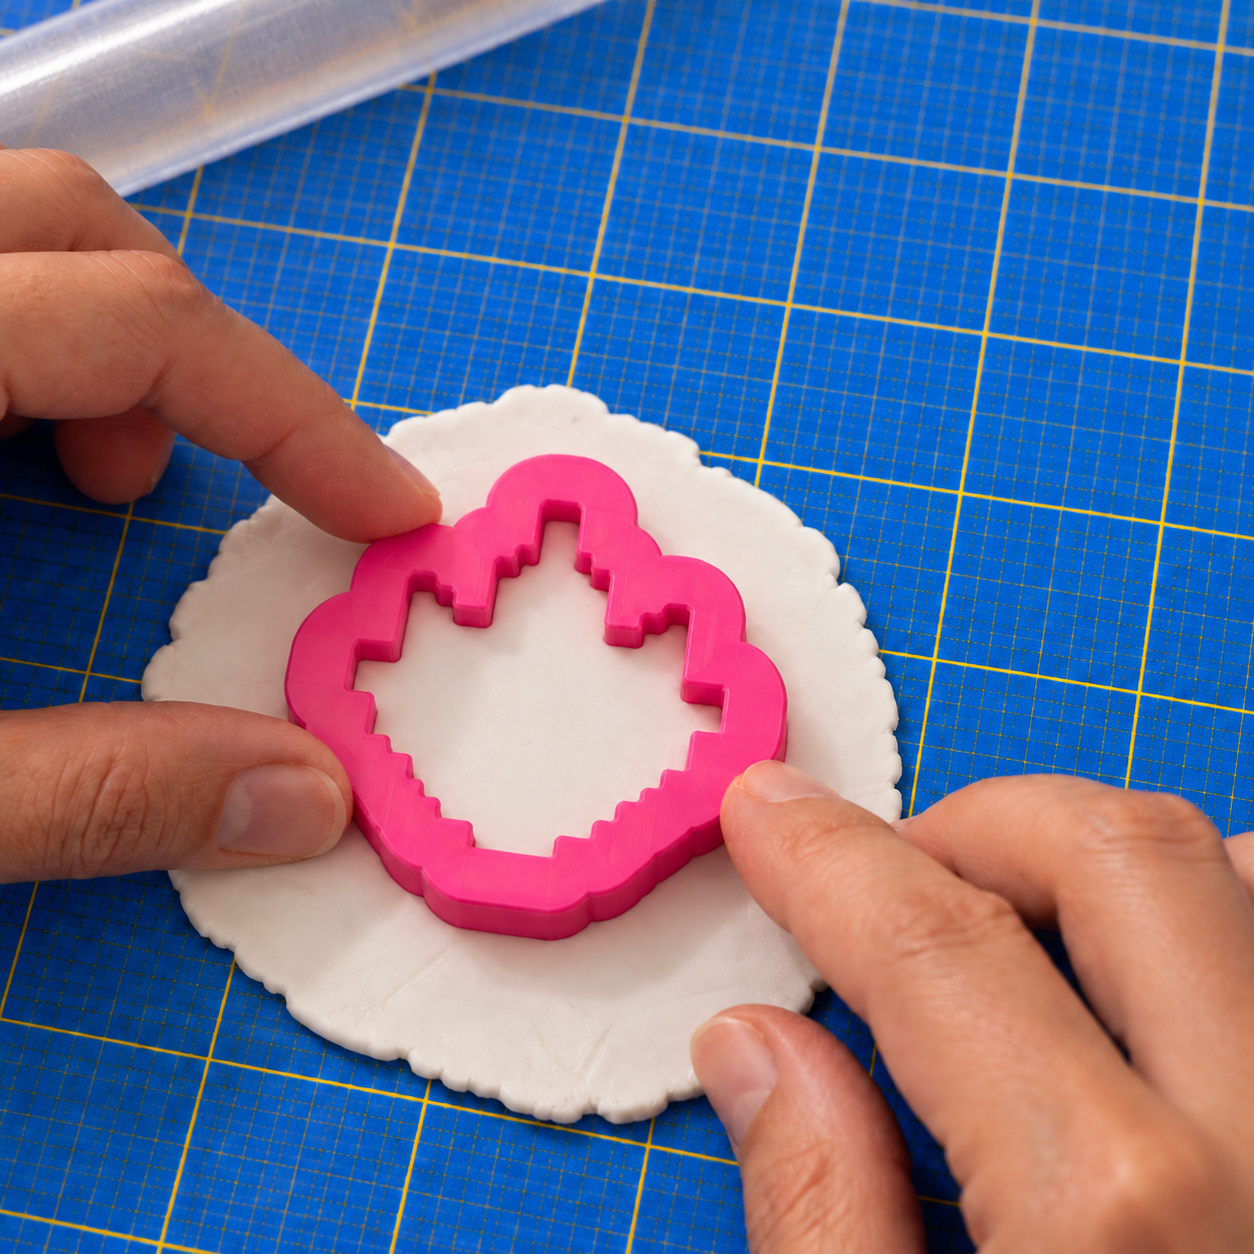
- Cut the shape and leave it on the tile. The slab stuck to the tile is what stops the outline from moving.
- Mark the position. Touch the needle tip to the clay once where the hole will go, with its centre about 3 mm in from the edge on a 2 to 3 mm slab, and centred on the width so the piece hangs straight.
- Twist the punch in. Set it on the mark and turn it back and forth as you press until it meets the tile. The twist makes the edge cut; a straight push makes it shove.
- Lift the punch straight up and check the hole before you lift the shape. It should be round with a flat surface around it. If the plug stays in, tease it out with the needle tip from the back; if the rim is raised, smooth it with a fingertip while the clay is still on the tile.
Bake the piece flat. Once it cools, thread the ring through; if it binds, run a drill bit of the right size through the baked hole once by hand.
When does a raw punch distort the piece?
A raw punch goes wrong when the clay around the hole cannot hold its shape. Four situations do it most often.
- Thin veneers. A thin slab has very little clay for the punch to cut through, so the punch tears rather than cuts and the hole comes out ragged.
- Layered stacks. A veneer on a base slab, or a pixel build with several layers, can separate around the punch: the top layer lifts at the hole edge as the shape comes off the tile.
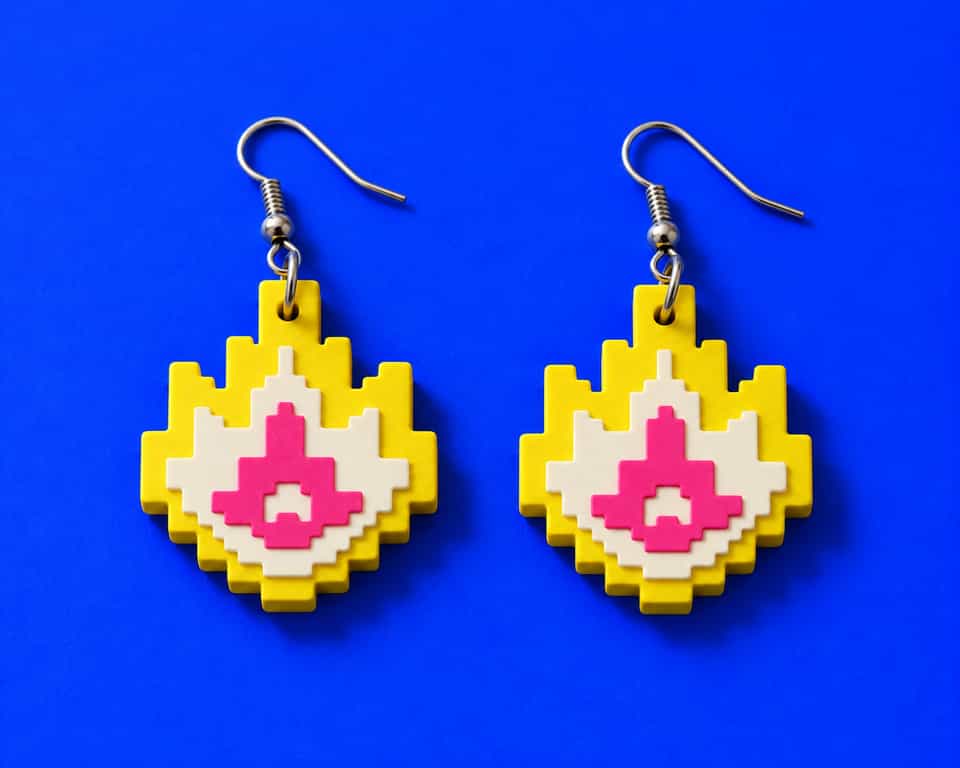
- Pixel corners and narrow tips. The hole at the top of a pixel flame or a pointed gem sits where the outline is narrowest, so the bridge between the hole and the edge stretches as soon as the shape moves.
- Soft clay lines. Warm clay, freshly conditioned clay, or a soft brand straight from the packet moves under the punch. The hole stretches into an oval and the outline bulges beside it as you lift.
If the hole was round on the tile and oval in your hand, the clay stretched as you lifted it: chill the slab and punch while it is stuck down, or switch that piece to the drill route.
How do I drill the hole after baking?
Drill after baking with a pin vise, which is a small hand-twist chuck that holds a fine bit, or with a small rotary tool if yours is rated for drilling and you have a light hand. Baked clay does not stretch, so the hole stays where you put it and the edge beside it stays straight. It can help when a raw punch distorts a thin, layered or narrow piece. Keep enough clay around the hole and test a spare piece first; drilling can still chip a fragile edge.
Choose the bit by the jump ring wire. Wire thickness is the diameter of the metal wire itself. Use the kit's finished hole size when one is supplied. For your own design, allow clearance beyond the wire for the curved ring to pass through the clay thickness and turn freely; the ring's outside diameter is the whole loop and would leave a hole far too big. The jump ring guide explains wire thickness, inside and outside diameter, and which measurement a pack is quoting.
Keep the margin. On a 2 to 3 mm slab, start with the hole with its centre about 3 mm in from the edge. Move it inward on a shape that narrows to a point or on a thinner slab, so there is more clay around the hole on every side.
- Mark the position while the clay is raw. Touch the needle tip once where the hole will go before you bake. The dot bakes in and gives the bit somewhere to start, so it cannot skate across the surface.
- Bake and cool the piece fully. Warm clay is still soft enough to dent.
- Back the piece on scrap. Lay it front face up on a scrap of baked clay or card, so the far side of the hole is supported and the bit does not blow out a chip when it breaks through.
- Drill from the front face. Hold the pin vise upright, set the bit on the mark, and twist with light downward pressure. The clean entry lands on the side people see; any small break-out lands on the back.
- Clear the dust as you go. Lift the bit out every few turns and wipe it. Packed clay dust makes the bit push instead of cut.
- Thread a ring and check the swing. The ring should turn without catching. If it binds, check the ring diameter, wire, clay thickness and remaining edge margin together before changing the hole or ring.
Drill a spare baked piece first, especially with a new bit or a new clay, so you know the bit suits the ring before you touch the pair you plan to wear or sell.
Our Dremel setup for drilling small holes
In the studio, we drill polymer clay with a Dremel 4250, a Bestgle keyless chuck adapter and small drill bits. The adapter is sold as a 4486-compatible, three-jaw chuck for 1/32-1/8 inch shanks. It is a third-party accessory, separate from the Dremel-branded 4486 chuck linked below. The chuck holds the bit; the bit's cutting diameter determines the hole size.
The Dremel 4250 specifications list a corded 175 W tool with a 5,000-35,000 RPM range. That is its overall operating range, not a recommended speed for drilling clay. If you already own a suitable rotary tool, start by checking its manual, chuck and bit compatibility before buying another one.
A universal chuck still has a specified gripping range and must fit your Dremel model. Small cutting tips can sit on much thicker shanks, so measure or read both dimensions. Choose the hole diameter for the finding, then check that the holder can securely grip that bit.
Which Dremel or cordless drill should I compare?
A hand pin vise is enough for occasional holes. A powered tool becomes worth comparing when repeated hand twisting slows a batch, or when you also want a rotary tool for other making jobs. Buy one drilling setup with bits that fit it; you do not need every tool below.
| Tool | Why compare it? | What to check |
|---|---|---|
| Search Amazon for Dremel Stylo+ 2050 | A slim, corded alternative to a full-size rotary tool for a fixed making setup. | The 2050 runs at 5,000-22,000 RPM and takes the 4486 chuck. Choose the local voltage and plug; it is not battery powered. |
| Search Amazon for Dremel 8240 cordless rotary tool | A cordless Dremel option when you also want a general rotary tool. Dremel lists drilling among its uses. | Its 5,000-35,000 RPM range is for many jobs, not a clay drilling setting. Check whether the kit includes a battery, charger and the small-bit holder you need. |
| Search Amazon for Wowstick DRILL pen drill | A compact cordless drill pen to compare for small holes. The maker lists plastics and resin; try a spare baked-clay piece before using it on a finished pair. | Choose the DRILL model. Its bits need 2.35 mm shanks. It is a drilling tool, so choose a separate rotary tool if you also want polishing. |
Dremel publishes the Stylo+ specifications and 8240 specifications. For the Wowstick DRILL, check the supplied bit sizes and replacement-shank requirement before ordering; its holder differs from a Dremel chuck. We use the 4250 described above; these three models are researched alternatives.
Which bits fit the hole and the drill?
Check two diameters. The cutting diameter sets the hole size. The shank diameter is the part the tool grips. A 1.2 mm cutting tip can have a thicker shank, so the hole size alone does not tell you whether a bit fits your drill.
- For a Dremel: search Amazon for the Dremel 628 / 628-01 steel twist-bit set. It spans about 0.8-3.2 mm; compare the 1.2 mm and 1.6 mm sizes with your jump-ring wire first. US packs use inch sizes with approximate metric equivalents.
- For holding the small Dremel bits: search Amazon for the Dremel 4486 keyless chuck. Dremel's 628 instructions call for it on the smallest shanks. Its roughly 0.8-3.2 mm range covers those bits; a fixed 3.2 mm collet cannot grip a 1.2 mm straight shank.
- For the Wowstick DRILL: start with its supplied bits. When replacing them, search Amazon for twist bits with a 2.35 mm shank, then check the cutting diameter separately. The Dremel set is not a drop-in replacement for this fixed-shank system.
Choose a twist drill bit for a round through-hole. A pointed engraving burr, sanding drum or polishing head does a different job. Use the bit and tool maker's material and speed guidance, then check one spare cured piece for a clean hole and a freely moving ring.
With power, secure the piece first. Support it on a sacrificial backing and secure it as the tool manual directs, with your fingers clear of the bit. Wear eye protection, follow the manual's dust-control instructions and use light pressure. Switch the tool off and let it stop before clearing debris or changing a bit. If it grabs or chips the test piece, return to the hand pin vise.
What is a fixed-hole cutter?
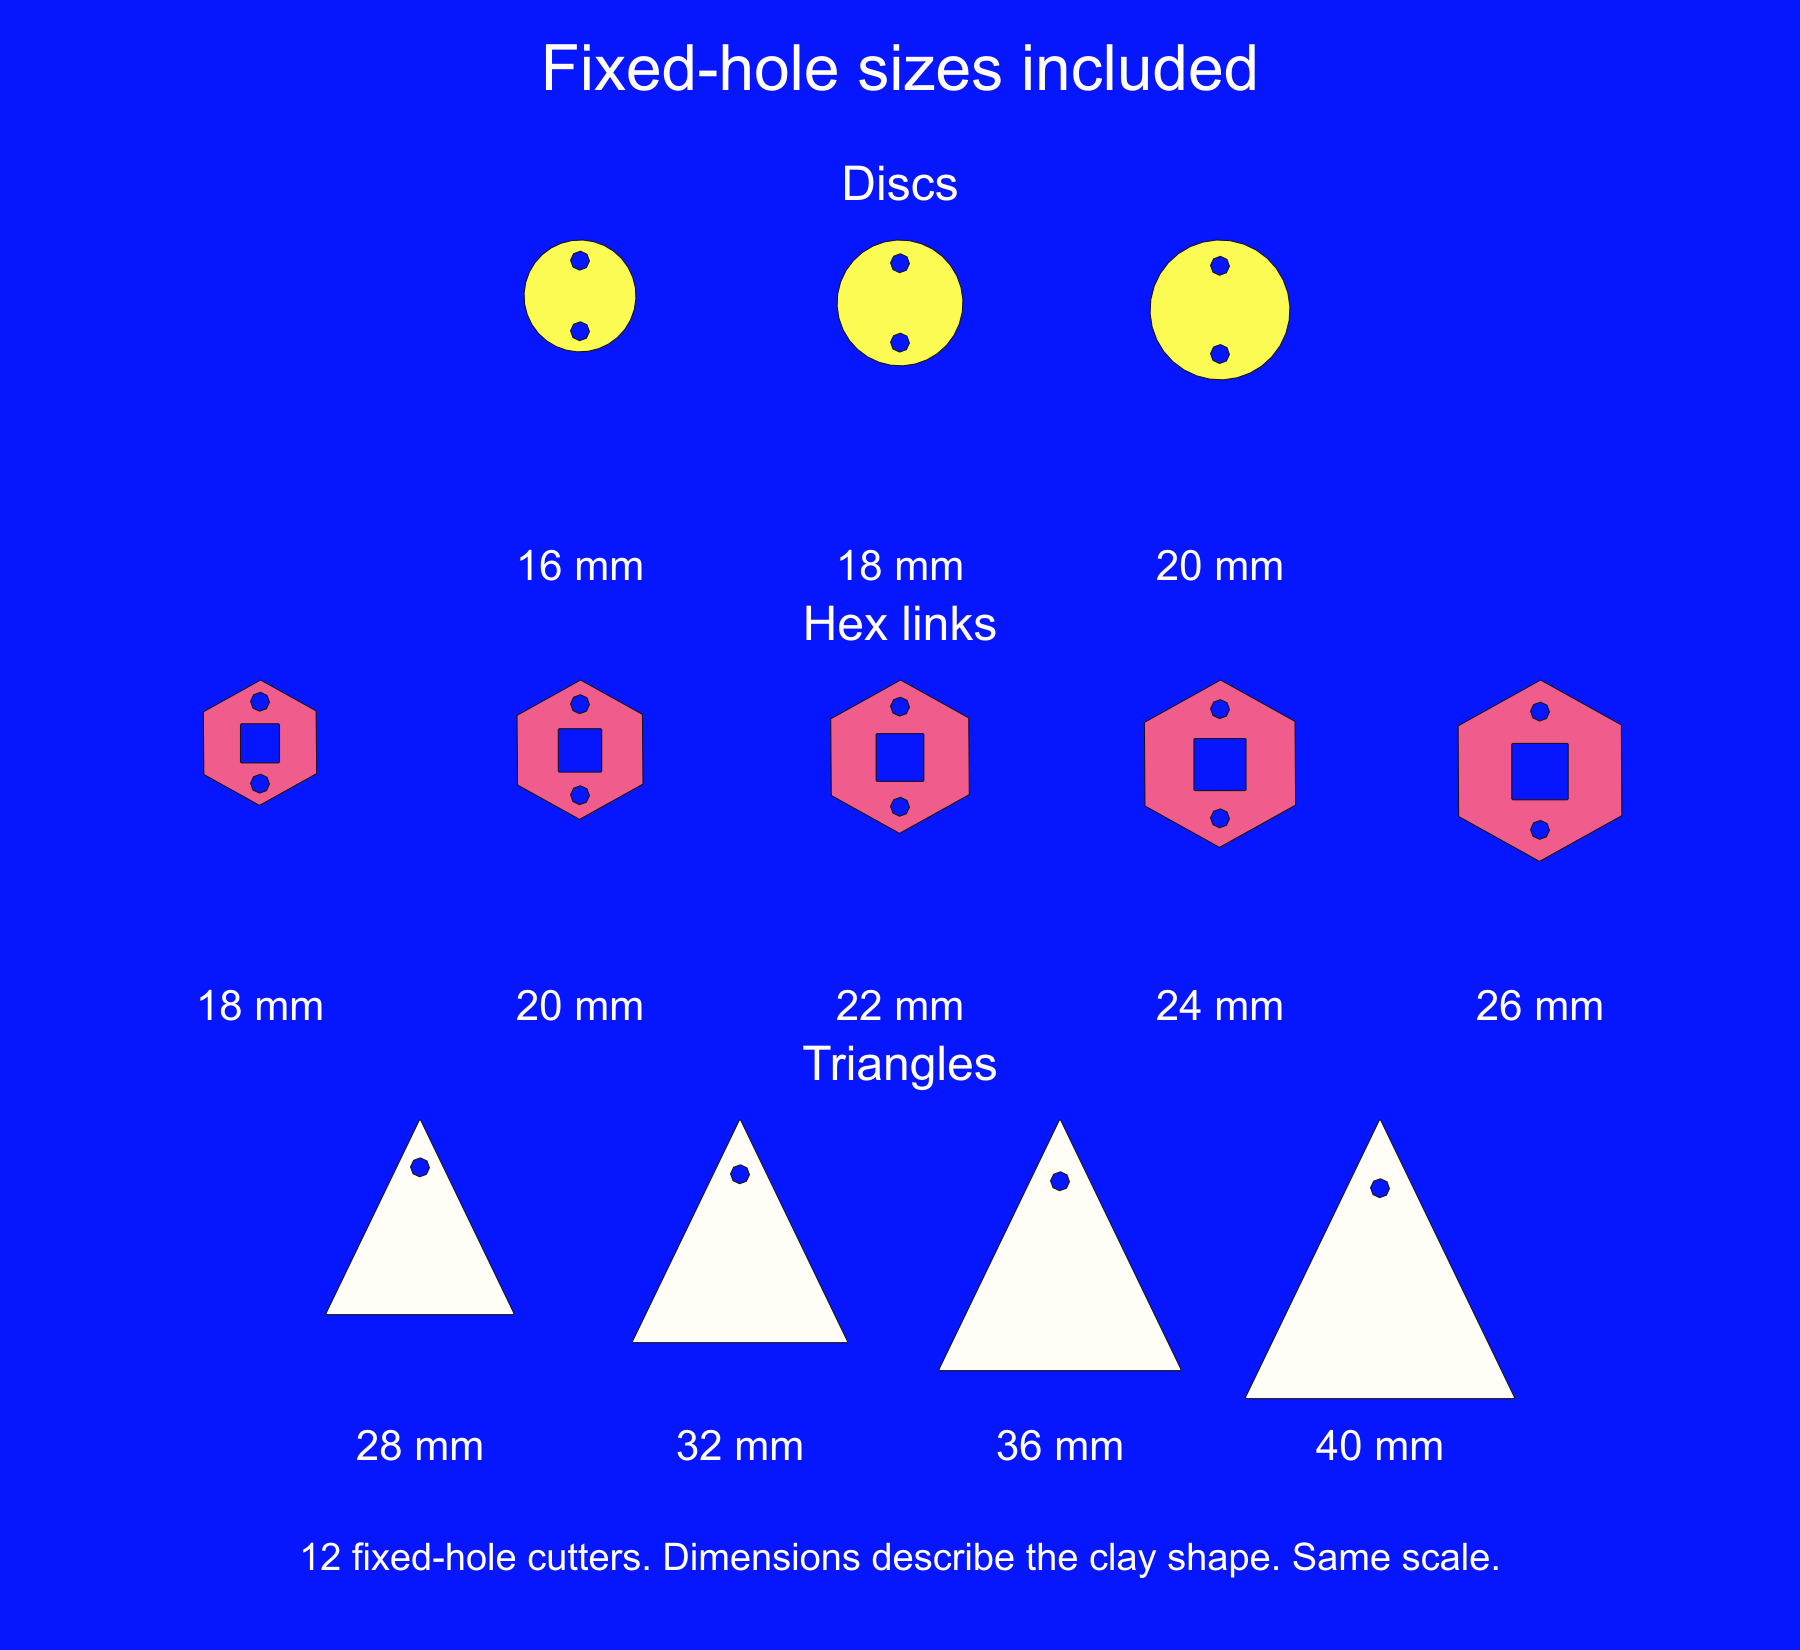
A fixed-hole cutter has a small post inside the cutting wall that cuts the hole in the same press as the shape. Nothing to mark, nothing to punch afterwards, and every piece gets the hole in the same place, which is the point when you are making a batch or a matched pair. The hole is still made while the clay is raw, so the punching advice above applies: press on a chilled slab that stays on the tile, lift the cutter straight up, and check the hole before you peel the shape. On a thin veneer or a soft slab the small post can drag a lip of clay with it just as a hand punch would.
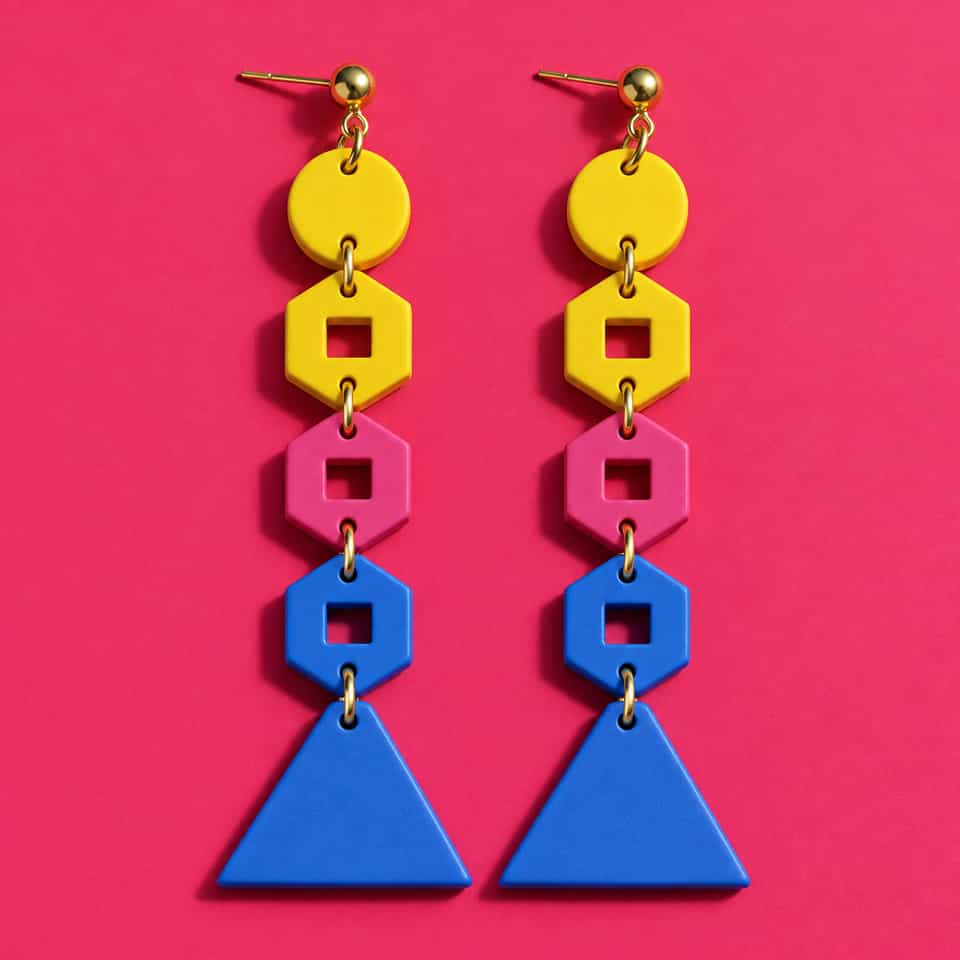
Some ClayBake kits include both clean and fixed-hole cutters. Other hanging pieces use a clean cutter and the hole positions in their guide, with drilling after baking and cooling as the main route for layered or narrow shapes.
Which route should I use?
| Route | Best when | Watch for | Extra step |
|---|---|---|---|
| Punch raw | Single slab around 2 to 3 mm, chilled and conditioned, shape still on the tile, hole well in from the edge | Oval hole or bulged edge after lifting; ragged hole on thin or soft clay | Mark and punch before you lift; smooth any raised rim |
| Drill after baking | Thin veneers, layered stacks, pixel corners and narrow tips, holes near an edge, matched pairs | Bit skating without a mark; chip on the back without backing; dust packing the bit | Mark while raw, bake, cool, back on scrap, drill from the front |
| Fixed-hole cutter | Batches and pairs where every hole should land in the same spot, on a slab the punch route already suits | The same raw-hole stretch and lip on thin or soft clay | None to mark; press chilled, lift straight, check before peeling |
Where do ClayBake kits put the holes?
ClayBake guides for hanging pieces specify their hole positions and hardware. Those kit-specific measurements take precedence over the general starting points above; not every kit needs hanging holes. The Go-Go Shoulder Duster kit ships clean and fixed-hole cutters for its disc, hex and triangle links, and the guide marks every connector hole for the clean set. The Pixel Flame kit and the Faceted Gem kit use drilling after baking and cooling for the layered pieces. Their guides retain the same finished-hole and ring schedules; optional punches are downloaded separately. The Card and Cutter Kit offers both routes for clay display cards: a through-hole cutter that cuts the earring holes with the card, and a drill-mark cutter that only marks them so you can drill after baking. The free hole punch set contains five hollow punches from 2.0 to 4.2 mm, 1.6 mm and 1.8 mm solid piercing pins and a separate position-marking guide. A printer or print service is required. Rest the guide lightly on the raw clay with its lip against the edge, mark through the chosen station with a fine needle, and remove it before punching. Its numbers are centre offsets, not hole diameters or universal safe minimums. Use a ruler for other positions or clay thinner than 2 mm. The hollow punch then twists freely on the mark; a solid pin displaces clay and produces no plug.
For your own cutters, a pin vise and a small metric bit set cover the drill route, and a needle tool marks the position for either one. For pendants, where the hole also sets how the piece hangs, the pendant holes and bails guide covers the balance line and when a bail beats a direct hole.
Supplies
Supplies mentioned here
Quick links to the materials and tools that fit this article. ClayBake tools stay on our own catalog.
Pin vise hand drill
A hand-twist drill for baked clay. Slow and controllable, so the bit cuts a round hole instead of tearing an oval.
CML Supply mini micro drill bit set
Small metric bits so you can pick one a little over the jump ring wire. Fit the bit in the pin vise and keep a spare of the size you use most.
Clay needle / piercing tool
Marks the hole position in raw clay with one light dot, and pierces small holes in a thick slab when you twist it in.
Dremel Stylo+ 2050 (corded)
Optional pen-shaped rotary tool for a fixed making setup. Pair small drill bits with the 4486 chuck; buy the voltage and plug for your country.
Dremel 8240 (cordless)
Optional battery rotary tool if you also want it for other workshop jobs. Check battery, charger, drill bits and chuck contents before ordering.
Wowstick DRILL pen drill
Compact cordless drilling alternative for comparison. Choose the DRILL model, check its supplied bit sizes and try it on spare baked clay first.
Dremel 628 / 628-01 drill bits
Seven steel twist bits from about 0.8 to 3.2 mm. Choose the cutting diameter for your ring wire and the holder for that bit's shank.
Dremel 4486 keyless chuck
Holds shanks from about 0.8 to 3.2 mm on compatible Dremel tools. Useful when a tiny bit will not fit the supplied fixed-size collet.
Wowstick DRILL replacement bits
Look for twist drill bits with a 2.35 mm shank. The cutting tip can be smaller: match that diameter to the hole you need.
More guides in this path
Open these when the next decision is material choice, attachment, or finishing.
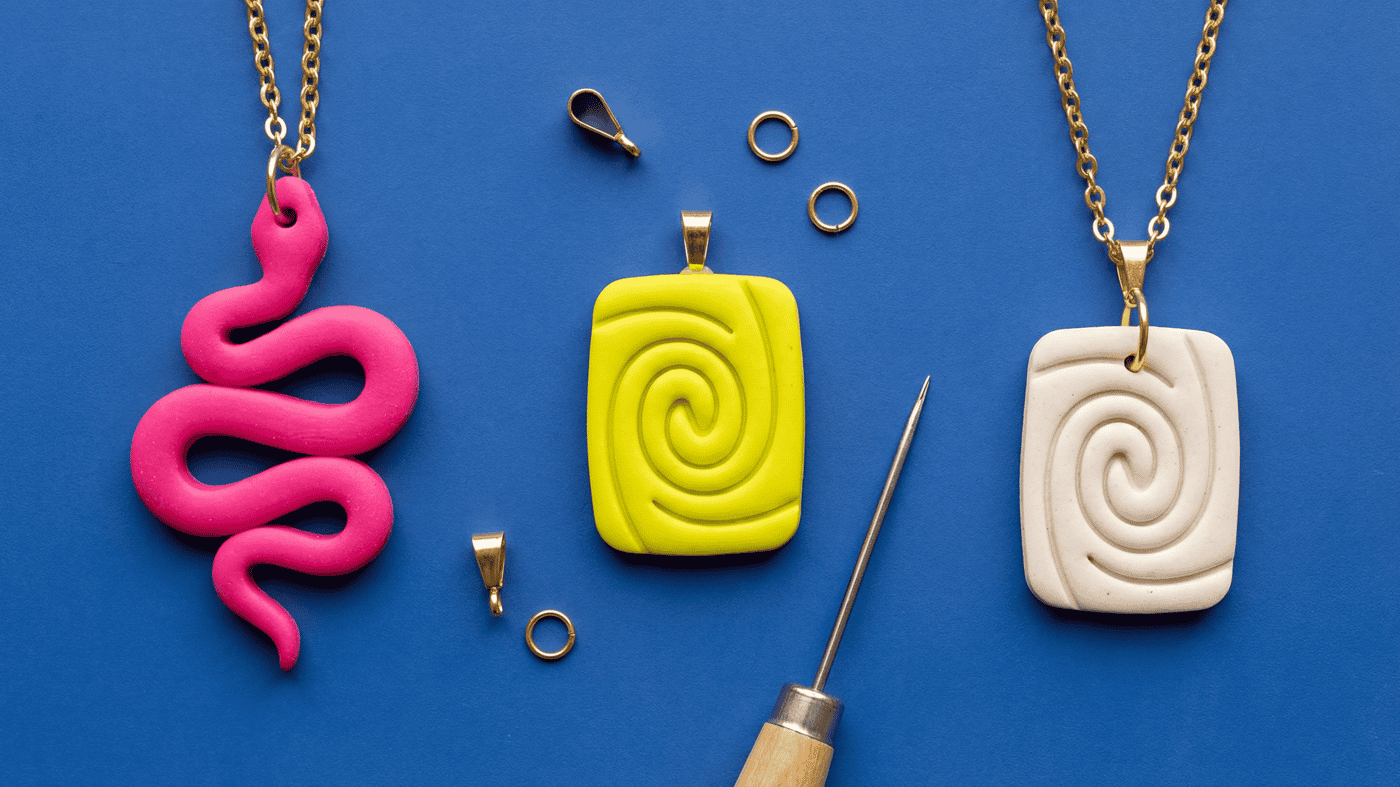
Polymer Clay Pendant Holes, Bails, and Jump Ring Placement
Choose a hole when the top has room for it, or a glue-on bail when you want an uninterrupted front. Position the attachment, leave clearance for the chain, and check which way the finished pendant faces.
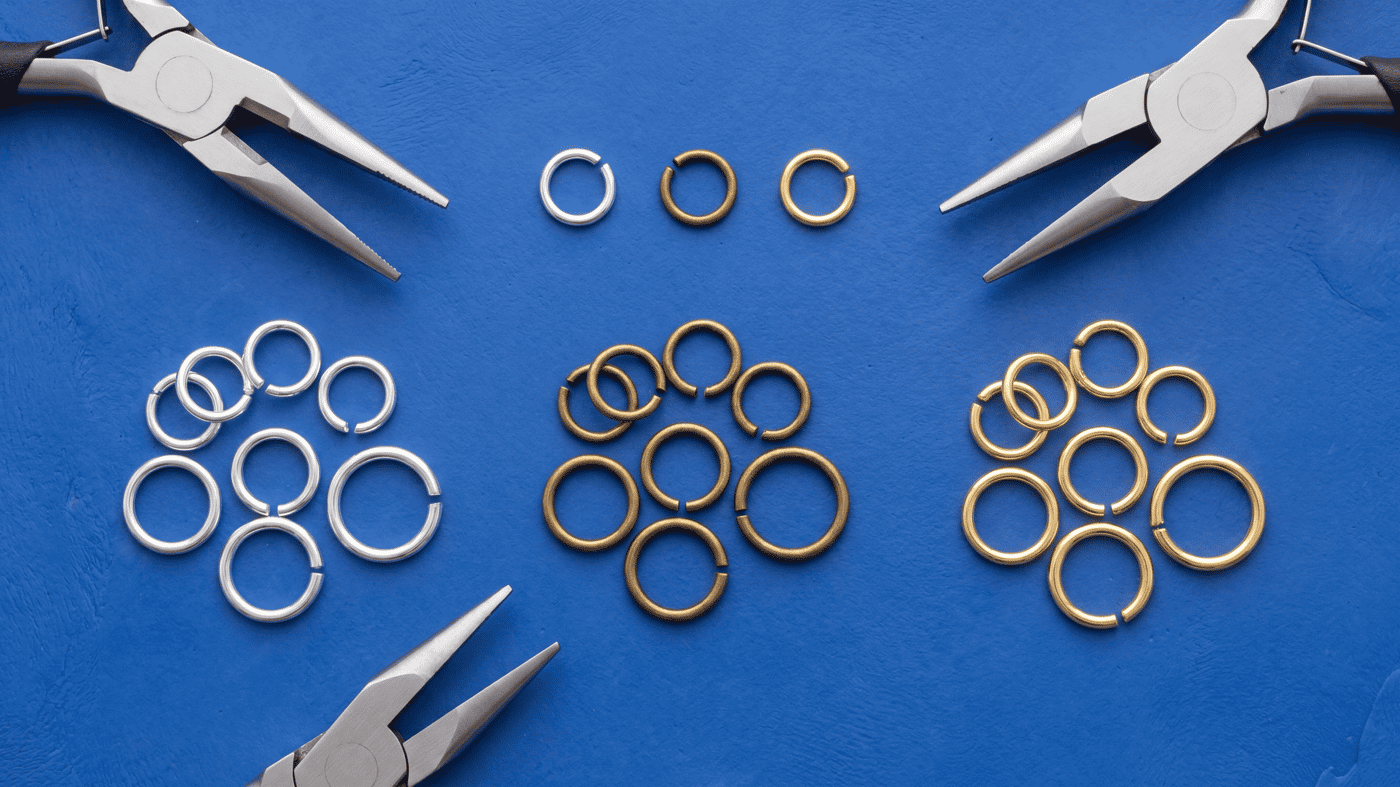
How to choose jump rings for polymer clay jewellery
Learn how to measure jump rings, choose a size that lets your clay earrings swing freely, and open and close the rings with pliers.
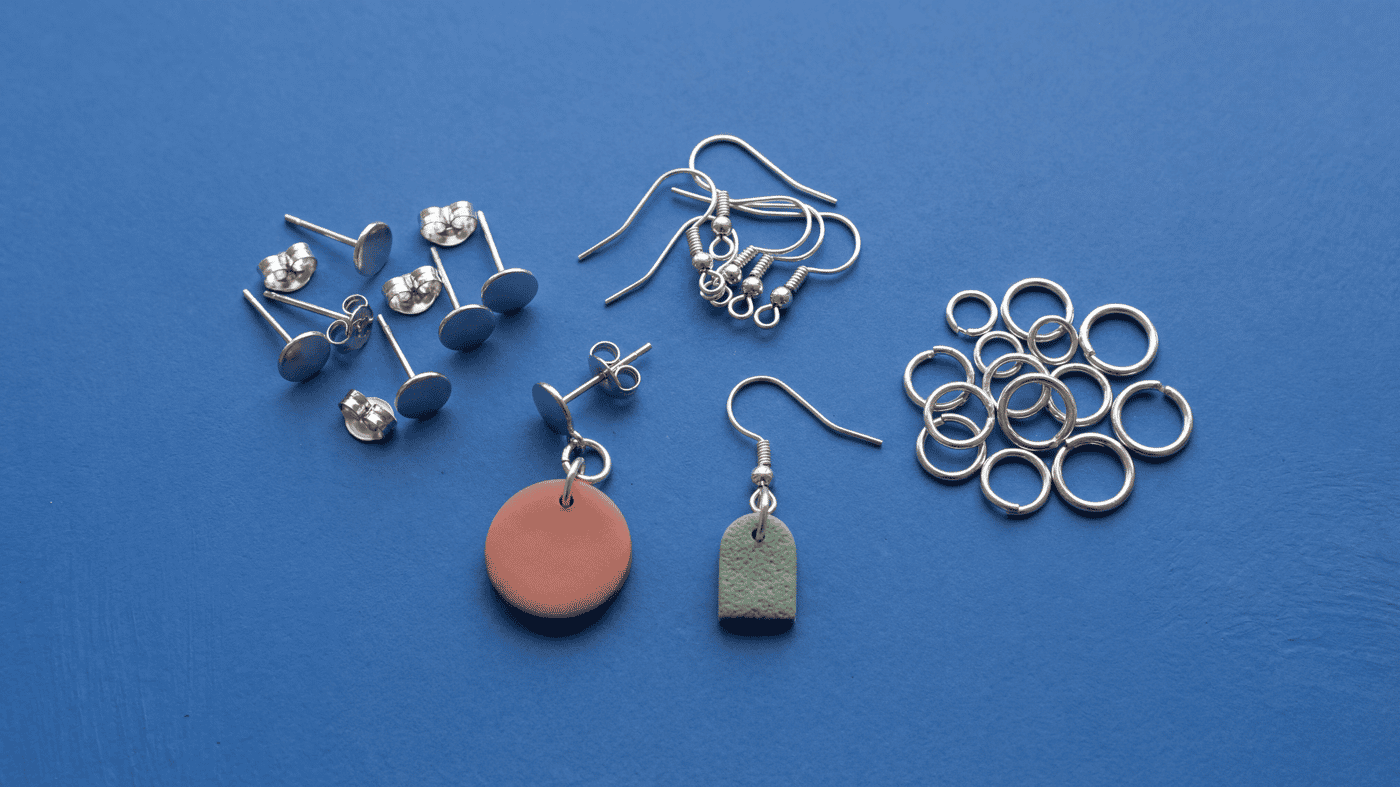
How to attach earring findings to polymer clay earrings
Choose a fish hook, leverback or looped stud, join it with a jump ring, add a second ring if the drop shows its edge, and check the pair before you wear it.
Finished examples with related clay decisions
Each piece shows how a material, attachment, or surface choice changes the final form.