The Cling Wrap Trick for Smoother Polymer Clay Cutter Edges
If your cutters keep grabbing the clay or leaving rough edges, plastic wrap can help on the right shapes. Here is when to use it, which wraps tend to release more cleanly, when to skip it, and how to get a softer rounded edge when that suits the piece.

In brief
Key takeaways
- 1A thin layer of cling wrap over a clay slab can soften and round the cut edge. Compare a wrapped and bare scrap cut before using it on a finished slab
- 2Use minimal pressure on a sharp cutter. Pushing harder stretches the detail and warps the symmetry of the pair
- 3Chill soft clay back down between cuts. Warm clay smears under the wrap and the bevel goes uneven
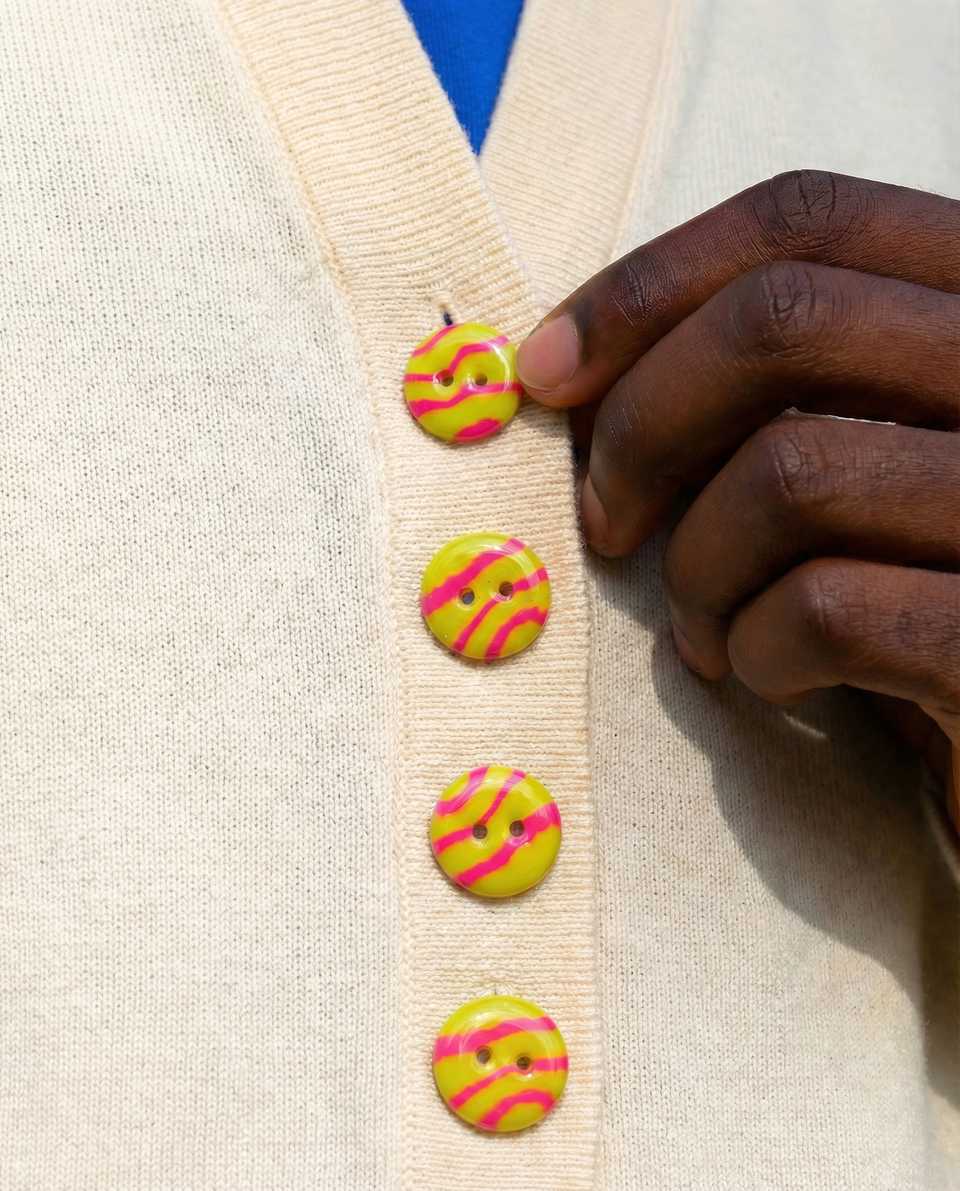
- 4Light wet sanding once the piece is baked and cooled finishes the bevel so it reads intentional rather than accidental
Put a smooth piece of plastic wrap between the clay and cutter when you want less sticking and a rounded edge. Make one wrapped cut and one bare cut on scrap before you commit the slab.
Compare The Edge On Scrap
- Condition and roll a small test sheet.
- Lay a smooth piece of plastic wrap over the clay.
- Press the cutter through the wrap and lift it cleanly.
- Peel the wrap away and compare that edge with a bare cut from the same sheet.
Choose The Release Method For The Edge
Plastic wrap gives the cut a smoother, rounded edge. When the design needs a sharper line, test a light cornstarch dusting or water mist instead. Use only a small amount and inspect the scrap cut before moving to the finished slab.
Remove The Wrap After Cutting
The wrap is a cutting aid. Peel it away after the cut, then follow the wrap label and the clay package before any baking step.
More guides in this path
Open these when the next decision is material choice, attachment, or finishing.

Polymer Clay Cutters: The 10 Shape Families Worth Owning (2026)
A practical 2026 cutter guide built around shape families, cleaner release, the checks to run on a listing before you buy, and the care habits that keep edges true.

Best Polymer Clay Cutters for Beginners: Sharp Starter Shapes (2026)
Beginner clay cutters work best as a small repeatable starter set. Clean release and even slab thickness matter more than a long novelty list.

Best Polymer Clay Beginner Toolkit (2026): Core Tools To Start With
Start with one clay line, an acrylic roller, a tissue blade, a needle tool, a ceramic tile to bake on, and an oven thermometer. These basics help you roll cleaner slabs, cut neater shapes, and check the real bake temperature before adding specialty tools.
Finished examples with related clay decisions
Each piece shows how a material, attachment, or surface choice changes the final form.