Start here
What to choose and check first
Pick jump rings in this order: gauge to match the piece weight, diameter to keep the chain path short and the swing centered, and metal to match the rest of the hardware. Open rings are easier to assemble; keep a few soldered closed rings for joins where an open gap would be the weak point (a heavy pendant-to-chain join or the base of a multi-ring loop).
- 1Most polymer clay earrings work in 18-22 gauge wire with 4-8mm diameters. Pick gauge by piece weight first, then diameter for chain path and centering
- 2Gauge runs in reverse: a lower number is a thicker wire. A 5mm 22 gauge ring and a 5mm 18 gauge ring have the same diameter but different strength
- 3Open rings are the default because you can twist them open and closed for assembly. Use soldered closed rings on heavy pendant-to-chain joins and multi-ring loop bases
- 4Open the ring with two pliers in a sideways twist, never by pulling apart. Pulling stretches the loop into an oval that will never close flush again
- 5Match the ring metal to the rest of the hardware on the piece, and do not repeat hypoallergenic or nickel-free claims in your own descriptions unless the supplier explicitly labels the rings that way
The shortlist is judged by the real assembly tradeoffs: gauge matched to piece weight, diameter that keeps the chain path short, metal that matches the rest of the hardware, and bulk versus assortment depending on whether the maker has chosen a usual size yet.
Stainless steel open jump ring assortment
Stainless steel is a common starting point for polymer clay jewelry: low-tarnish, broadly available, and stocked in mixed-size assortments. Look for jump rings explicitly labeled stainless steel by the supplier.
Brass or gold-tone jump ring set
Brass and gold-tone rings give a warm color match to gold-finish posts, ear wires, and chains. Gold-tone is plating, not solid gold, so check the supplier's listing for the base metal and plating description before you commit.
Soldered closed jump rings
Soldered jump rings are closed shut and are not meant to be opened during assembly. Test them where one open-ring gap would be the weak point: between a heavier pendant and the chain or at the base of multi-ring loops.
A jump ring is a small wire loop that connects one part of a piece to another. The wrong gauge or diameter can make a beautiful earring hang crooked or create a weak point in ordinary use.
Jump rings are common hardware in polymer clay jewelry. They sit between the cured piece and the ear wire, between the pendant and the chain, between every charm in a multi-drop earring. Picking them is mostly a sizing decision, then a metal decision, then a choice about whether a few soldered closed rings are useful for the connections where an open gap would be the weak point.
Quick Comparison: Gauge, Diameter, Open vs Closed
The four jump ring categories most polymer clay makers actually reach for cover many assembly jobs. Pick by piece weight and chain-path length first, then try the chosen ring on a baked and cooled piece before scaling to a batch.
| Type | Gauge | Diameter | Best For | Try Before Use |
|---|---|---|---|---|
| Light open | Finer wire | Small diameter | Stud-to-charm joins, lightweight drop earrings | Confirm the wire holds shape after a real twist-open and twist-closed |
| Standard open | Middle-weight wire | Small to medium diameter | Typical earring drops, light pendants | Check the gap closes flush with two pliers, no visible step |
| Heavy open | Thicker wire | Medium to larger diameter | Statement earrings, heavier pendants, multi-drop bases | Gently tug and twist a sample to check whether the wire flexes open |
| Soldered closed | Match to the connected ring path | Match to the connected ring path | Higher-stress connections and base rings of multi-ring loops | Confirm the solder line is clean and the ring is fully closed |
Maker note on sizing: a ring that is technically strong enough can still ruin the hang if the diameter is wrong. Too small and the chain pinches; too large and the piece swings off-center under the ear lobe. Hold the ring against the cured piece on a flat work surface before you buy a bulk pack, since the same 6mm ring reads different on a small stud than on a 50mm drop.
Gauge vs Diameter: What the Numbers Mean
Gauge measures the thickness of the wire the ring is made from. Diameter measures the ring across in millimeters. The two get confused often because gauge runs in reverse: a lower gauge number is a thicker wire. A 5mm 22 gauge ring is a smaller ring made from thinner wire; the same 5mm in 18 gauge is the same diameter but noticeably stronger because the wire itself is heavier.
Start with a small assortment, then narrow to your defaults. Pick gauge first by the piece's weight and the stress on the join, then pick diameter to keep the chain path short and the design centered under the ear wire or chain.
One more practical note on gauge: thinner wire reads lighter visually and physically, but it also flexes more in normal wear. If you are joining a heavier slab earring to an ear wire, a 22 gauge ring may look right and still slowly work open at the gap over weeks of wear. The gauge has to match the weight, not just the look.
Open vs Closed (Soldered) Jump Rings
Open jump rings have a small split in the wire so the gap can be twisted open, slipped over a part, and twisted closed again. They are the default for most assembly because they let you join rings to ear wires, pendants, and other rings without specialized tools. The downside is that the gap can be stressed open in wear if the gauge is too thin for the weight or if the original close was sloppy.
Closed (soldered) rings are sealed shut at the join and are not meant to be opened during assembly. They remove the open gap from that connection. Test soldered rings for connections that take more stress, such as heavier pendants or the base ring of a multi-ring loop, where one open ring failing would let the whole structure unravel.
A common pattern for a heavier pendant: the chain-side ring is soldered closed to remove the open gap at that join, while the pendant-side ring stays open so the wearer can swap chains later. That gives the higher-stress join a more controlled connection while keeping the rest of the piece serviceable.
Metal Types: Stainless, Brass, Sterling, and Plated
Pick the metal by what is going to sit next to the ring on the finished piece. A gold-tone post on a brass-tone chain wants a warm-colored jump ring; a stainless steel post on a stainless chain wants a stainless ring. Mixing metals across one piece is a stylistic choice rather than a flaw, but most beginners do better with a consistent palette while they are still finding their default look.
- Stainless steel. A common starting point: low-tarnish, broadly stocked, and available across many wire weights and diameters. Look for jump rings explicitly labeled stainless steel by the supplier rather than guessing from product photos.
- Brass and gold-tone. Warm color match for gold-finish posts, ear wires, and chains. Gold-tone is plating over a base metal, not solid gold, so the listing should describe both the base metal and the plating layer.
- Sterling silver. Higher-end choice for sterling chains and ear wires. Tarnishes when exposed to sulphur, hand cream, and humid air, so anti-tarnish storage helps. Solid sterling holds up longer than silver-plated wire on contact-stress joins.
- Plated. Gold, silver, and rose-gold plating over a base metal looks right out of the bag but thins at wear points like the gap on an open ring or the connection where the ring meets a clasp. Plated rings are fine for low-wear areas, less reliable as the load-bearing ring on a piece that gets worn often.
One caveat that matters for anyone selling: hypoallergenic, nickel-free, and skin-safe are claims that depend on the specific supplier's source and testing. Different batches of the same metal name can vary. Do not pass those claims on to customers unless the supplier has put that wording on the exact jump rings you are using. When in doubt, describe the metal by the supplier's label and let buyers decide.
How to Open and Close Without Distorting the Ring
A common ring problem is not the wire or the metal. It is opening the ring the wrong way and turning a circle into an oval that is harder to close flush again. Pulling the gap open straight outward stretches the loop sideways. Twisting the gap open keeps the wire's circle shape because you are rotating the wire instead of bending the loop.
- Use two pliers, one in each hand. Flat-nose or chain-nose, not round-nose. Round-nose pliers leave dents in the wire because the contact area is small and round.
- Grip the ring on opposite sides of the gap. One plier just left of the split, one plier just right. The gap should be facing up between the two pliers.
- Twist, do not pull. Move one hand toward you and the other away from you. The gap opens sideways while the rest of the ring keeps its circle.
- Slide the part into the open gap. Ear wire, pendant loop, next ring in the chain. The gap only needs to be wide enough for the wire of the part to pass through.
- Reverse the twist to close. The two cut ends should meet flush, with no visible step between them.
- Inspect the gap. Run a fingernail across the join. If it catches on a step, give the close another small twist to bring the ends level.
Pulling open instead of twisting is a common reason jump rings end up oval-distorted, and an oval ring can make a finished earring hang crooked under the ear lobe. If a ring goes oval mid-assembly, swap it for a fresh one. Trying to bend it back round often makes the wire harder to read and close cleanly.
How Many to Buy: Bulk Packs vs Assortments
Beginners often do better with a small assortment than with a bulk pack of one size. A few diameters and wire weights across the metals you actually use will cover many assembly decisions while you figure out your defaults. The point of the assortment is to learn which size you reach for first when you sit down to a real pair.
Once you have built a few batches and know your usual ring, buy that one in bulk. Bulk packs cost less per ring, keep the look consistent across pairs in a collection, and remove a small decision from every assembly session. Keep one small assortment of soldered closed rings on hand for higher-stress joins, even after you have chosen a bulk size for the open work.
When You Need Soldered (Closed) Rings
Closed rings remove the open gap from the connection. Test them for the connections where one open ring working loose would ruin the piece or cascade through the rest of the structure.
- Heavy pendant to chain. The ring at the chain join carries the full pendant weight every time the piece is worn. A soldered closed ring at this position removes the open gap from the most-loaded join.
- Base ring of a multi-ring loop. When several open rings hang off one shared base, the base ring carries combined load. If it fails, the whole loop unravels.
- Repaired joins where an open ring already failed. If an open ring let go on a finished piece, replacing it with a soldered ring at the same position can reduce the chance of the same open-gap failure on the same join.
For everything else (typical earring drops, lightweight charms, swap-friendly pendant loops) the open ring is faster, cheaper, and lets the piece be repaired or restrung without specialized tools.
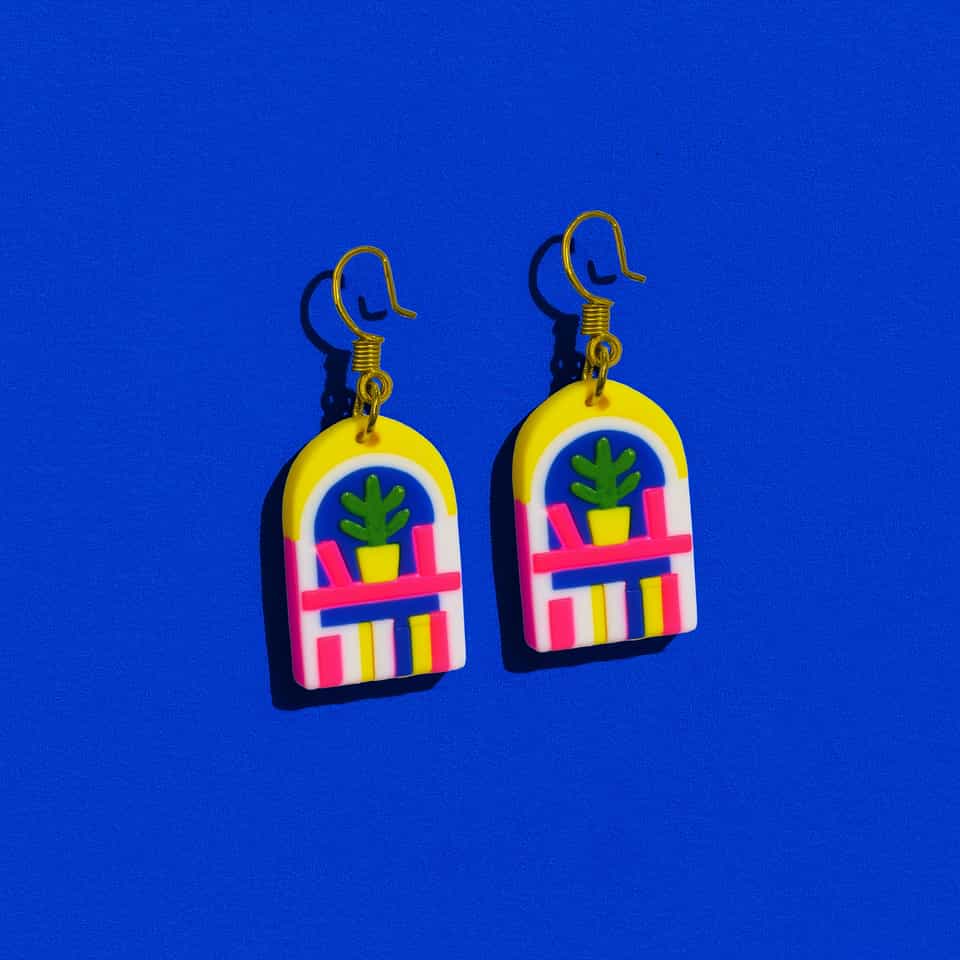
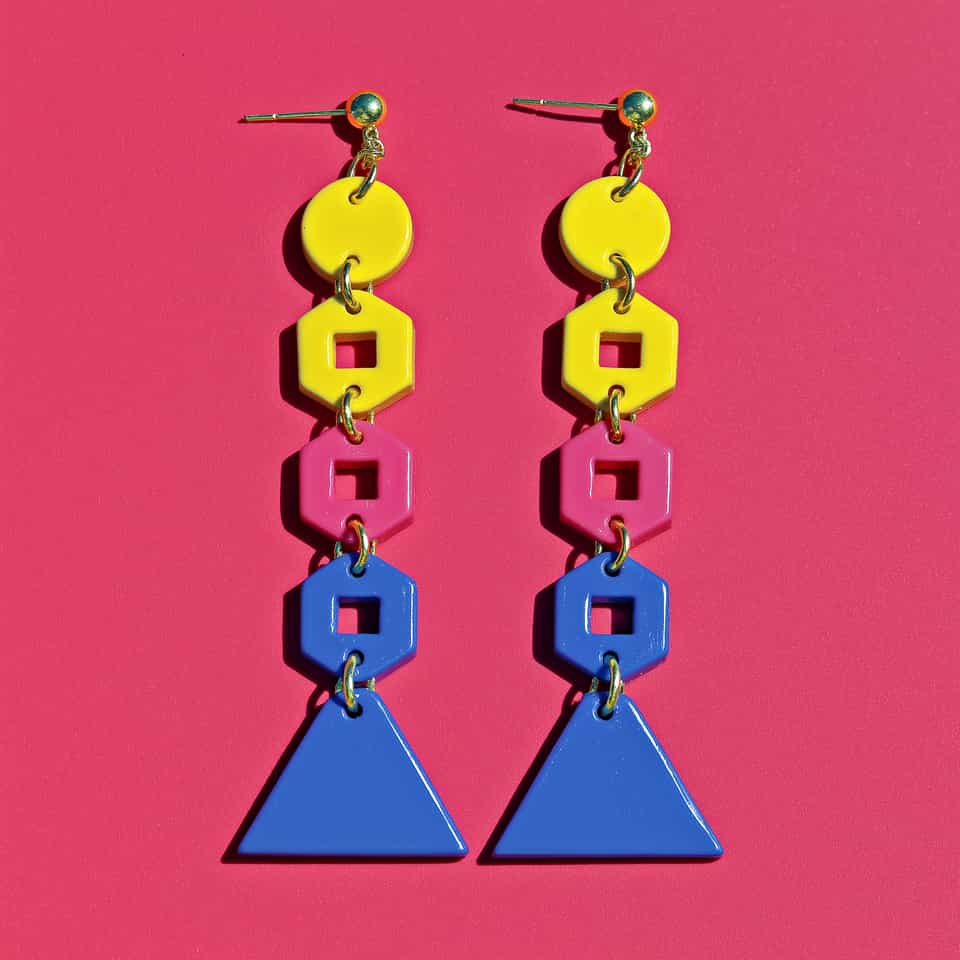
For pendant-specific decisions about whether the piece even wants a jump ring, a drilled top hole, or a glue-on bail, the pendant holes, bails, and jump rings guide walks through each option by top-edge thickness and finished weight. Once the post and back are sorted, the best earring posts guide covers post and pad sizing for the bond side, and the best glue for polymer clay earrings guide covers adhesive choice for the post-to-pad join. The earring findings hub connects all of these decisions for one finished pair. For a finished example where the jump ring sizing is part of the read, see the build notes on the cameo drop earrings.
More guides in this path
Open these when the next decision is material choice, attachment, or finishing.

Earring Findings for Polymer Clay: Posts, Hooks, Jump Rings, and Attachment Planning
Posts fail when the pad is too small or the back is curved. Jump rings tear through holes with no margin. Choose findings from the back shape and finished weight, then prove the setup on one sample pair before you build the batch.

Polymer Clay Pendant Holes, Bails, and Jump Ring Placement
Pendants hang crooked or the hole tears through the top edge because the hardware was placed from the side instead of the visual center. Mark the real balance line, leave enough clay margin, and choose drilled hole, bail, or short jump ring from the finished front view.

Best Earring Posts for Polymer Clay Jewelry
Choose flat-pad, loop-top, titanium, stainless steel, and decorative posts based on the shape, weight, and baked back of your polymer clay earrings. Then try one sample pair before making a full batch.
Finished examples with related clay decisions
Each piece shows how a material, attachment, or surface choice changes the final form.