Tutorials
Polymer clay step-by-step project guides for suggested build order, even thicknesses, support, and bakes.

Articles
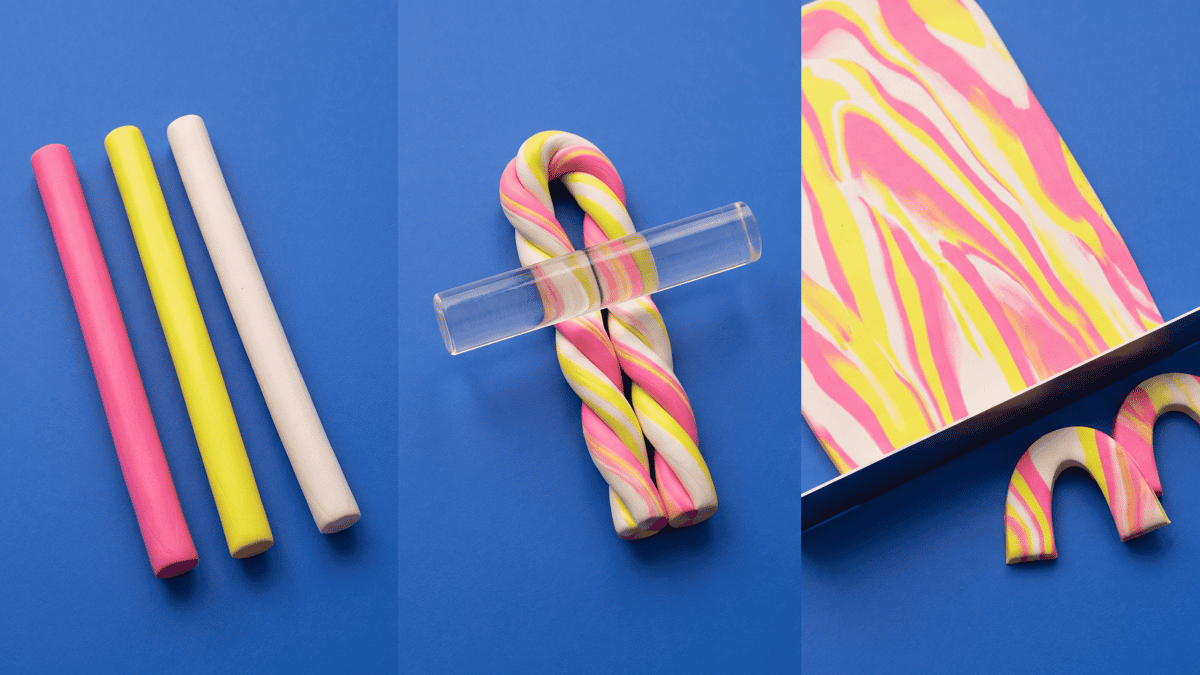
How to Marble Polymer Clay: Beginner Tutorial (Step by Step)
Learn how to marble polymer clay with three colors, a roller, and a blade. A beginner tutorial with pulled, stacked, and tile-cut variations, plus the fix for muddy slabs.
Read the guide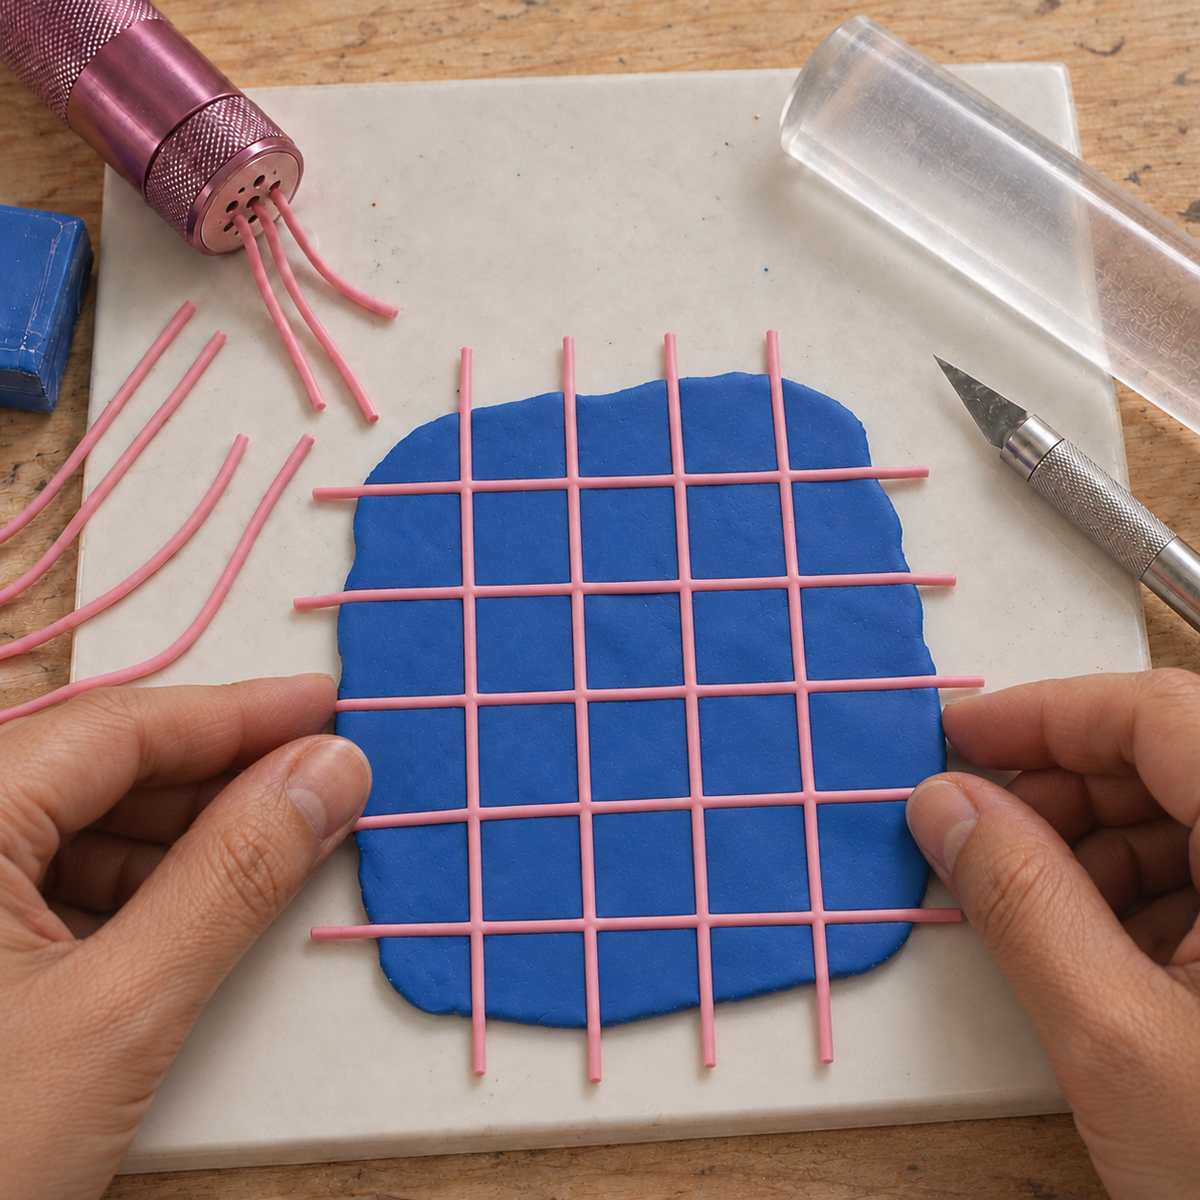
How to make grid-patterned polymer clay slabs
Lay thin strands of contrasting clay in two directions, then roll the grid into your slab before cutting. Follow the four illustrated steps.
Read the guide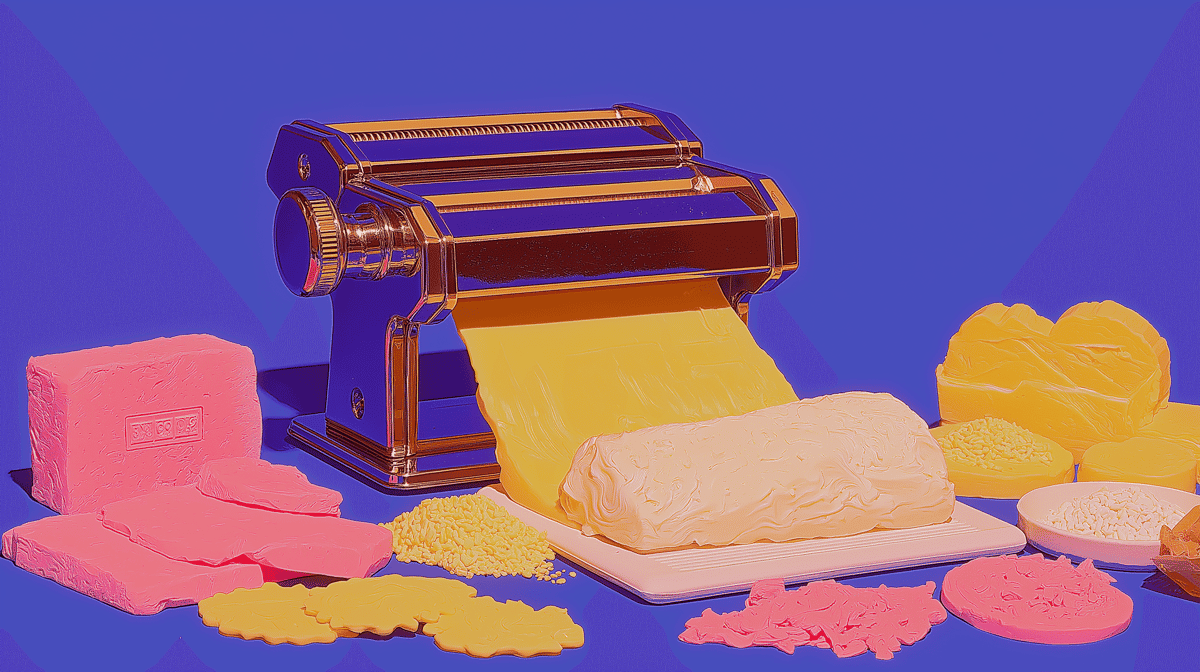
Polymer Clay for Beginners: Clay, Tools, and a First Test Piece
Choose one clay line, use three basic tools, and make a small package-directed test piece before adding more supplies.
Read the guide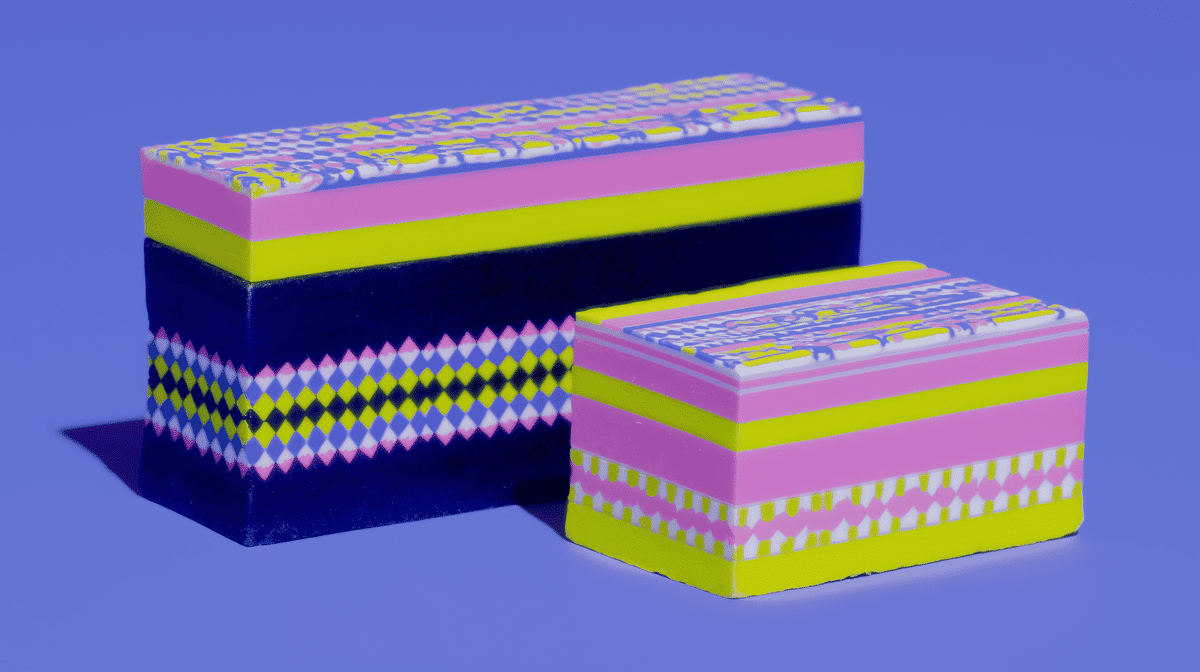
Layered Polymer Clay Pattern Block (Nerikomi-Inspired)
Stack contrasting sheets of polymer clay into a small block, slice across the layers to reveal the pattern, and bake a slice by its package directions.
Read the guide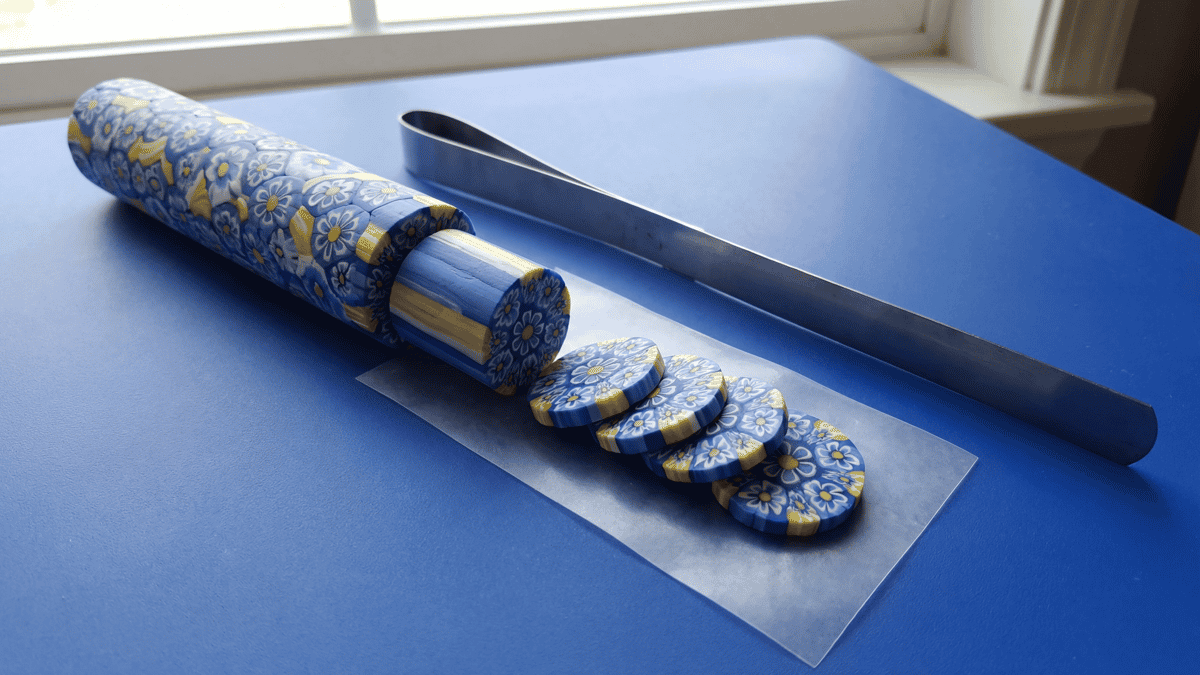
Polymer Clay Cane: A Small Recorded Pattern Exercise
Use a simple patterned-log exercise to test one clay, arrangement, cut face, and package-directed bake without turning it into a universal cane method.
Read the guide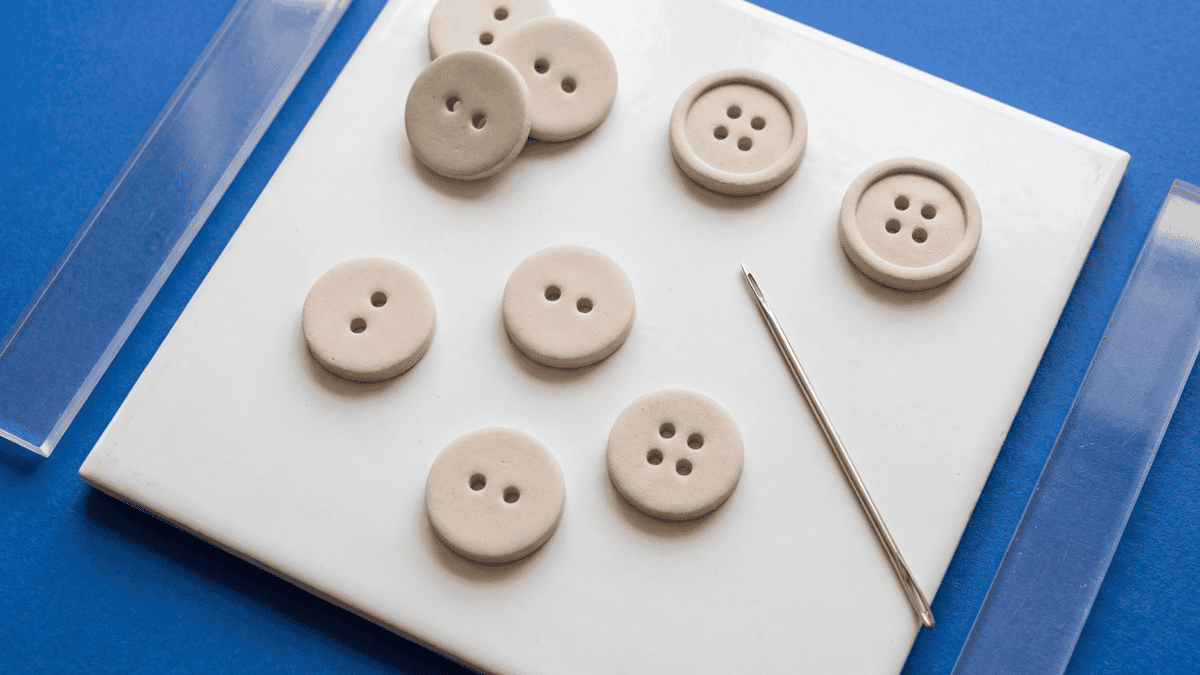
Polymer Clay Buttons: Holes, Flat Baking, and Thickness
Small button sets fail when the holes are too close to the edge, the blanks bake unevenly, or the thickness drifts from one button to the next. This guide shows the repeatable build path that keeps polymer clay buttons more consistent and easier to test on garments.
Read the guide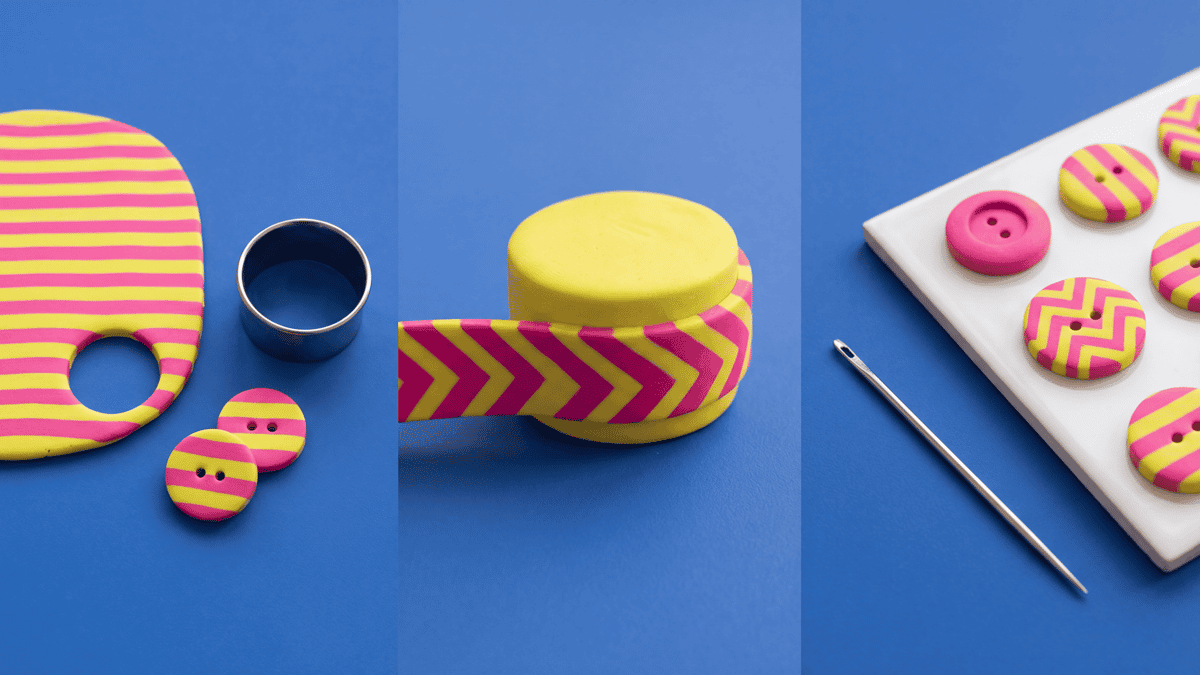
Polymer Clay Striped Buttons: Chevron Wraps and Drum Blanks
Patterned polymer clay buttons get much easier when you lock the blank size first, then build stripes, chevrons, or wrapped sidewalls around that structure. This guide covers a clean build order for flat sew-through buttons and short drum blanks.
Read the guide
How to attach small polymer clay details so they stay on and keep a crisp edge
Stop small clay details popping off after baking or spreading as you press them. Decide on liquid clay before you start, then carry, place and tap each piece so it stays on with a crisp edge.
Read the guide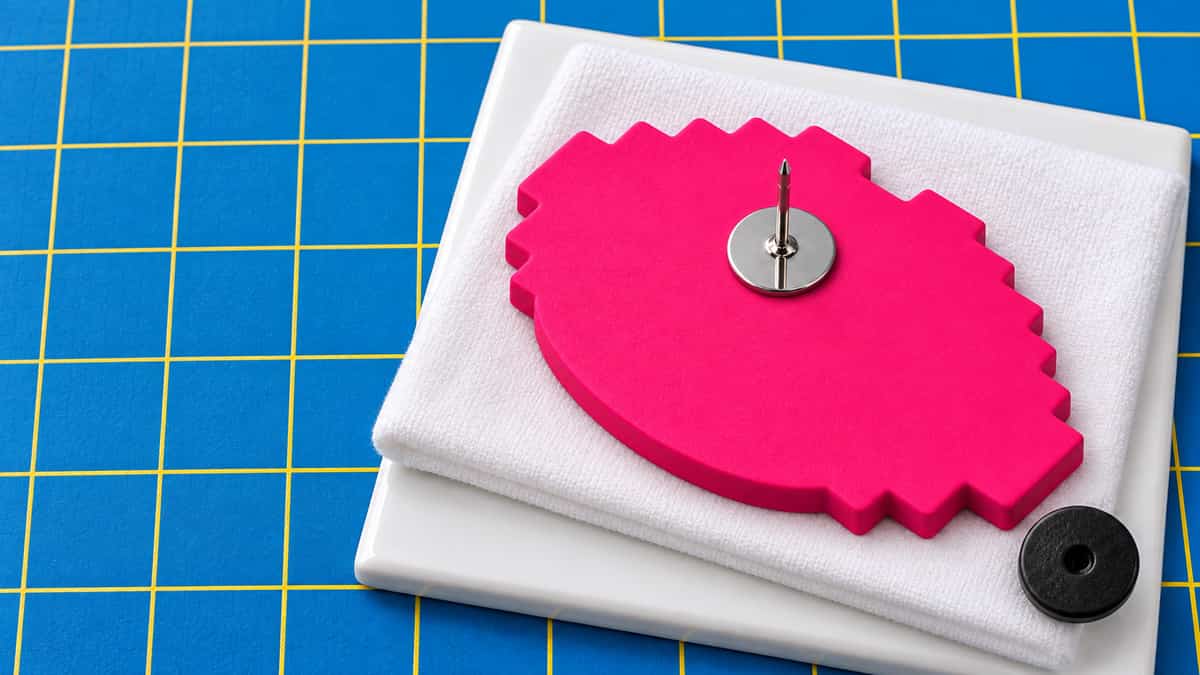
How to attach a brooch pin to polymer clay so it sits straight and stays on
A clay brooch that flops forward on a jacket, spins round, or loses its pin comes down to where the pin sits and how the pad is glued. The fabric check at the end shows if you got both right.
Read the guide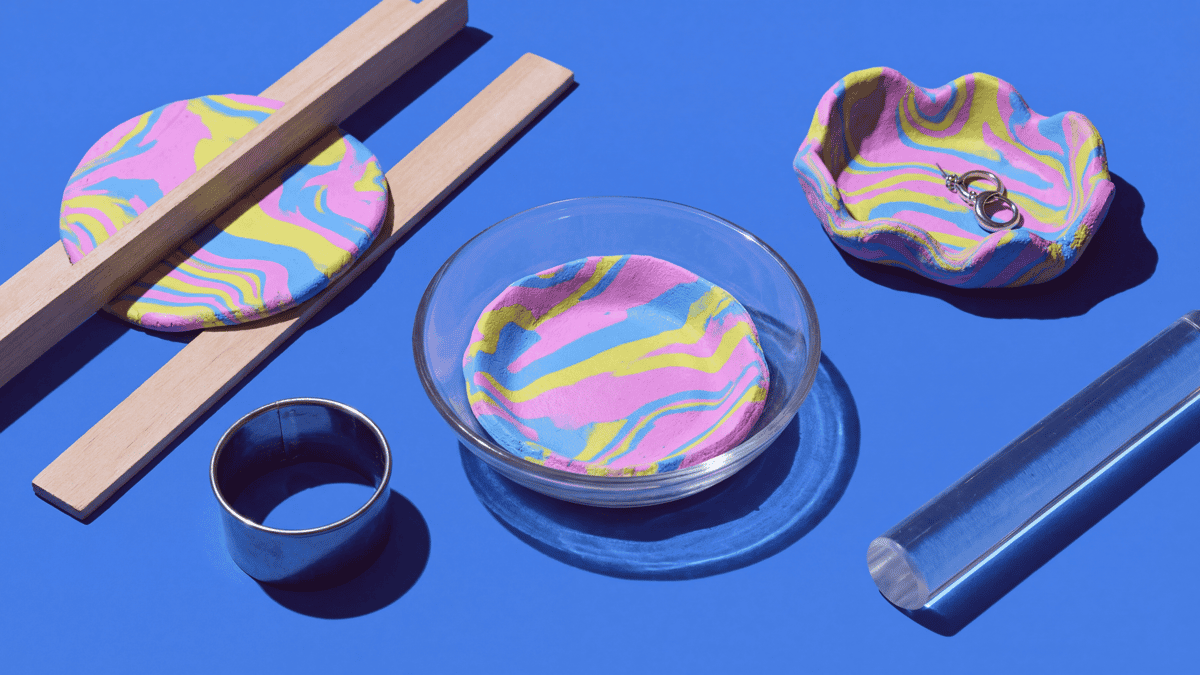
Polymer Clay Trinket Dishes, Forms, and Rims
Use a documented trinket-dish project as the starting point, verify the form and package bake, and keep the result decorative unless the maker supports another use.
Read the guide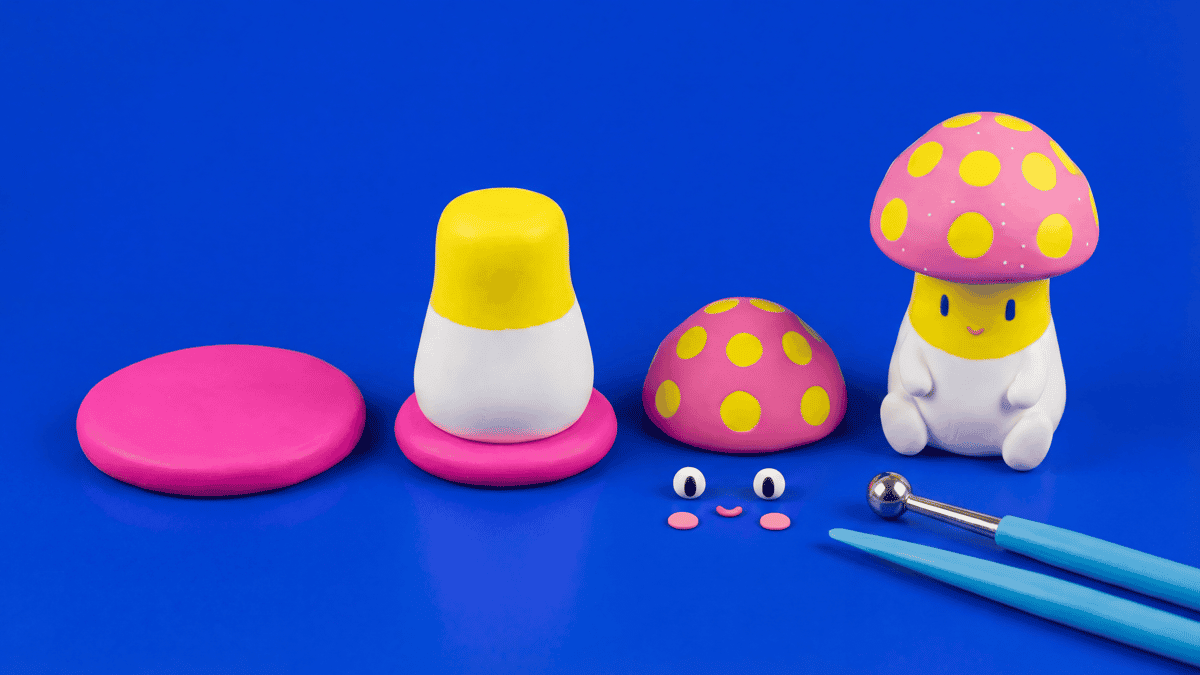
Polymer Clay Figurines: Stable Bases and Clean Features
Small figurines look simple until the base wobbles, the cap droops, or the face gets smudged while you are still shaping the body. This guide covers the order of operations that keeps polymer clay characters stable with cleaner features.
Read the guidePolymer clay tutorials
Follow the build order, then adjust the piece.
A good tutorial doesn't just show you what a finished piece looks like; it suggests an order in which the clay must be rolled, cut, supported, and cured. These step-by-step project guides suggest build order, even thicknesses, support, and bakes. Follow the suggested assembly order first, then adjust the style.
Studio notes
Get polymer clay tutorial notes
New project notes, small checks, and practical links as they publish. Free, no spam, unsubscribe anytime.
By subscribing you agree to get Clay Bake Studio emails about new guides, tools, build kits and offers. Unsubscribe anytime. We do not sell your email. Read our privacy policy.