Earrings
Polymer clay earring guides for slab thickness, post placement, jump ring connections, dangles, and comfortable wear.

Articles
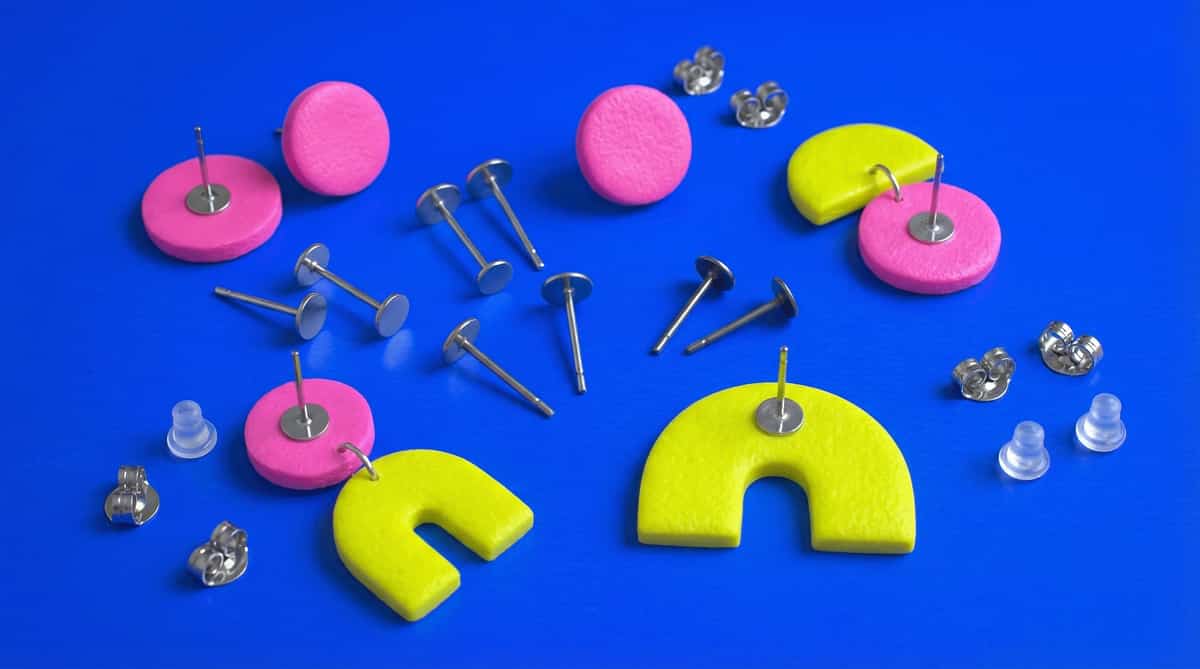
Best earring posts for polymer clay studs: pad size, backs and metal
Buy flat-pad posts, set the post a little above the middle of the stud, pick a pad that lies flat on the stud's back, and check which metal the listing names for the post itself.
Read the guide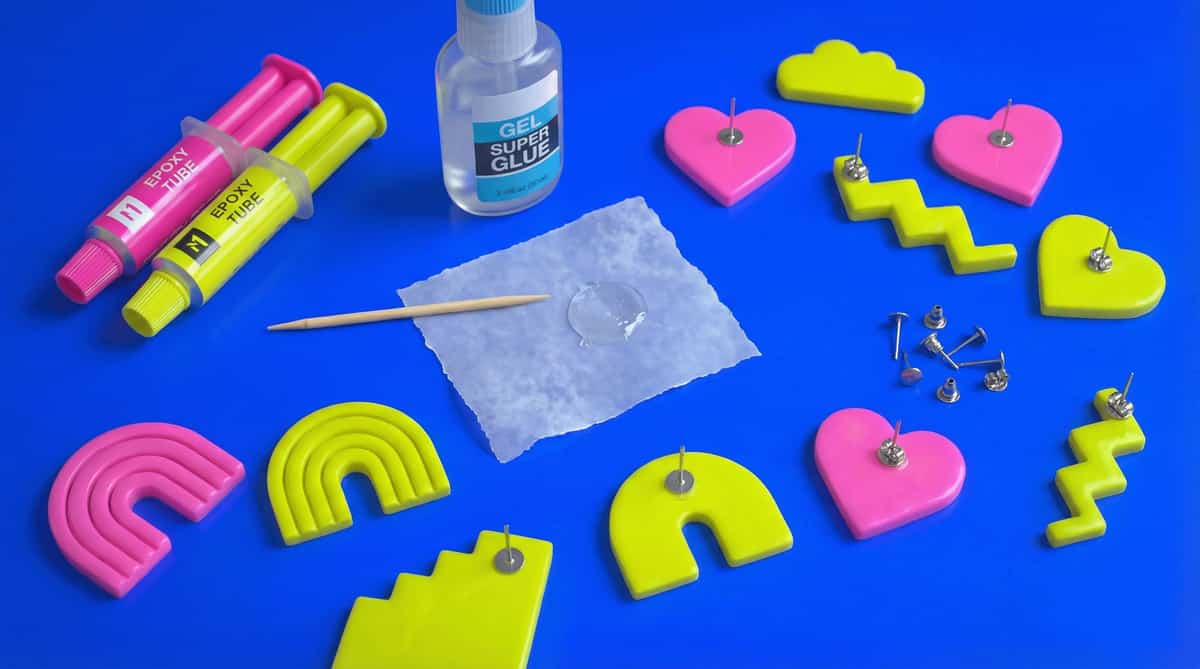
Best glue for polymer clay earring posts: what makers use
Two published maker sources name gel super glues such as Loctite's Gel Control and Gorilla Super Glue Gel for posts. Sand the spot to bare clay, use a small dot and wait 24 hours before wearing.
Read the guide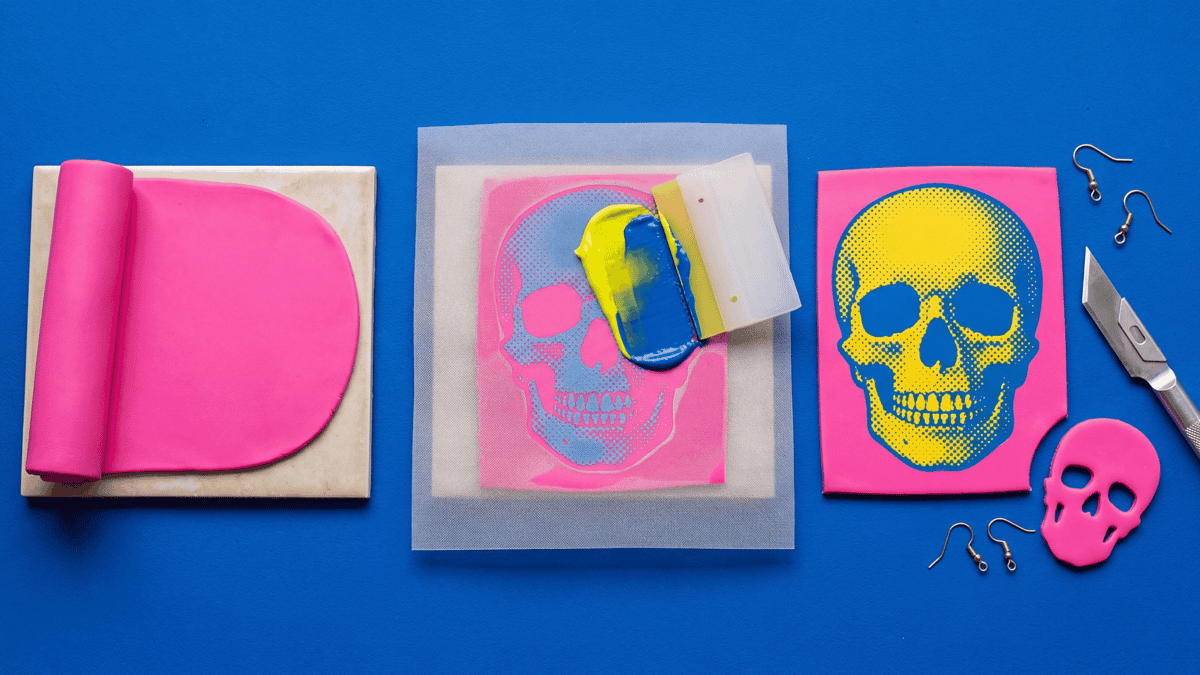
Polymer Clay Silkscreens, Stencils, And Halftone Graphic Slabs
Graphic skulls and other bold printed slabs stay cleaner when the clay slab is even, the screen seals tightly, and the silhouette gets cut only after the printed surface dries.
Read the guide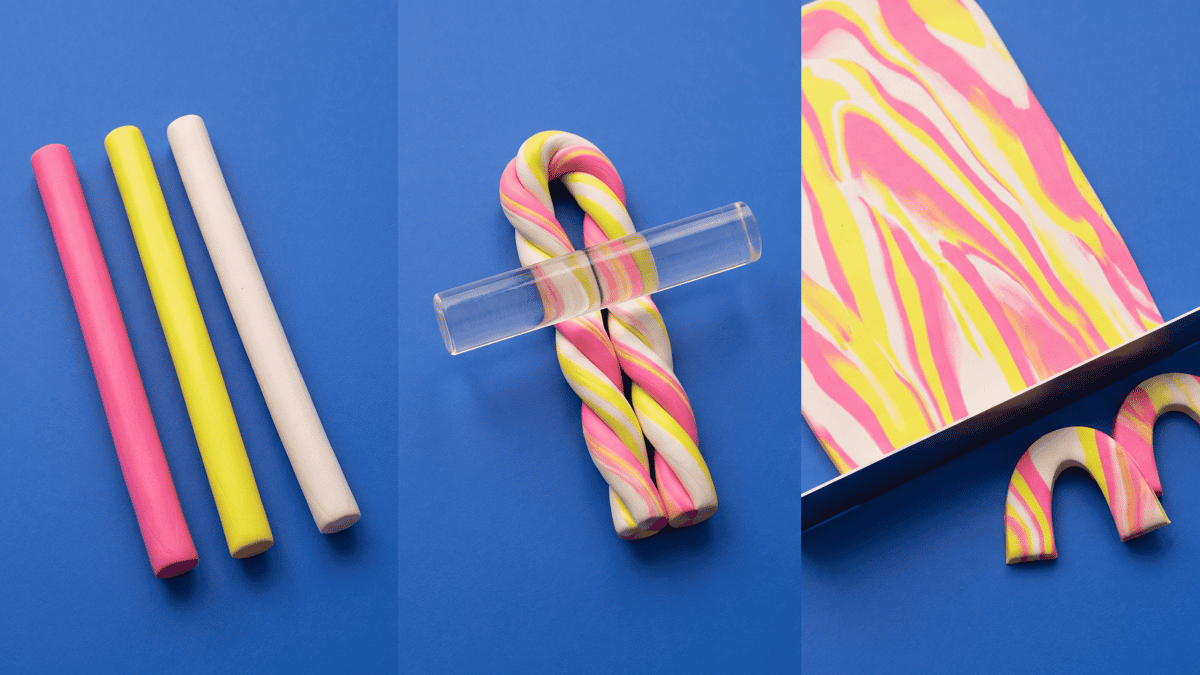
How to Marble Polymer Clay: Beginner Tutorial (Step by Step)
Learn how to marble polymer clay with three colors, a roller, and a blade. A beginner tutorial with pulled, stacked, and tile-cut variations, plus the fix for muddy slabs.
Read the guide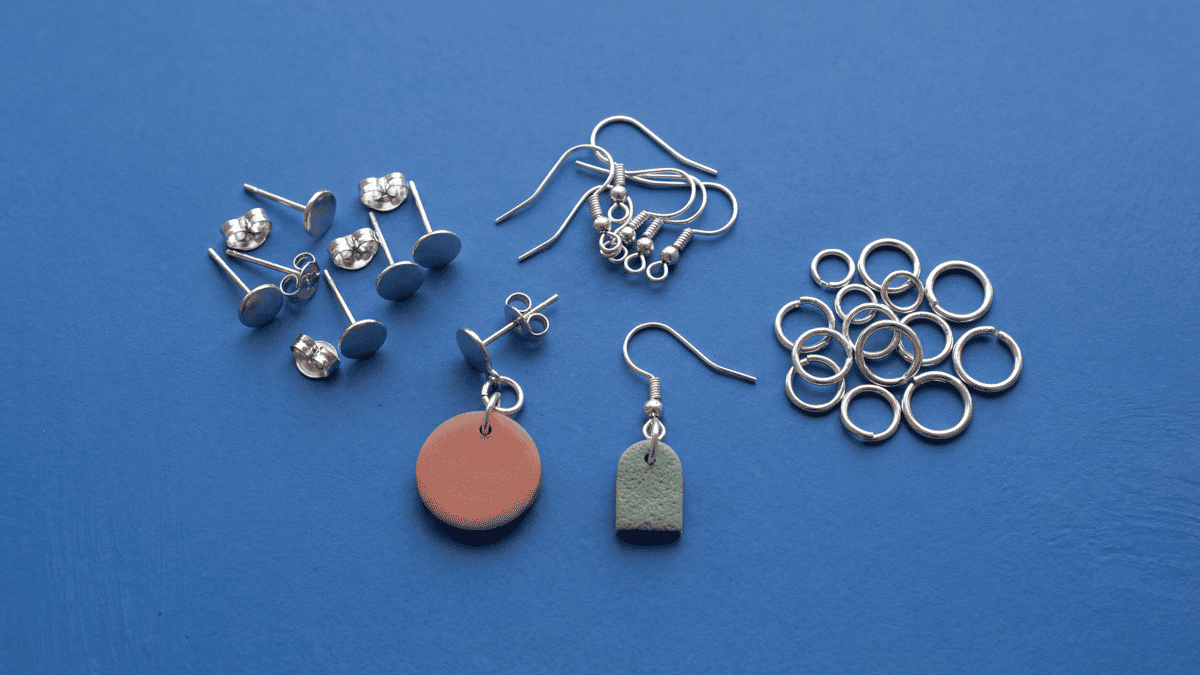
How to attach earring findings to polymer clay earrings
Choose a fish hook, leverback or looped stud, join it with a jump ring, add a second ring if the drop shows its edge, and check the pair before you wear it.
Read the guide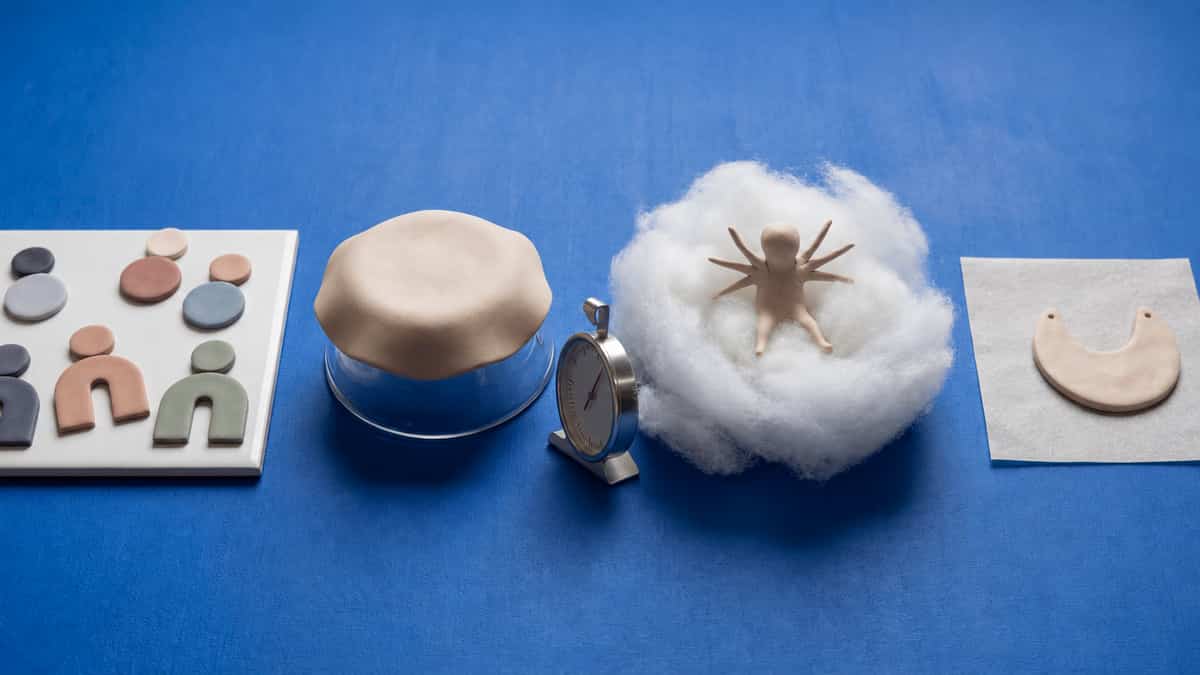
What to bake polymer clay on: tile, card and supports for flat, folded and large pieces
Bake flat pieces on a glossy tile and move them onto plain card only for a matte back. Hold curves, limbs and overhangs with fiberfill, crumpled foil or an oven-safe glass form, bake round beads on skewers, and leave everything on its support until it feels cool.
Read the guide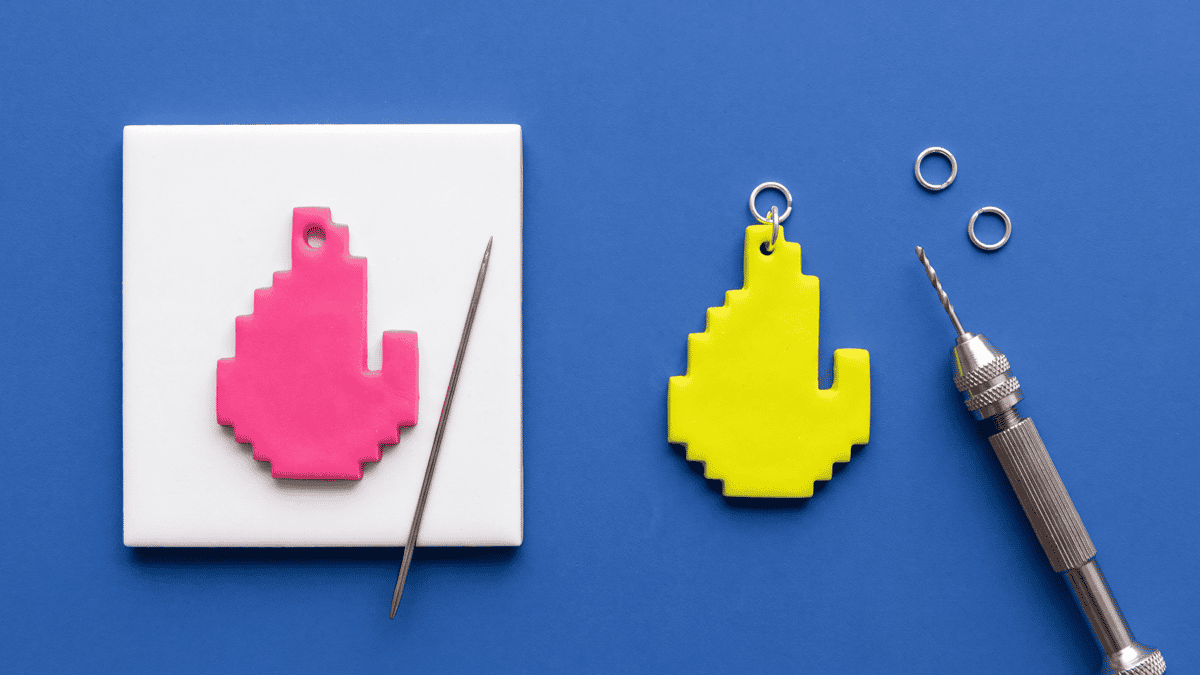
Jump ring holes in polymer clay: punch before baking or drill after?
Punch the hole in raw clay when the slab is thick, chilled and still on the tile. Drill after baking when the piece is a thin veneer, a layered stack, a pixel corner or a hole close to an edge. Fixed-hole cutters skip the marking step but carry the raw-hole caveats.
Read the guide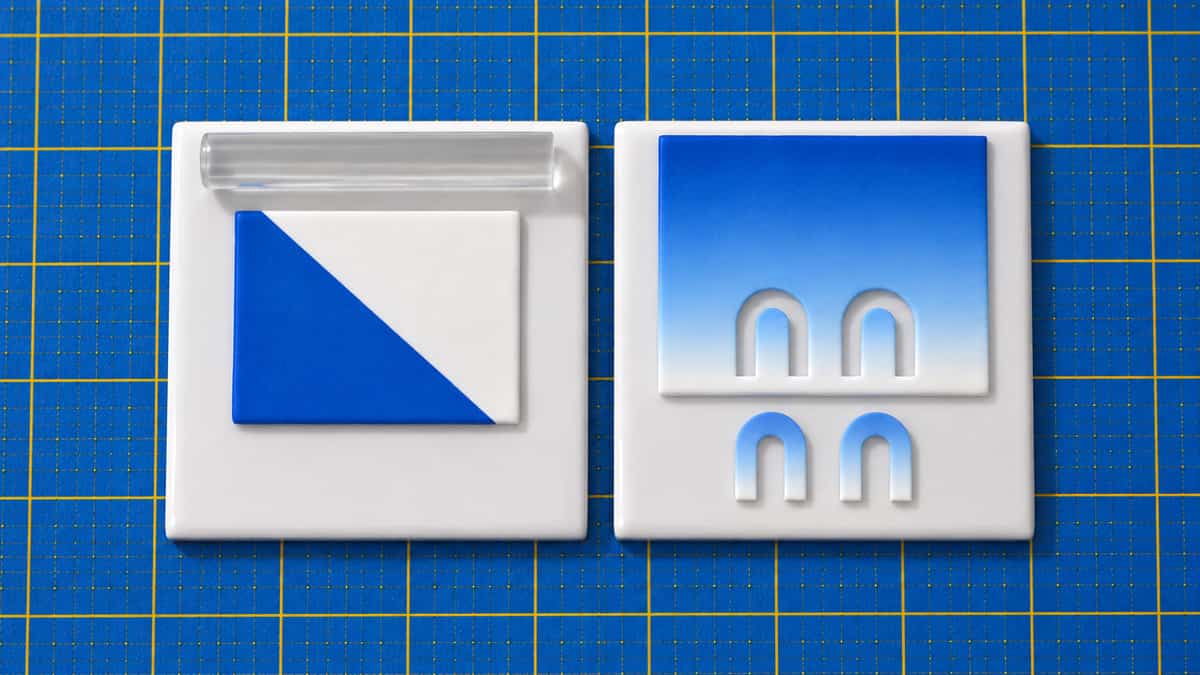
How to make a Skinner blend with polymer clay
Make polymer clay fade from one colour into another: the offset layout, the fold rule, how many passes, the no-machine method, cutting an ombre pair, cane plugs and rainbow blends.
Read the guide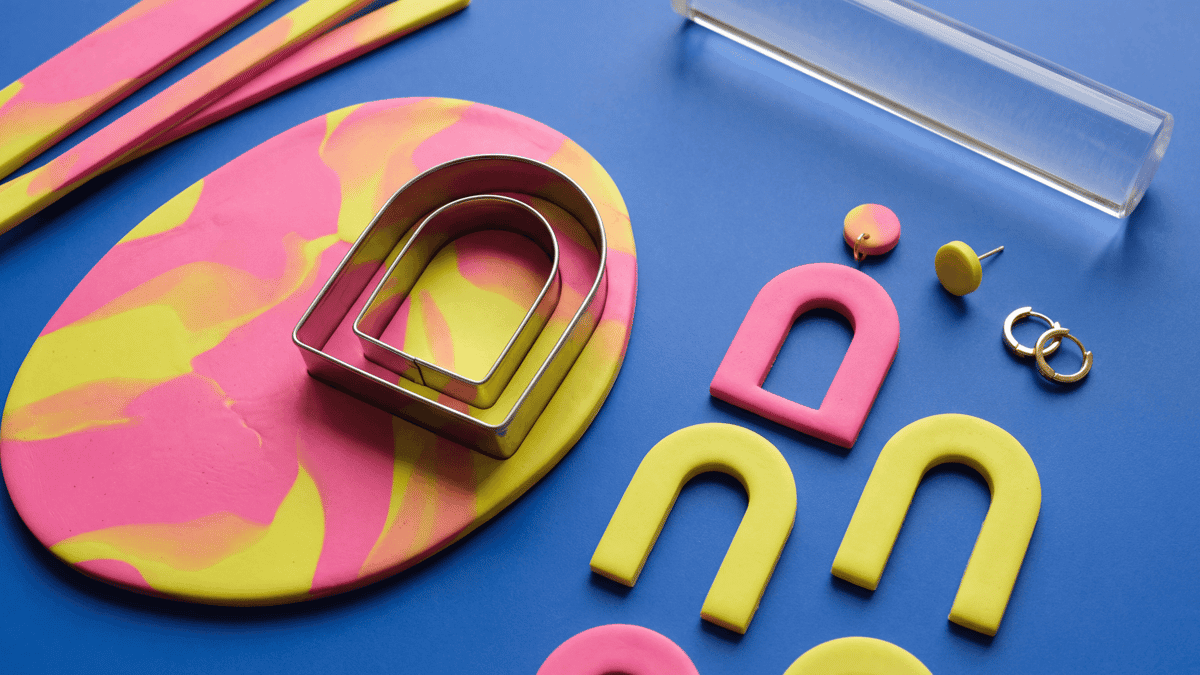
Polymer Clay Cutout Arch Earrings and Hoop Drops
Cutout arches and hoops work best when the wall width is even, the inner opening matches the outer curve, and the hardware choice is made from the finished front view.
Read the guide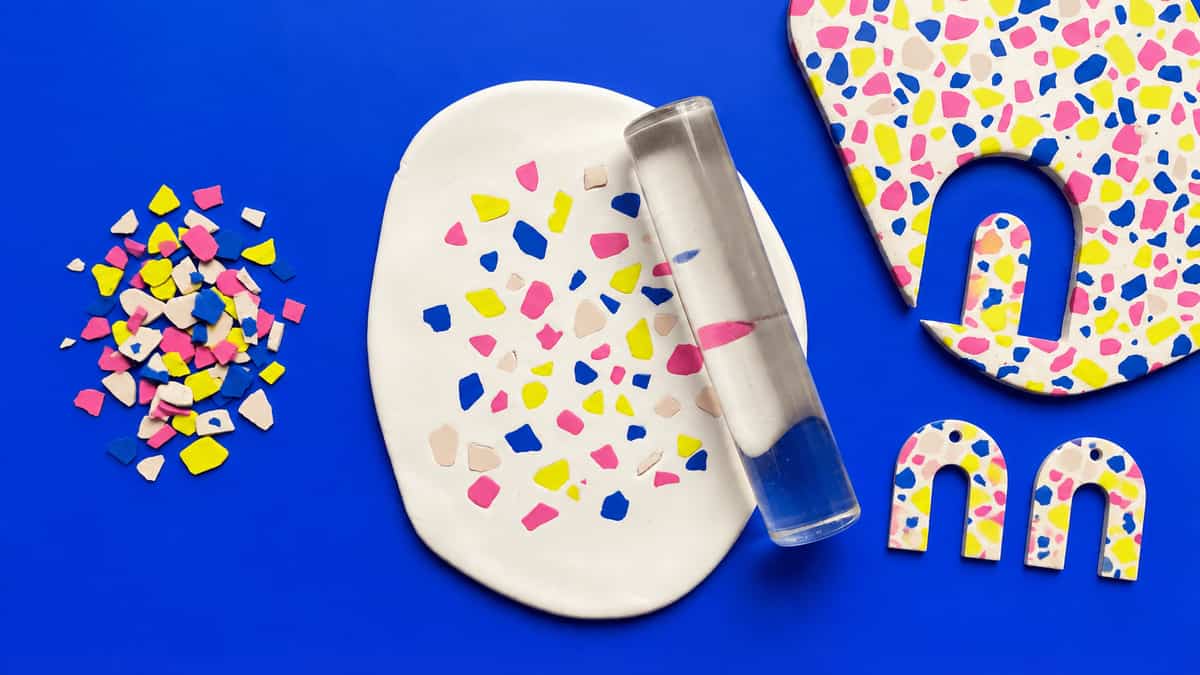
How to make polymer clay terrazzo: chips, slab, cut and sand
Roll thin chips in two to four colours, press them into a light base about 3 mm thick, roll them flush under paper, cut both earrings from the one slab, then bake and sand for the look of stone.
Read the guide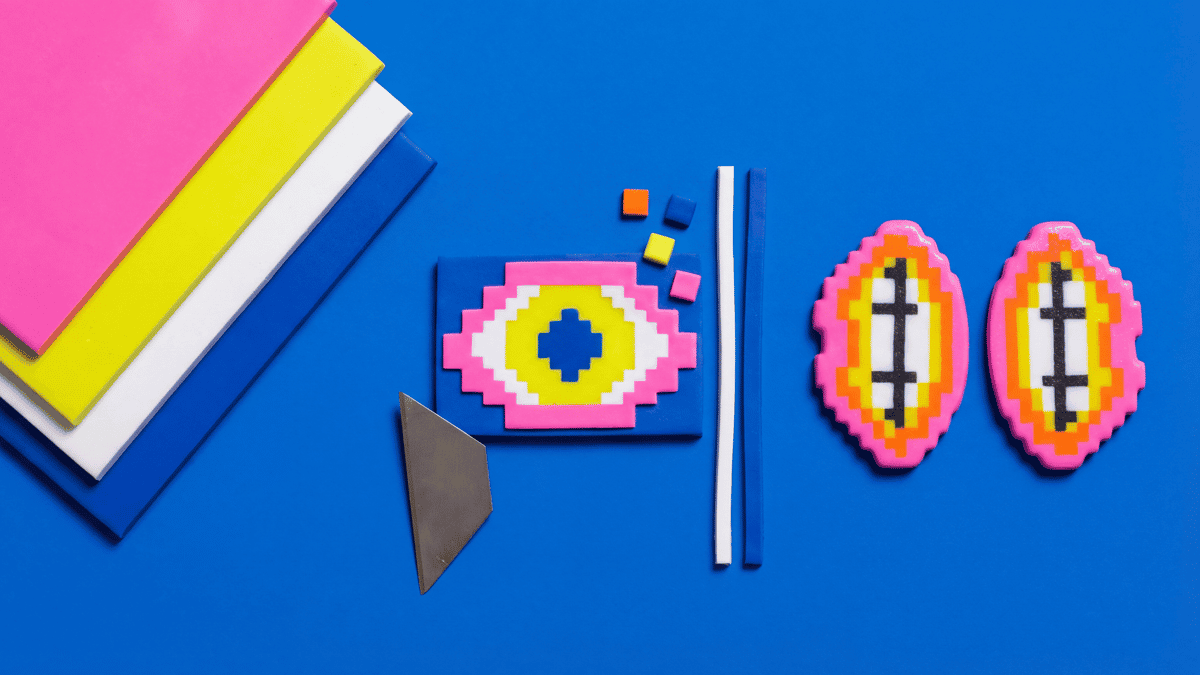
Layered pixel clay earrings: how to line up thin colour layers without stretching them
Your cutters shape each piece, but you place every colour layer by hand. Lift thin layers on a flat blade, line each one up before any pressure, then press the stack lightly through parchment.
Read the guide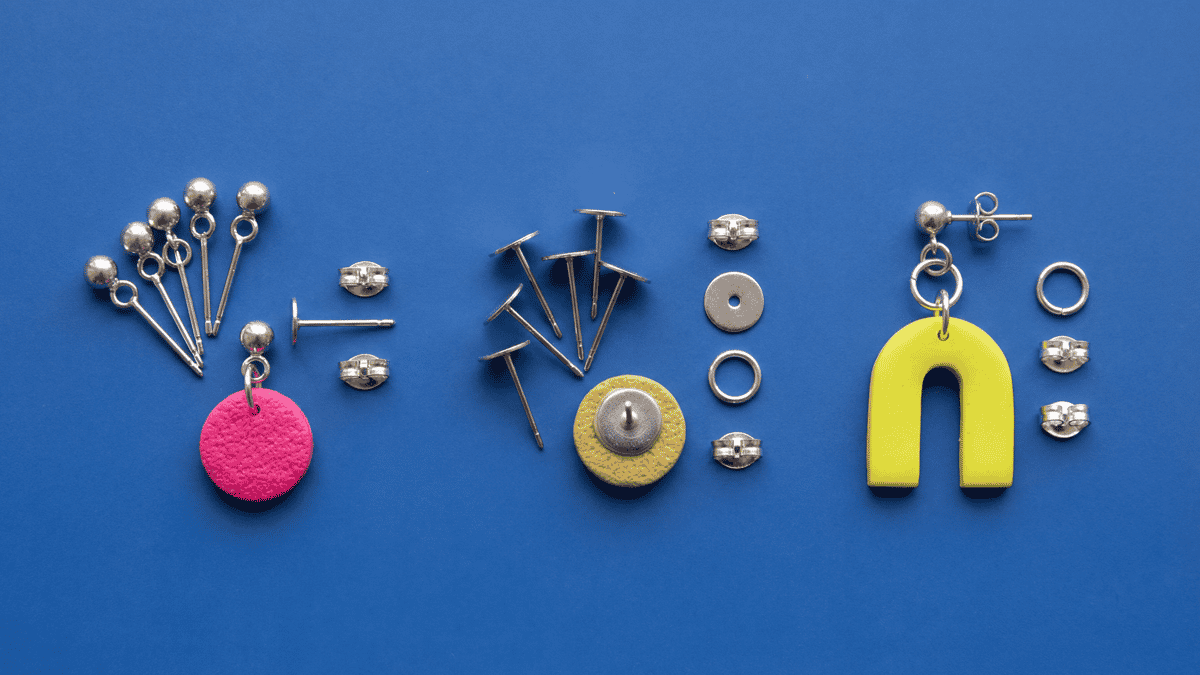
Polymer Clay Stud Toppers, Flat Pads, and Connector Rings
Choose the top connection from the front view first, then keep the attachment short and balanced. Compare visible loop-tops, flat pads, short ring paths, and balance-line marks on a sample before you make the final pair.
Read the guide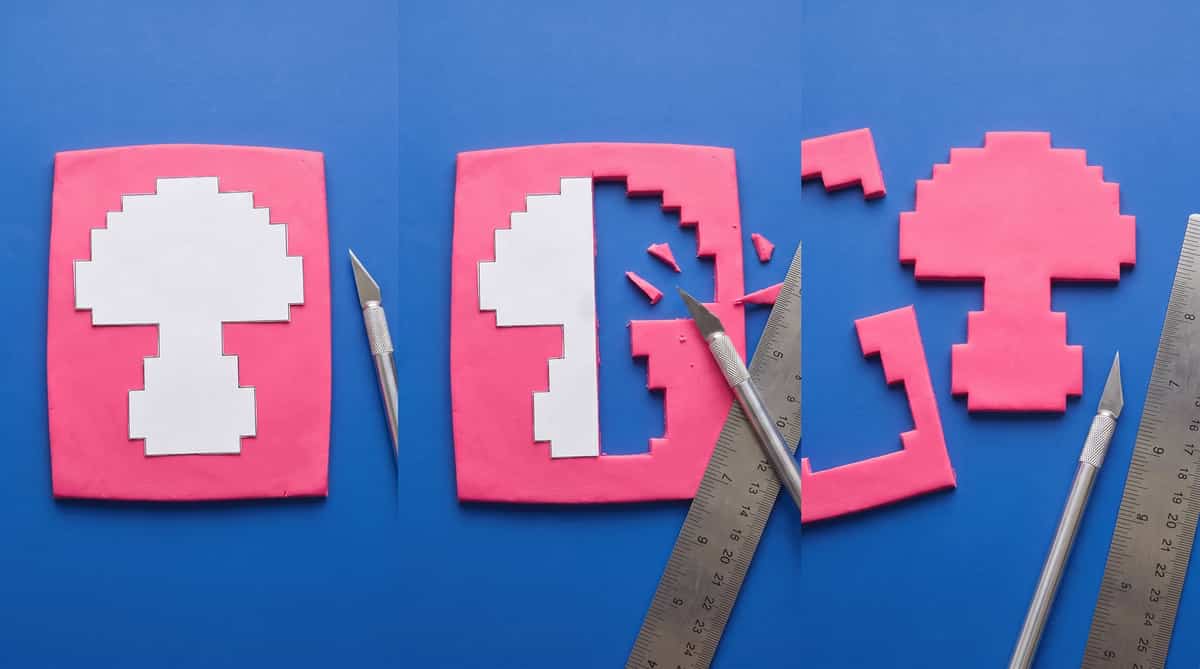
Cut 8-Bit Pixel Polymer Clay Earrings: Staircase Guide
True 8-bit pixel earrings and brooches need stepped-edge silhouettes that look like deliberate pixels from a distance, not softened curves. This guide covers grid-based templates, blade-cut checks, and keeping the staircase crisp through cure.
Read the guide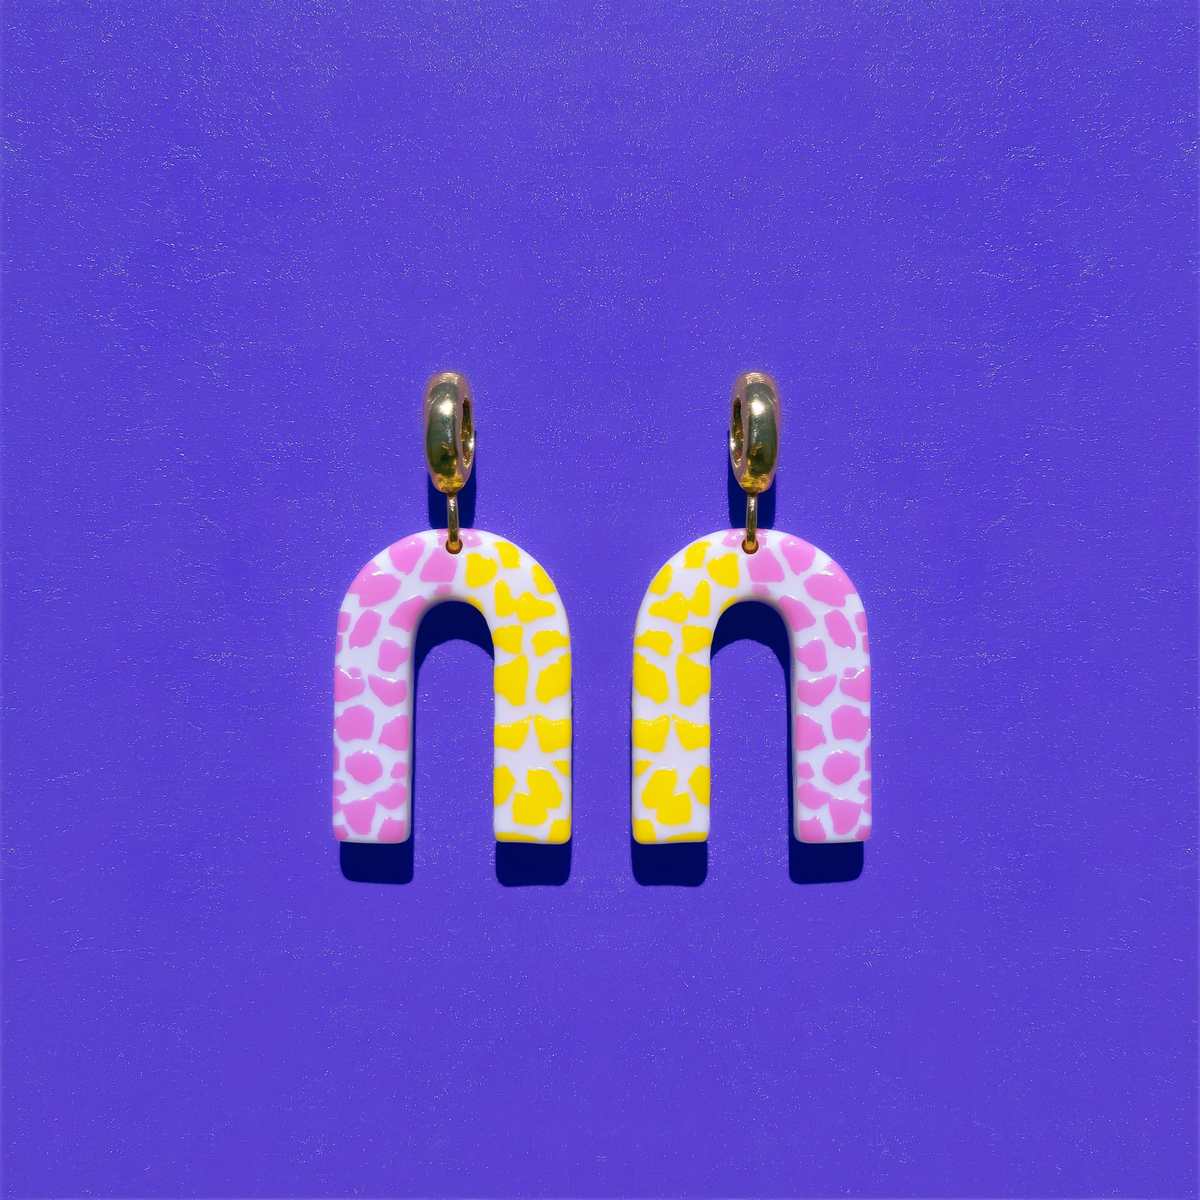
How thick should polymer clay earrings be?
Roll flat earrings about 3 mm thick or a little thinner, measure the raw slab, and size the jump ring, post pad and pasta machine setting to that thickness.
Read the guidePolymer clay earrings
Plan weight, hang, and hardware before batching.
Designing successful earrings is a balance of aesthetics and physical comfort. These guides walk you through suggested checks for every pair: rolling slabs to a uniform 2mm or 3mm thickness, spacing holes so jump rings can swing freely, and positioning flat-pad posts so the earring doesn't tilt forward. Build a single sample to test on your own ears before batching.
Studio notes
Get polymer clay earring notes
New project notes, small checks, and practical links as they publish. Free, no spam, unsubscribe anytime.
By subscribing you agree to get Clay Bake Studio emails about new guides, tools, build kits and offers. Unsubscribe anytime. We do not sell your email. Read our privacy policy.