Batch production checklist for polymer clay sellers
Make matching pieces for your next order or restock. Includes cutting every drop from one recorded slab, weighing hand-shaped portions, recording colour recipes, checking finished earrings and keeping track of supplies.
Some links on this page are affiliate links. If you buy through them, we may earn a commission at no extra cost to you. As an Amazon Associate I earn from qualifying purchases. Disclosures

In brief
Key takeaways
- Six pairs of single-drop earrings need 12 clay drops and 12 ear hooks. Count the jump rings and any extra clay sections as well.
- Write down the clay brand, colour names and amounts as you mix, so you can make the colour again.
- Roll one slab at the recorded thickness and cut every drop from it, with two spare drops per six pairs. Weigh equal portions only for hand-shaped pieces, and compare their dimensions after shaping.
- Before baking, place the earrings in pairs and compare their outlines, pattern direction and hole positions.
- Follow the clay package temperature and time, checking the oven with a thermometer. Keep any pieces needing repair separate from those ready to pack.
Article contentsOpenClose
Making six pairs of the same earrings involves more than repeating the shape. The colours, thickness, length and ear hooks need to match too. Writing those details down as you work makes the next pair, and the next restock, easier to reproduce.
Start with a design you have already made successfully. Work through its components, clay preparation, baking, assembly and packing in that order. If you are trying a new shape or attachment, finish one example before making the whole order.
How many clay pieces and findings will you need?
Put a finished reference piece or a clear photograph beside the worktable. Write down the shape, dimensions, colours, surface finish and exact findings. For marbled earrings, the patterns can differ while the two earrings still match in size and length.
For example, six pairs of earrings with one clay drop on each ear need 12 clay drops and 12 ear wires. If each drop connects to its wire with one jump ring, count 12 rings too. A two-tier version needs another 12 clay components and its extra connectors. Count from the actual assembly before rolling a slab.
Choose a quantity that fits your work surface and that you can inspect without rushing. For six pairs, cut two spare drops so a scratched or cracked piece does not hold up the order. Record spare components separately from the pieces needed to fill the order.
Find a repeatable design for your next batch
Browse lookbook entries grouped by technique so you can pick a silhouette that fits your shop and is realistic to remake at the pace you want.
Tools and supplies
- The clay colours, cutter or template, rolling tools and findings used for the original design. If you need to restock clay, buy the same line and colour names your recipe lists; for a Premo recipe, search Amazon for Sculpey Premo colours and check the colour name on each listing. A pasta machine helps repeat slabs; a hand roller with matching thickness guides also works.
- The planned baking surface or support and an oven thermometer.
- The finishing supplies the design actually needs. Check finish compatibility before changing a coating. Follow the adhesive manufacturer’s instructions for preparing and joining the materials you are using.
- Assembly tools and the right connector rings and pliers, plus a separate place for pieces needing correction.
- A paper or digital batch record and the backing cards, care information and protective packaging appropriate to the finished piece.
How to repeat a clay colour and slab thickness
Write the clay brand, line, colour names and measured quantities before mixing. A note that says only “dusty pink” will not tell you which colours or amounts to mix next time. If you measure by weight, record grams. If you cut equal shapes from a sheet to measure the colours, record the cutter and sheet thickness. Keep the measurement method the same for the next mix.
Condition the clay, then prepare enough of the recorded mix for the planned run where practical. Compare the mixed colour with your reference piece before cutting. A replacement colour from a different line is a new mix to check, even if its name sounds similar.
Measure the slab thickness in millimetres and record it. For a pasta machine, also note the model and setting; setting numbers are not transferable between machines. With a hand roller, place matching thickness guides on either side of the clay and keep the roller supported by both as you roll. The slab should be even across the area you plan to cut.
To work out how much clay a slab run needs, roll one slab at the recorded thickness, lay the cutter across it and count how many drops fit, then weigh that slab; multiply for the run plus spares. For example, if one slab weighs 30 g and gives eight drops, 14 drops (12 for six pairs plus two spares) need two slabs, about 60 g of the mixed colour.
If you need guides without printing them, search Amazon for ready-made metric thickness guides. Check their stated height and that the roller can rest on both guides. Use the thickness your design needs.
Weigh clay portions for matching beads and small shapes
Weighing gives you the same amount of clay to start each bead, petal or small sculpted part. It is useful when you shape pieces by hand and find that they gradually get larger as you work.
- Put a clean weighing dish on the scale and press tare or zero, following its instructions. The display should return to zero so the dish is not counted in the clay weight.
- Make one piece in the size you want and weigh it before baking or adding findings. For a design with several colours, weigh each shaped component before joining it to the others. Write down the weight of each component.
- Add clay until you reach the recorded weight. Set that portion aside and repeat for the remaining pieces. Keep the colours separate if they form distinct parts of the design.
- Shape each portion using the same method, then compare the pieces beside each other. Equal weights help you start consistently, but you still need to match their height, width and shape.
For example, if one decoration uses 2 g of pink clay and 0.5 g of white clay, prepare those two portions for each decoration. For six decorations, that is 12 g of pink and 3 g of white before allowing for spare pieces.
If you need a scale, search Amazon for a small digital scale for clay portions. Check its minimum weighing amount and measurement increments: a scale that only displays whole grams cannot distinguish 0.5 g from 0.6 g.
For custom colours, you can weigh each ingredient once and mix enough for the batch, then divide the mixed clay into portions. Keep the recipe's measurement method unchanged. If a recipe uses cut shapes as its “parts”, weigh those portions of each colour before converting it to grams; equal-sized portions of different clays need not weigh the same.
For flat earrings cut from a slab, the same cutter and an even sheet thickness repeat the size, so you do not need to weigh each cutout. Without a scale, Sculpey also suggests cutting equal-length slices from an evenly rolled log.
Before baking: match the pairs and remove marks
Lay the cut components out as finished pairs. Look at the outline, size, pattern direction and hole positions together. For asymmetric shapes, check that you have the intended left and right pieces rather than two copies facing the same way. The cutout arch and hoop guide discusses shape and attachment choices.
- Uneven or distorted outline: recut or reshape while the clay is workable, then compare it with its partner again.
- Visible lint or a mark: use the cleanup steps below before baking. Set aside a piece if removing the mark would damage its pattern or raised detail.
- Hole placement: if making holes before baking, check the location against the planned finding and both pieces of the pair. If drilling later, keep your hole-placement template or marked reference piece with the batch. To make a template, mark the hole position on the reference piece or on a paper tracing of the cutter, lay it over each drop and prick through the mark with the needle tool.
- Findings that bake into the clay: attach these before baking, following the finding manufacturer’s instructions.
- Wrong count: recount pairs and spare components before the tray moves to the oven.
Roll and cut on the tile or baking paper the pieces will bake on, so raw pieces are never lifted. If you do have to move a piece, compare its outline with its partner again on the baking surface and correct any stretching.
Remove surface lint and light fingerprints before baking
For a visible hair or fibre sitting on the surface, use clean fine-point tweezers (search Amazon) to lift the exposed end away from the clay. Work from above without digging into the slab. Dirt mixed through the slab will not lift away with surface tweezers.
For a light fingerprint on a plain, flat piece of raw clay, leave the piece supported on its tile and lay clean baking parchment over the mark. Gently rub across the paper with a fingertip or the back of a spoon, using light pressure. Lift the paper to inspect the surface and stop if the outline starts to spread. This dry smoothing method is for an uncoated surface; pressing over texture, paint or powder can disturb the design. Set a badly marked decorated piece aside and replace it. Compare the outline and thickness with its partner before baking.
Baking temperature, time and oven checks
Follow that clay line's package directions for temperature and time, including its thickness guidance, and do not multiply the time by the number of pieces on the tray. Check the oven with an independent thermometer, as Sculpey recommends.
Fully preheat the oven to the package temperature, confirming it with the thermometer before loading. Use the planned support for the shape and keep pieces from touching each other unintentionally. Record the clay instructions, oven setting, observed thermometer reading, time and support used. If the thermometer shows the oven was too hot or too cool, keep those pieces out of finished stock until you have checked the temperature problem and the clay manufacturer’s guidance.
Let the pieces cool before handling them for inspection. Look for cracks, discolouration and distorted shapes. A piece can look finished even if the oven was too cool, so check your temperature and time notes as well.
After baking: smooth the edges and attach the findings
Place cooled pairs together again. Check edges and surface marks before assembly makes them harder to reach. Follow the planned sanding or buffing method where needed. Do not add a coating just because you are selling the piece.
Follow the instructions for the finding and adhesive products you are using. For glued attachments or coatings, wait the product's full stated curing time before handling or packing. Some products feel dry before they have finished curing.
For connected earrings, check that jump-ring ends meet and the clay can move freely. Hold each earring by its ear wire to inspect the direction it faces. Match the finish, length and findings across each pair.
Put any pieces that need fixing in a separate container and write down the problem: “ring gap”, “left drop scratched” or “wrong hook finish”. After fixing it, inspect the piece again before adding it to finished stock.
Finally, check that the photographed design and listing description match the actual stock, including dimensions and finding materials. Count the accepted pairs, attach the correct care information and pack so the pieces and findings are protected from each other.
Pack a pair so the hooks cannot scratch the clay
For a pair of flat dangle earrings, use an earring card (search earring cards) inside a rigid jewellery box (search jewellery boxes), then protect that box inside the shipping carton. This is an example for flat drops; adjust the insert and box depth for raised decoration or long drops.
- Attach each ear hook or post to the card so the two clay drops sit apart. Secure the backs behind the card. Choose a card and box deep enough that the metal ends cannot press into the opposite earring or the lid.
- Rest the card on a soft insert, supporting the clay drops. If they can swing into each other, add soft tissue (search packing tissue) between them or use an insert that holds them separately. Keep adhesive tape off the jewellery.
- Close the jewellery box gently. The lid should close without pressing on the clay. Tilt the closed box, reopen it and check whether either earring has moved or a hook has touched a clay surface. Adjust the insert if needed.
- Place the jewellery box inside a rigid shipping carton (search shipping cartons) with cushioning around it (search packing cushioning). Fill spaces so the inner box cannot slide around, add the care card and seal the carton with shipping tape.
UPS recommends rigid boxes and cushioning, with a two-box method for fragile goods. Follow your carrier's current packing guidance for the cushioning amount and outer carton. The tilt check helps spot loose contents.
What to write in your production notes
A spreadsheet, notebook or index card is enough. Keep the record beside your work surface while you make the batch. Here is an example of what to record for a six-pair order.
| Field | Example entry |
|---|---|
| Design and quantity | Single-drop earrings, six pairs planned; 12 drops, 12 hooks, 12 rings. |
| Colour recipe | Copy the brand, product line and colour names from the wrappers. Record, for example, 20 g of colour A plus 5 g of colour B, rather than “four parts pink”. |
| Thickness and shape | Record measured thickness or guide height, machine model and setting if used, and the cutter/template identifier. |
| Bake | Copy the actual package directions; add the observed temperature, time and support from this run. |
| Finish and findings | Record exact products, ring dimensions, supplier reference and any required cure time. |
| Outcome | Five pairs ready to pack; one pair needs a replacement for a scratched drop. Replace that drop and inspect the pair again. |
| Next run | Keep finished components apart during assembly; save the reference photograph with this record. |
Record hands-on time separately from baking, cooling and product cure time if you want to understand the workload. Use those times to estimate when you can finish the next order.
Trying a new colour or finding during a customer order
Try the new colour or finding on one extra piece, separate from the customer order. Compare the finished result with the original design before using it for future stock. That way, a change you are still trying out does not end up in an order for the original version.
Before clearing the table, count the pieces ready to pack and note anything still needing repair. Clean colour residue from your tools, then save a reference photograph with the recipe and supply details.
Batch checklist
- Count drops, hooks, rings and spares from the finished piece.
- Write the clay line, colour names and measured amounts before mixing.
- Measure and record the slab thickness, machine setting or guide height.
- Weigh equal portions if the pieces are shaped by hand.
- Lay out pairs and compare outline, pattern direction and hole positions.
- Lift lint and smooth fingerprints before the tray goes in.
- Preheat to the package temperature, confirm with the thermometer and bake for the package time.
- Cool fully, then inspect for cracks, discolouration and distortion.
- Attach findings, check ring closure and hang direction, and wait the full cure time.
- Pack with the hooks held apart from the clay, then record the outcome and next-run notes.
Other reads on this topic
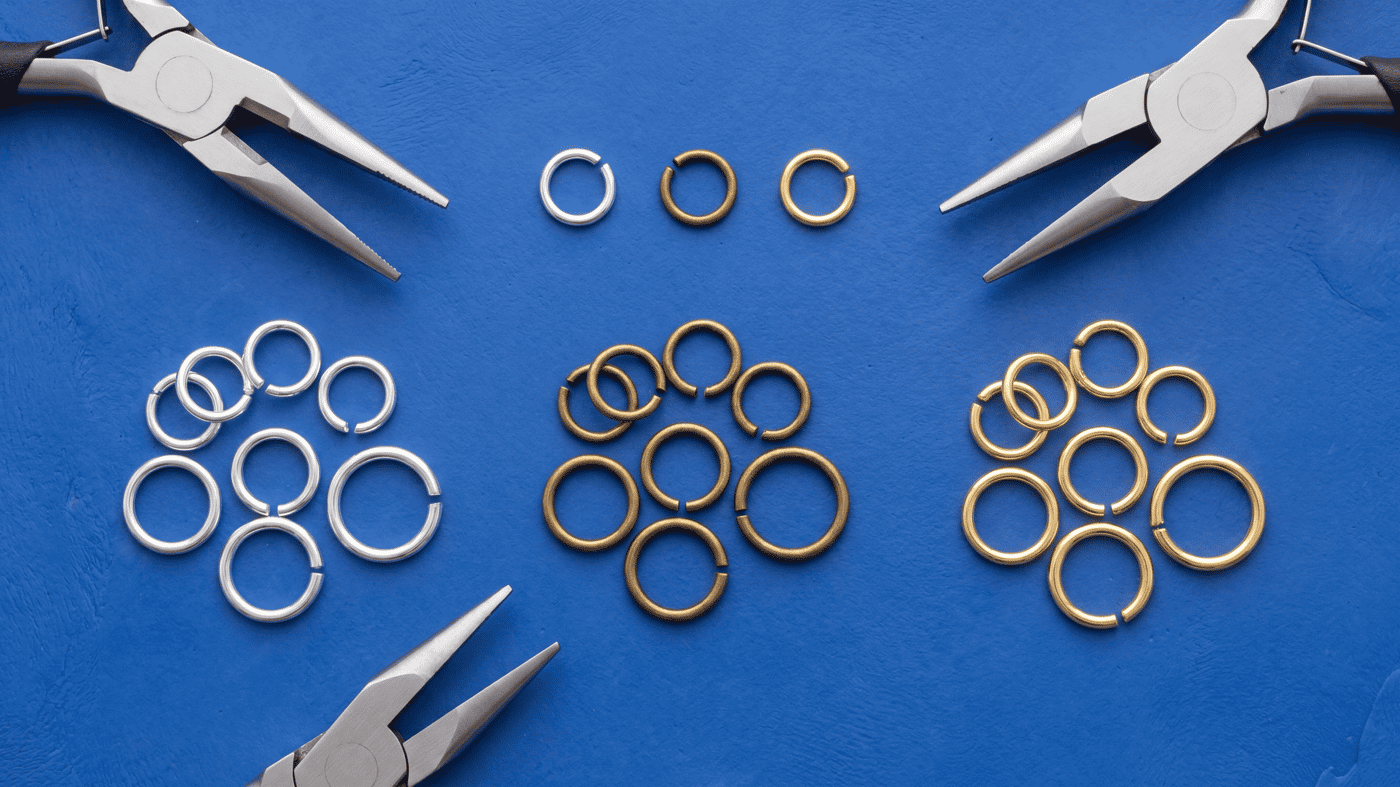
How to choose jump rings for polymer clay jewellery
Learn how to measure jump rings, choose a size that lets your clay earrings swing freely, and open and close the rings with pliers.
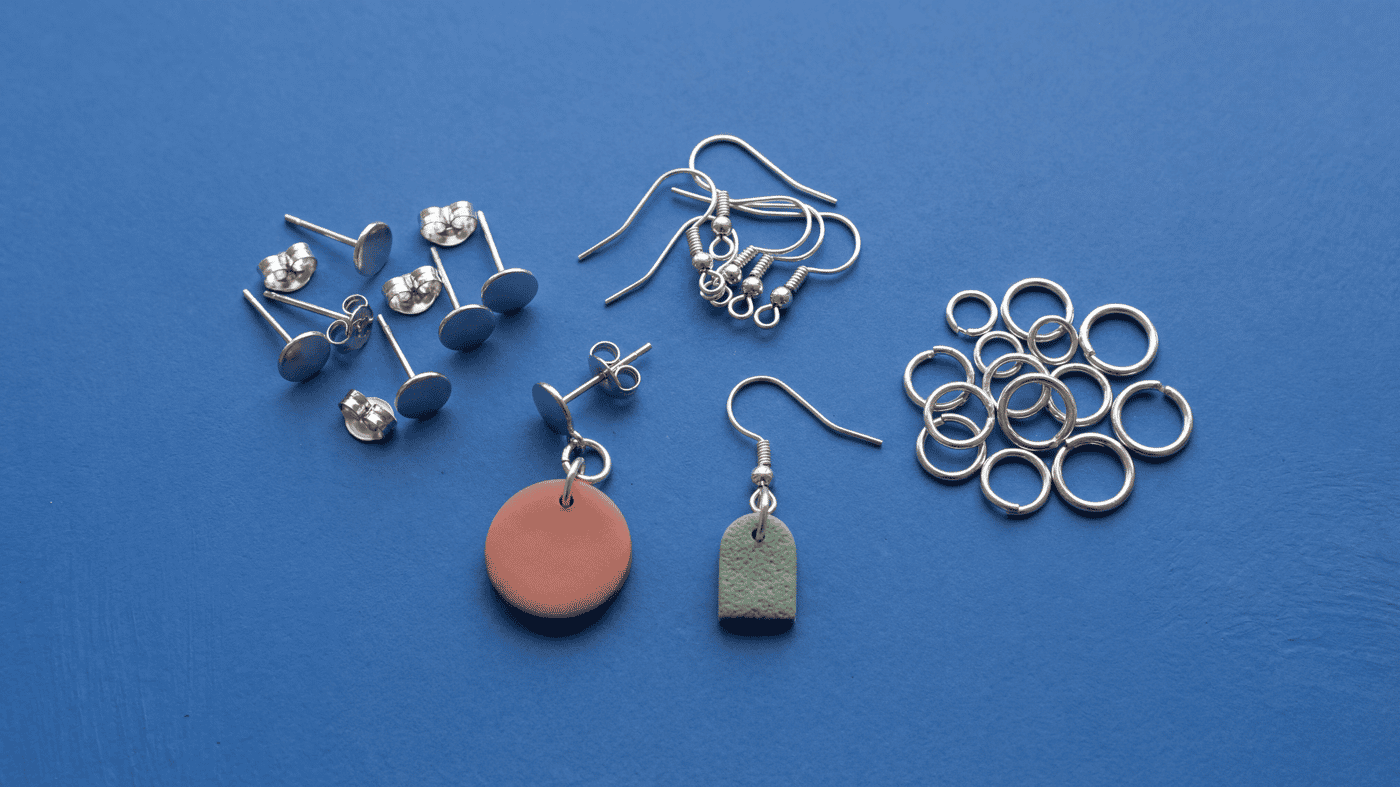
How to attach earring findings to polymer clay earrings
Choose a fish hook, leverback or looped stud, join it with a jump ring, add a second ring if the drop shows its edge, and check the pair before you wear it.
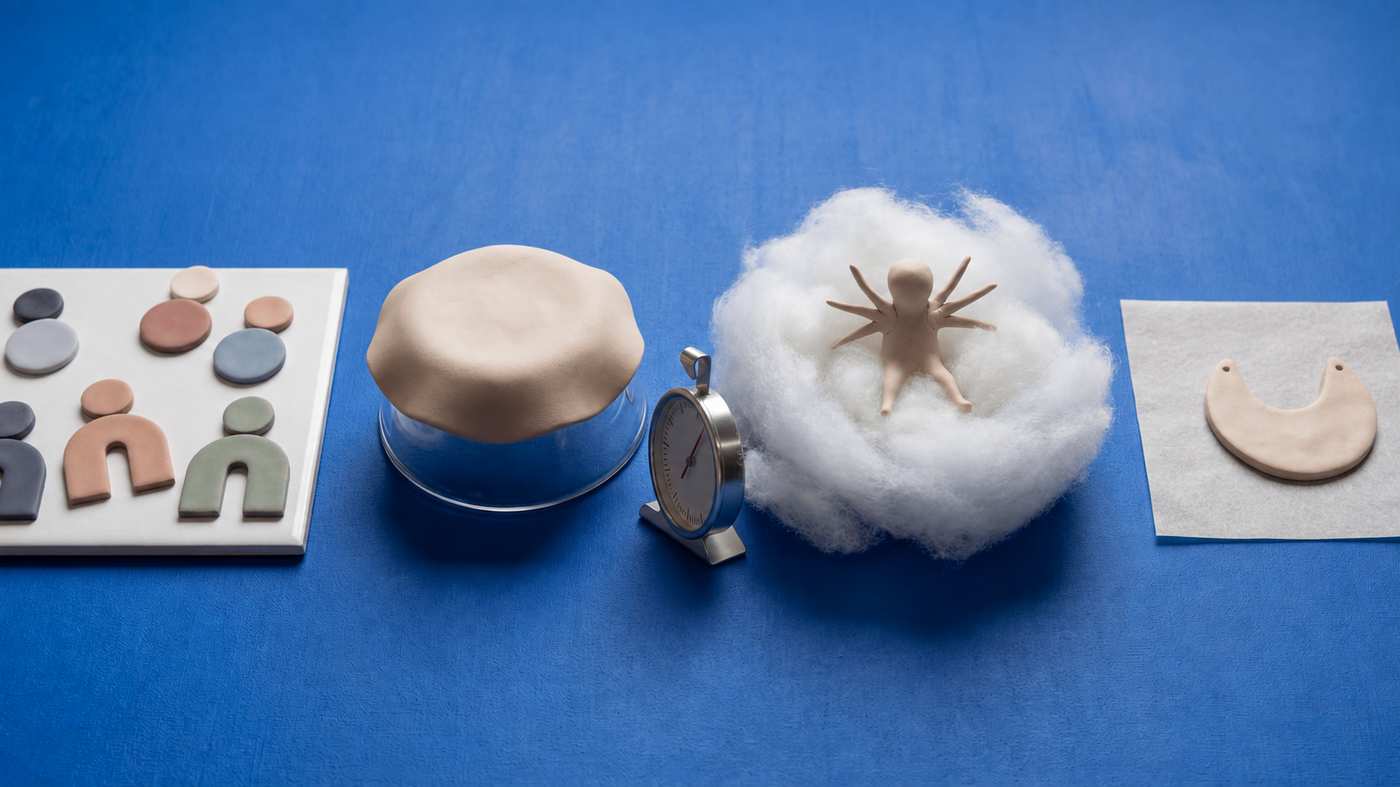
What to bake polymer clay on: tile, card and supports for flat, folded and large pieces
Bake flat pieces on a glossy tile and move them onto plain card only for a matte back. Hold curves, limbs and overhangs with fiberfill, crumpled foil or an oven-safe glass form, bake round beads on skewers, and leave everything on its support until it feels cool.