Best pasta machine for polymer clay: Atlas, Sculpey, Makin's or a roller
Buy the Marcato Atlas 150 for earring slabs and blends, or the Atlas 180 for slabs over 14 cm wide. Measured widths, thickest settings and lower-cost machines, compared.
Some links on this page are affiliate links. If you buy through them, we may earn a commission at no extra cost to you. As an Amazon Associate I earn from qualifying purchases. Disclosures

Pasta machines for polymer clay
Which machine to buy, and when a roller is enough
Marcato Atlas 150 for slabs up to about 14 cm wide, Atlas 180 up to about 17 cm; the Sculpey and Makin's clay machines cost less. None rolls much past 2.5 mm, so for a thicker slab, stack slabs a little past the target and roll them down between guides with an acrylic roller; occasional small sheets go between guides too.
Article contentsOpenClose
Buy the Marcato Atlas 150 for earring slabs and colour blends, or the Atlas 180, our studio machine, when a slab needs more than about 14 cm of width; the Atlas is the pasta machine to buy once. One long-term maker reports that the 150 and 180 they bought in 2002 and 2003 still roll clay with very little rippling or chattering, and the Atlas's anodised aluminium rollers do not leave the black streaks that earlier steel rollers could. No machine in this guide rolls much past 2.5 mm at its thickest setting, so for a 3 mm or 4 mm slab, whichever you buy, stack machine slabs a little thicker and roll them down between thickness guides.
Pasta machines compared: roller width, thickest setting and roller surface
Roller width decides how wide a sheet you can roll. The thickest setting decides whether the machine can make your base slab in one pass or whether you finish it between guides. The roller surface decides how easily clay releases and whether a machine marks light clay as it ages. You only need the smooth rollers, not the attachments that cut pasta into strips.
| Machine | Usable roller width | Thickest and thinnest setting (measured) | Roller surface | Who it suits |
|---|---|---|---|---|
| Marcato Atlas 150 View on Amazon | About 143 mm (sold as 150 mm) | 2.54 mm and 0.28 mm, matching the 180 | Anodised aluminium | Earring slabs, colour blends and most jewellery sheets. Our pick. |
| Marcato Atlas 180 View on Amazon | About 171 mm (sold as 180 mm) | 2.54 mm and 0.28 mm | Anodised aluminium | Wider patterned slabs and larger pieces. Our studio machine. |
| Sculpey Tools clay conditioning machine View on Amazon | About 140 mm | Listed 2.5 mm and 0.63 mm; measured 1.96 mm and 0.33 mm on an earlier unit | Stainless steel, no plating | A lower-cost machine with instructions written for polymer clay. |
| Makin's Ultimate Clay Machine View on Amazon | About 175 mm (sold as 180 mm) | 2.5 mm and 0.53 mm | Non-stick coating | The widest lower-cost clay machine, with a matching motor. |
| Imperia iPasta Classic View on Amazon | About 140 mm | 2.1 mm and 0.28 mm | Steel | A steel machine whose scraper blades slide out for cleaning. |
None of these machines rolls much past 2.5 mm at its thickest setting. For any slab thicker than that, such as a 3 mm base or a 4 mm relief slab, stack slabs to slightly more than the thickness you need and roll them down between two equal-height guides with an acrylic roller, as described further down. A setting changes the gap between the rollers, and each machine numbers its dial differently, so compare machines and tutorials by millimetres, never by setting number.
The number of settings and most roller materials come from Marcato, Sculpey, Makin's and Imperia. Usable widths and the thickest and thinnest settings are one long-term maker's measurements of their own machines, shown beside Sculpey's listed range for comparison. Our own notes come from the Atlas 180 we use in the studio; we have not tested these machines side by side.
Atlas 150 or 180: measure your widest slab first
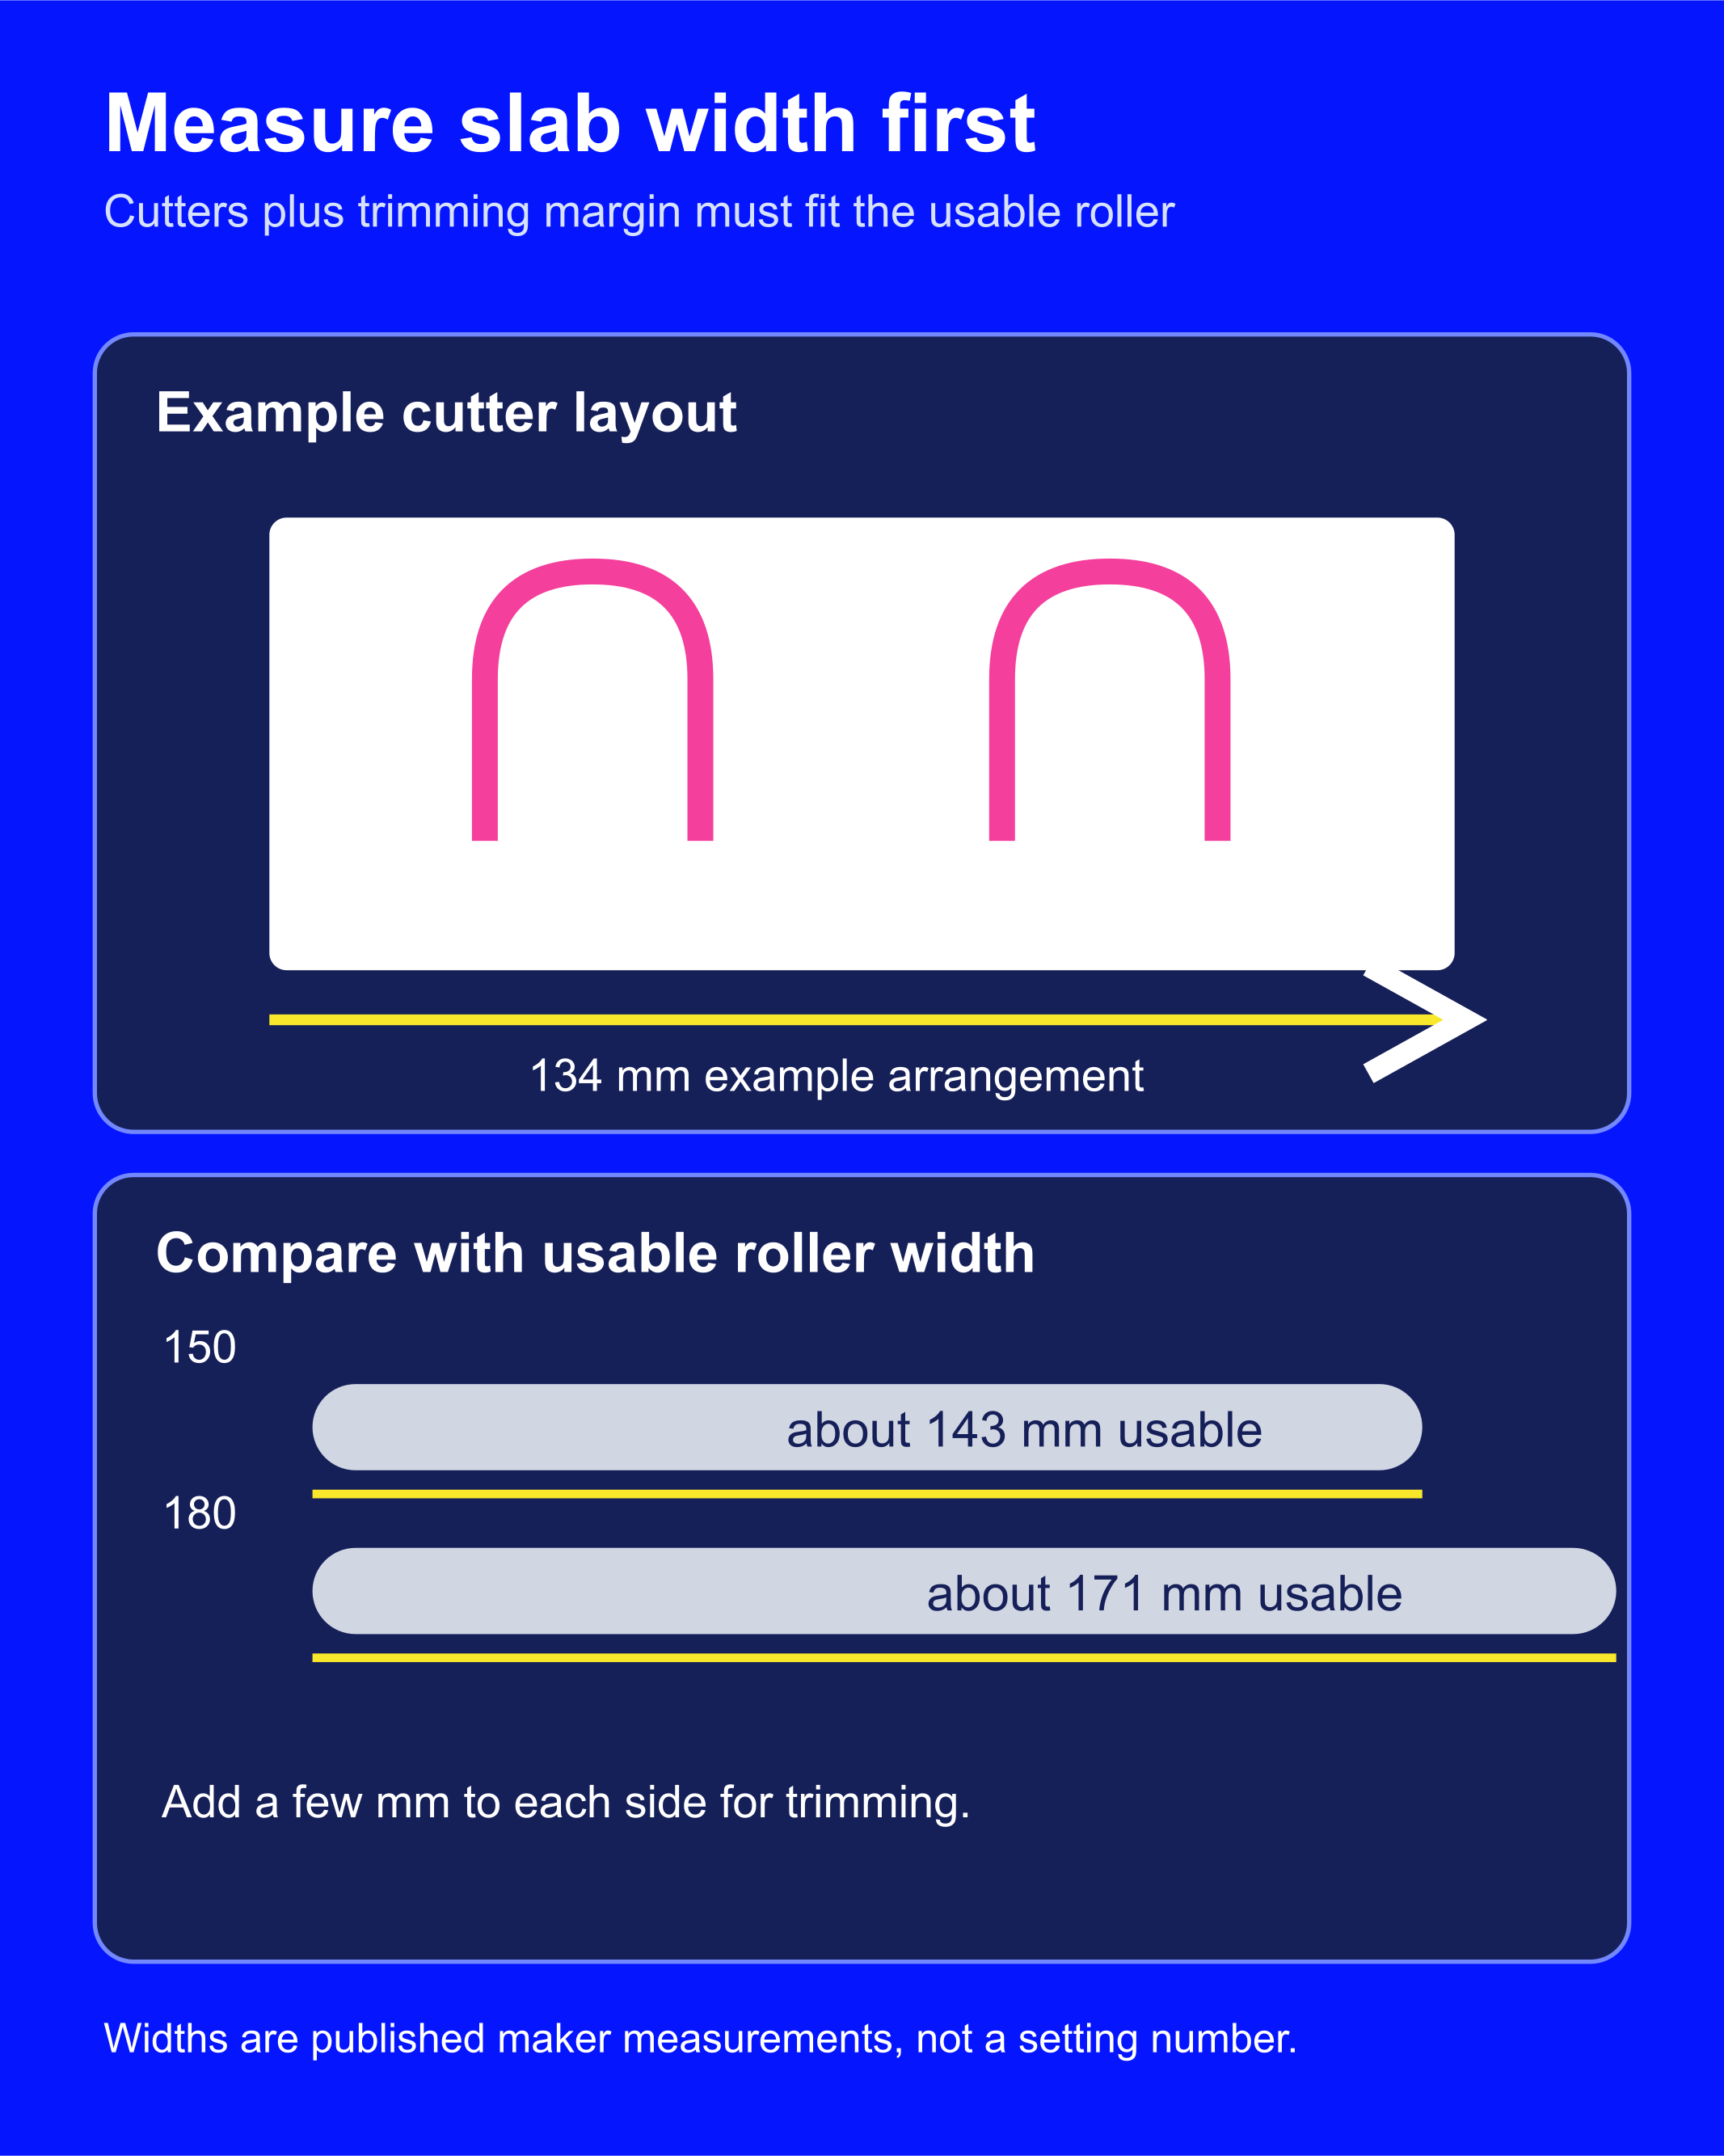
Buy the Atlas 150 for earring slabs, colour blends and most jewellery sheets. Choose the Atlas 180 when a patterned slab or a large cutter needs more width. The model names are the nominal roller lengths: one long-term maker measured about 143 mm of usable roller on the 150 and 171 mm on the 180, so the 180 gives you about 28 mm more.
To choose, arrange your cutters on the table as you intend to cut them, or lay out the widest single shape you make. Measure across the arrangement in the direction that must fit between the roller ends, and add a few millimetres on each side for trimming. Keep the sheet a little narrower than the rollers so clay does not squeeze into the ends: an arrangement up to about 14 cm wide suits the 150, and one up to about 17 cm needs the 180.
Both sizes have ten thickness positions and anodised aluminium rollers, and the Marcato specifications list removable scrapers. The current Atlas manual gives pasta-dough thicknesses from about 4.8 mm at No. 0 to 0.5 mm at No. 9; those are figures for dough, not clay. The same long-term maker measured the settings on an Atlas 180 at 2.54 mm at the thickest and 0.28 mm at the thinnest, found the 150 identical, and measured the clamp taking a table up to 57 mm thick. These are pasta machines, so dedicate yours to clay from its first use with polymer clay.
Our studio machine is an Atlas 180 without a motor or cutting attachments. It is sturdy, clamps easily to the desk and rolls slabs to a consistent thickness for our cutters. Conditioning several colours and making blends on it is much easier on our hands than kneading the same amount by hand.
The scraper blades sit beneath the rollers and help release the clay as it comes through. Clean these blades as well as the visible roller surfaces: clay left on them can mark the next sheet. Use the manual for your version of the Atlas before taking any parts out; instructions for an older machine may describe a different assembly.
How long does a pasta machine last?
An Atlas that is kept clean and never forced can roll clay for many years. One long-term maker reports that the Atlas 150 and 180 they bought in 2002 and 2003 still roll clay with very little rippling or chattering, even at the thin settings, and measured their settings as identical to the current model.
The roller surface decides whether a machine starts marking light clay as it ages. The current Atlas rollers are anodised aluminium, which the same maker found do not leave the black streaks that the steel rollers of earlier models could. One polymer clay teacher traced those streaks to scratches in chrome-plated rollers reacting with the clay. If a plated machine you already own leaves grey or black lines, run a scrap of translucent clay through to pick up the residue before your project sheet.
Forcing the crank strains any machine: Makin's warns that firm clay forced through can push its rollers apart and damage them, and one long-term maker found plastic gear parts inside an Imperia. On any machine, slice firm clay thin, start at the widest setting and step down one setting at a time. Keep dust off the rollers between sessions: our studio Atlas 180 lives under a cover, because dust is the one regular nuisance with it. Clean the scraper blades, where clay builds up, and never immerse an Atlas in water or put it in a dishwasher.
Is a lower-cost machine enough?
A lower-cost machine is enough when its rollers are wide enough for your sheets and its thickest setting reaches the slab you roll most often. The Sculpey and Makin's clay machines are the lower-cost options in this guide. In one long-term maker's comparison of three lower-cost clay machines, the Makin's rolled every clay tried at every thickness with no substantial rippling, chattering or streaking, and was that maker's pick of the three. The Atlas costs more; choose it when you expect to roll clay most weeks for years, because that is where its long-term record counts.
Before buying an unbranded or kitchen machine, check four things:
- Roller surface. Look for anodised aluminium, stainless steel with no plating, or a non-stick coating. Chrome-plated rollers can leave grey or black streaks on light clay once the plating is scratched.
- Scraper blades. You should be able to see and reach the blades under the rollers, or take them off for cleaning, because clay builds up there.
- Handle. The crank should seat firmly in its socket and stay in while you turn it.
- Clamp. The clamp must open wide enough for your tabletop; the table-fit checks below show where to measure.
When the machine arrives, roll a light-coloured scrap at the thickest and the thinnest setting. Look for grey streaks, drag marks from the scraper blades, and fine accordion folds across the sheet, which makers call chatter. Clean the rollers and blades and roll a fresh scrap: marks that return on a clean machine come from the rollers or blades, not the clay.
Sculpey Tools clay conditioning machine
The Sculpey clay conditioning machine is designed for polymer clay. It comes with a C-clamp and instructions that cover clay residue, cleaning, and materials to keep out of the rollers.
It has nine thickness settings and stainless steel rollers with no plating. Sculpey lists thicknesses from 2.5 mm to 0.63 mm. One long-term maker measured an earlier unit at 1.96 mm on the thickest setting and 0.33 mm on the thinnest, with rollers about 140 mm wide. Measure the thickest sheet your own machine rolls, using the setting record further down, before you plan a 2.5 mm slab on it. Choose the Sculpey machine when your sheets fit its rollers, stay about 2 mm or thinner, and you want instructions written for clay; for anything thicker, stack slabs and roll them down between guides.
Makin's Ultimate Clay Machine
The Makin's Ultimate Clay Machine has the widest rollers in this guide. Makin's lists 180 mm non-stick rollers and nine settings, and one long-term maker measured about 175 mm of usable roller, 2.5 mm at the thickest setting and 0.53 mm at the thinnest. Makin's also sells a matching motor that attaches to the right side of the machine.
Its thinnest setting is thicker than the others here, so for colour layers thinner than about 0.5 mm, an Atlas or Imperia rolls thinner, to about 0.28 mm in the same maker's measurements. Choose the Makin's when you want wide slabs from a lower-cost clay machine and your layers stay at 0.5 mm or thicker.
Makin's built the machine for its own soft clay. With other brands, condition the clay until it is soft and pass it through progressively thinner settings, one step at a time; Makin's warns that forcing firmer clay through can push the rollers apart and damage them.
Imperia iPasta Classic
The Imperia iPasta Classic is a hand-cranked steel machine. Imperia lists six thickness positions, a chrome-plated steel body, and an included worktop clamp. One long-term maker measured a standard Imperia at about 140 mm of steel roller, 2.1 mm at the thickest setting and 0.28 mm at the thinnest.
Its dial runs the opposite way to the Atlas: No. 1 is the thinnest setting and No. 6 the thickest, so convert a tutorial's setting by its thickness in millimetres, not its number. The scraper blades are held on metal rods that slide out, so you can take the blades off, clean them and refit them in minutes. The same maker found plastic gear parts inside, so feed it only softened, thin slices and never force the crank. Choose the Imperia when you want a steel machine with easy blade cleaning and your sheets stay about 2 mm or thinner; for a 2.5 mm slab, stack thinner slabs and roll them down between guides.
Check that the machine fits your table
- Tabletop thickness and clamp fit. Measure vertically from the top of the table to its underside at the spot where you will attach the machine, and compare it with the clamp's widest opening. One long-term maker measured the Atlas clamp taking a table up to 57 mm thick; for another machine, open the clamp fully and measure between its jaws. There must also be room underneath for the clamp's lower pad to sit flat; a drawer, supporting strip of wood, or rounded edge can block it.
- Room to turn the handle. Position the machine so the handle can make a full turn without your hand or the handle hitting the table, wall, drawer, or chair.
- Room for the clay. Leave space above the rollers to feed in the sheet and beneath them to catch and support it as it comes out.
- Cleaning access. Find the model's cleaning instructions. Look for how to reach the scraper blades beneath the rollers and whether they can be removed for cleaning.
- Motor fit. If repeated cranking is uncomfortable, choose the motor made for your machine: Marcato's Pastadrive fits Atlas machines made from 2013 onwards, Makin's sells a motor for its clay machine, and Imperia's PastaFacile fits the iPasta and Titania in a 230 V version.
When a roller and guides do the job
An acrylic roller with a pair of equal-height guides gives an even sheet for occasional small pieces, and it is the way to roll any slab thicker than your machine's thickest setting. Buy a machine when repeated rolling, conditioning several colours, or making gradients takes more hand work than you want to do.
Place one guide rail on each side of the clay. Both rails must be the same height, and the roller must span the clay and rest on both rails as you roll. Start from clay slightly thicker than the rails. With a machine, stack several machine-rolled slabs to slightly more than the rail height, pressing each one on from one edge so no air is trapped; without one, press the conditioned clay into a pad thicker than the rails. Then roll gently until the roller rests on both rails and the polymer clay is rolled down to their height, which sets the finished thickness. Rolling a single machine sheet again cannot make it thicker, and reshaping destroys a gradient or surface pattern, so build the base slab to its full thickness before adding the design.
ClayBake's slab height guide kit is coming soon: a digital download for printing labelled rails with a 3D printer or print service. For rails you can use today, search Amazon for ready-made metric thickness guides and choose physical rails labelled with the thickness your project requires.
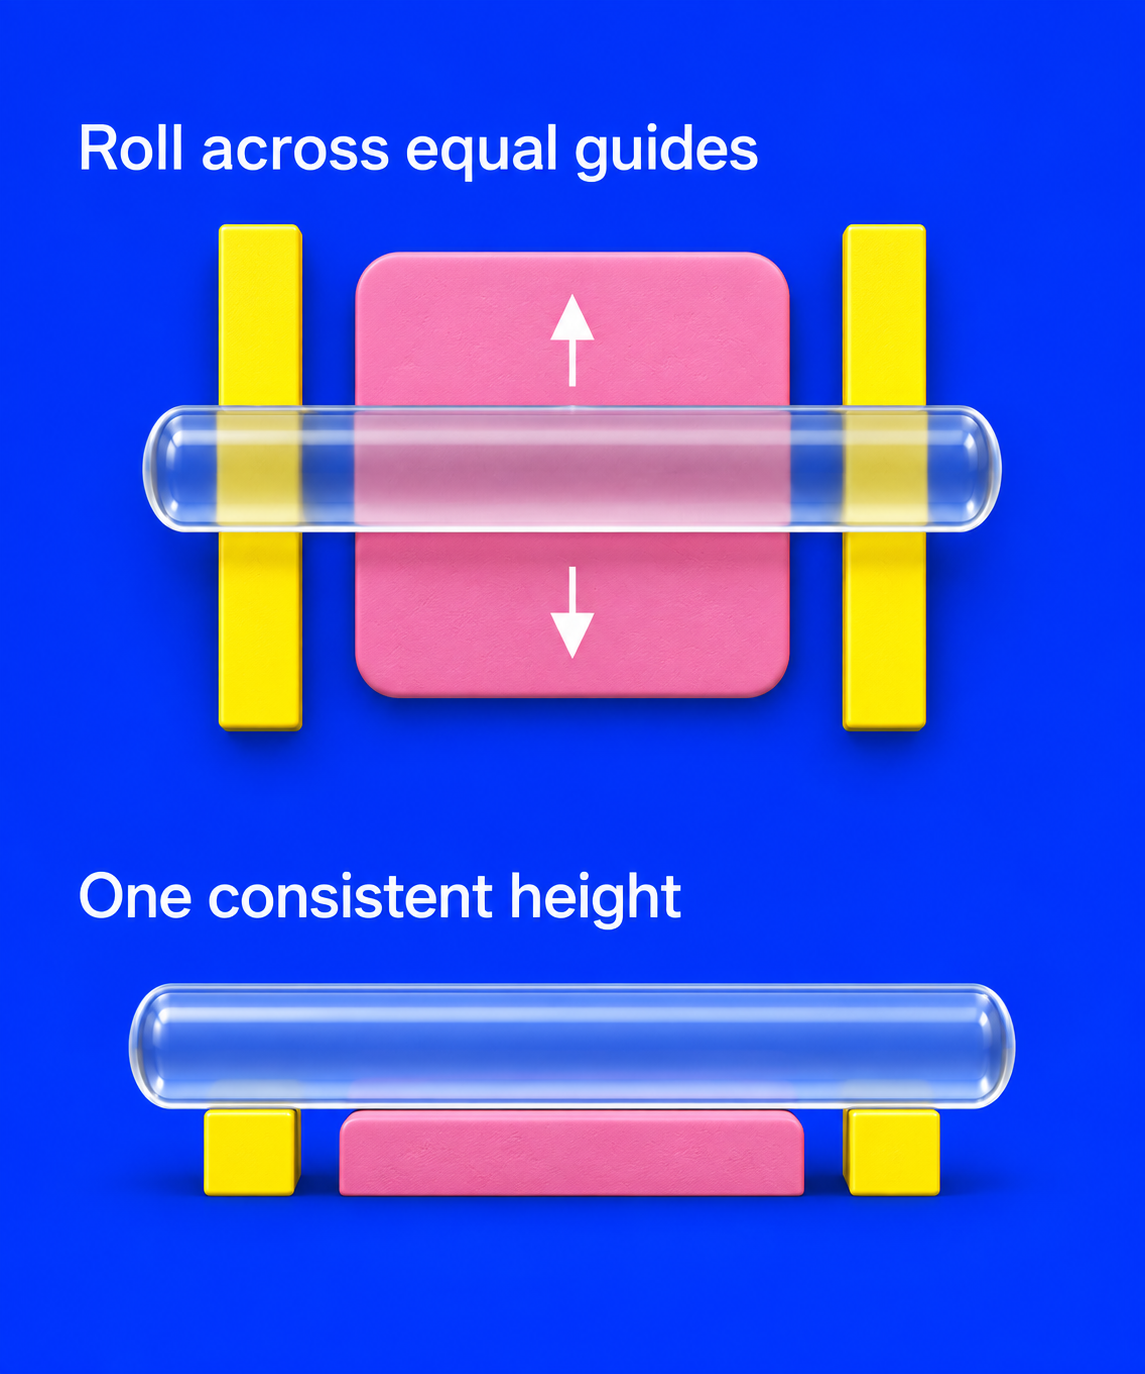
You will still use the roller after buying a machine. In the studio, we roll over a stencil laid on the clay to press a raised pattern into it; cling wrap between the clay and stencil gives us a softer impression and a cleaner release. For a flattened surface pattern, we lay cut clay shapes on a base sheet, cover them with baking paper, and roll over the paper to join them into the base before cutting.
Condition clay before rolling your final sheet
Conditioning means working the clay until its texture is even and it bends without cracking. A machine helps with that work through repeated folding and rolling; one pass only flattens the slice.
Clamp the machine to the table using its manual, fit the handle, and check that the machine stays still as you turn it before adding clay.
- Set the dial to the largest gap between the rollers. Use a rigid clay blade (Amazon search) to cut off the clay you need, then slice or flatten it so each piece enters that gap without forcing the handle. Each piece must also fit between the two ends of the rollers.
- Roll one slice through. If the handle is difficult to turn, stop and make the slice thinner or soften it by hand.
- Fold the sheet in half and put the folded edge into the rollers first.
- Keep folding and rolling. If you started with several slices, press the softened slices together and flatten them to fit the roller gap before feeding them through again. The clay is ready when the sheet bends without cracking and its edges no longer crumble.
For clay that remains crumbly, see conditioning for clean cuts for ways to soften crumbly clay before rolling it again.
If the clay has become warm and sticky, let it cool and try a small sheet again. Leaching removes some plasticiser by placing clay against absorbent paper, but too much can leave it brittle. Leach only when cooling has not fixed it; the soft-clay guide shows how.
Measure clay thickness at each setting
A tutorial's setting number tells you where its author put the dial. It does not tell you the thickness your machine will produce. Record your own measurements once, then use them when a project asks for a sheet in millimetres.
- Choose the clay you use most often and condition a small amount until a folded strip has no cracks. Write down the machine model and the clay's brand, product name, and colour.
- Roll a sheet at the largest roller gap and cut off a small sample. Pass the remaining sheet through the next smaller gap. Continue one setting at a time, cutting off a sample at each setting.
- Write each dial number on a piece of paper and place its clay sample beside it, clear of the writing. This keeps each sample matched to the setting that made it.
- Use digital calipers to measure each raw sample. With nothing between the jaws, close them and set the display to zero millimetres. Open them, place one jaw against the top of the clay sample and the other against the bottom, then close gently until both touch. If the jaws dent the sample, take another reading on an undamaged area.
- Record the thickness beside the setting. Keep that written record of clay brand, setting and thickness, so you can roll the same slab next batch; you do not need to store the raw samples.
For example, if your project needs a 2 mm sheet, use your record to find the closest setting. Measure a fresh sheet before cutting, including when you change clay brand or colour.
There is no need to bake samples just to choose a raw sheet thickness. Bake a separate test when you need to see how thick the finished edge looks, check flexibility, or see whether a jump ring fits through the hole and around the edge. Follow that clay's package directions and let it cool before checking it.
If you are starting with flat earrings, follow a complete project that specifies its clay and thickness. Sculpey's textured Soufflé earring project, for example, starts with a 1/8-inch sheet, about 3.2 mm, which is thicker than any machine here rolls, so stack slabs a little past that thickness and roll them down between guides. Other earring designs use thinner sheets, and added layers increase the total thickness; how thick polymer clay earrings should be covers the usual range. Before making several pairs, assemble one baked and cooled pair and check its weight and whether the drops move freely. The jump-ring guide explains how to choose an opening that clears the clay edge.
ClayBake build kits such as Pixel Eye and Pixel Flame give each layer's thickness in millimetres; they are digital downloads, so you print the cutters with a 3D printer or print service. Use your notes to find the setting that produces each thickness. If a layer is thicker than your machine rolls, stack slabs to slightly more than that thickness, then roll them down between two guides of that thickness until the roller rests on both guides. If no setting matches a thinner layer, roll the next thicker setting and roll it down between measured guides or spacers of that thickness.
Roll even sheets and blend colours
To make a sheet thinner, pass it through each successively smaller roller gap. Catch and support the sheet from underneath as it comes out so it does not fold onto itself. Keep the sheet narrower than the rollers so clay does not squeeze into the ends.
For a plain slab, a quarter-turn on the work surface changes which edge enters the rollers first. Use this when you want to spread the sheet in a different direction or smooth ridges from the thickest setting, provided the new leading edge still fits between the roller ends. Check the finished sheet on your work surface before cutting: look for folds, ridges, trapped air, and areas thinner than the rest. Cut both earrings in a pair from an area of the same sheet that has an even thickness.
A Skinner blend is a sheet with a gradual transition from one colour to another. Repeated folding and rolling create that transition, but which edges you fold together matters. For a Skinner blend, follow the folding sequence in the Skinner blend guide; the quarter-turn is for plain slabs only.
Keep hard lumps and loose glitter out of the rollers
Slice a firm block before feeding it. Remove baked crumbs and other hard debris from your clay and work surface. Do not use the crank to force material through a gap it cannot enter easily.
Sculpey's machine instructions say to keep clay with added materials, such as glitter, out of its rollers because particles can lodge inside or scratch them. Condition the plain clay first, mix in the added material by hand, and finish with an acrylic roller. For other machines, follow their material restrictions.
Glitter added by hand is different from a pearl or metallic clay, which has mica already mixed through it. Sculpey's own mica-shift trinket box project rolls pearl clay through its conditioning machine at the widest setting and then successively thinner ones, so treat pearl and metallic clays like any other clay and keep loose glitter out.
Clean the rollers and scraper blades
If a motor is fitted, unplug it before cleaning or removing parts.
Between colours, run a scrap sheet through to pick up residue. Work with light colours before dark ones where practical. Before rolling your white or translucent project sheet, pass a small scrap of that clay through and look for grey streaks or specks of another colour.
For the Sculpey machine, turn it upside down and gently lift residue from where the scrapers meet the rollers with a wooden skewer or toothpick. Use a wet wipe on the blades, then turn the machine upright and wipe the rollers while turning the handle. Use wooden tools rather than metal.
For an Atlas, use the cloth or brush method and scraper-removal procedure in the manual for your model. Do not immerse the machine or put it in a dishwasher. The manual's washing steps apply only to the removed scraper parts, not to the whole machine.
Do not sand a scraper or dismantle the body to follow a repair tip for a different model. If cleaning leaves a persistent line, ask the manufacturer about replacement parts or repairs.
After cleaning, roll a fresh scrap and look for colour streaks, specks, or repeated lines before returning to your project. Cover the machine between sessions to keep dust off the rollers.
Pasta machine troubleshooting
The sheet has grey marks or bits of another colour
Clean the rollers and scrapers first, then pass a fresh scrap through. Old clay can remain under the blades even when the top looks clean. If grey or black streaks continue on a machine with plated rollers, run scrap translucent clay through until it comes out clean, then inspect the rollers for scratches.
Wide ridges run across a sheet from the thickest setting
At the thickest setting the rollers sit so far apart that the gear teeth at their ends barely mesh, so the rollers jerk as they turn and leave wide ridges across the sheet. One long-term maker reports them on the current Atlas, as on every pasta machine. Pass the sheet through the same setting a second time, give it a quarter-turn between passes, or keep light tension on the sheet as it feeds. For a smooth sheet, finish at the next thinner setting; for a smooth slab at full thickness, roll it between guides.
Small air bubbles appear in the raw sheet
Lay the sheet flat on your work surface. Pierce a small bubble with a needle tool, gently press the trapped air towards the opening with a fingertip, and smooth the clay flat. Do this before baking; repeatedly rolling over a sealed bubble may leave it trapped.
The sheet ripples at a thin setting
If the sheet is warm and sticky, let it cool until it is less tacky. Try a small piece at a larger roller gap, then pass it through successively smaller gaps. If several clays still ripple at the same setting after cleaning, record which setting causes it and contact the manufacturer. Do not keep removing plasticiser from the clay to compensate for a problem that may be mechanical.
Lines repeat in the same place
Check for residue on the scraper and roller. Clean it using the model's instructions, then roll a new sample. If the line remains in the same position, inspect for damage and ask the manufacturer about a replacement scraper or repair rather than sanding the part yourself.
Clay wraps around a roller or the crank becomes hard to turn
Stop turning. Remove the trapped clay following the manufacturer's instructions, then try a thinner piece. Do not reverse an Atlas crank: its manual specifies clockwise rotation. If the clay is stuck behind a scraper, follow the removal instructions for that model.
The clay crumbles on the first passes
Work a smaller amount by hand and feed thinner slices at the widest setting. If it still crumbles, use the conditioning guide to work on the clay before putting it through the machine again.
In brief
Key takeaways
- Buy the Marcato Atlas 150, or the Atlas 180 for slabs wider than about 14 cm: it is the pasta machine to buy once, and one long-term maker reports that the pair they bought in 2002 and 2003 still roll clay well.
- No machine in this guide rolls much past 2.5 mm at its thickest setting, so for a 3 mm or 4 mm slab, stack slabs a little thicker and roll them down between two equal-height guides with an acrylic roller.
- Keep your sheet a little narrower than the usable rollers: about 143 mm on the Atlas 150, 171 mm on the Atlas 180 and 175 mm on the Makin's.
- Roll a scrap on each setting, measure it raw with digital calipers closed until they just touch the clay, and write the clay brand and thickness in millimetres beside the dial number.
- Once a machine has rolled polymer clay, keep it for clay only, and clean the rollers and scraper blades following that model's instructions.
More help with conditioning, thickness, and blends
Choose an earring thickness, work crumbly clay into a sheet, or follow the folding sequence for a colour blend.
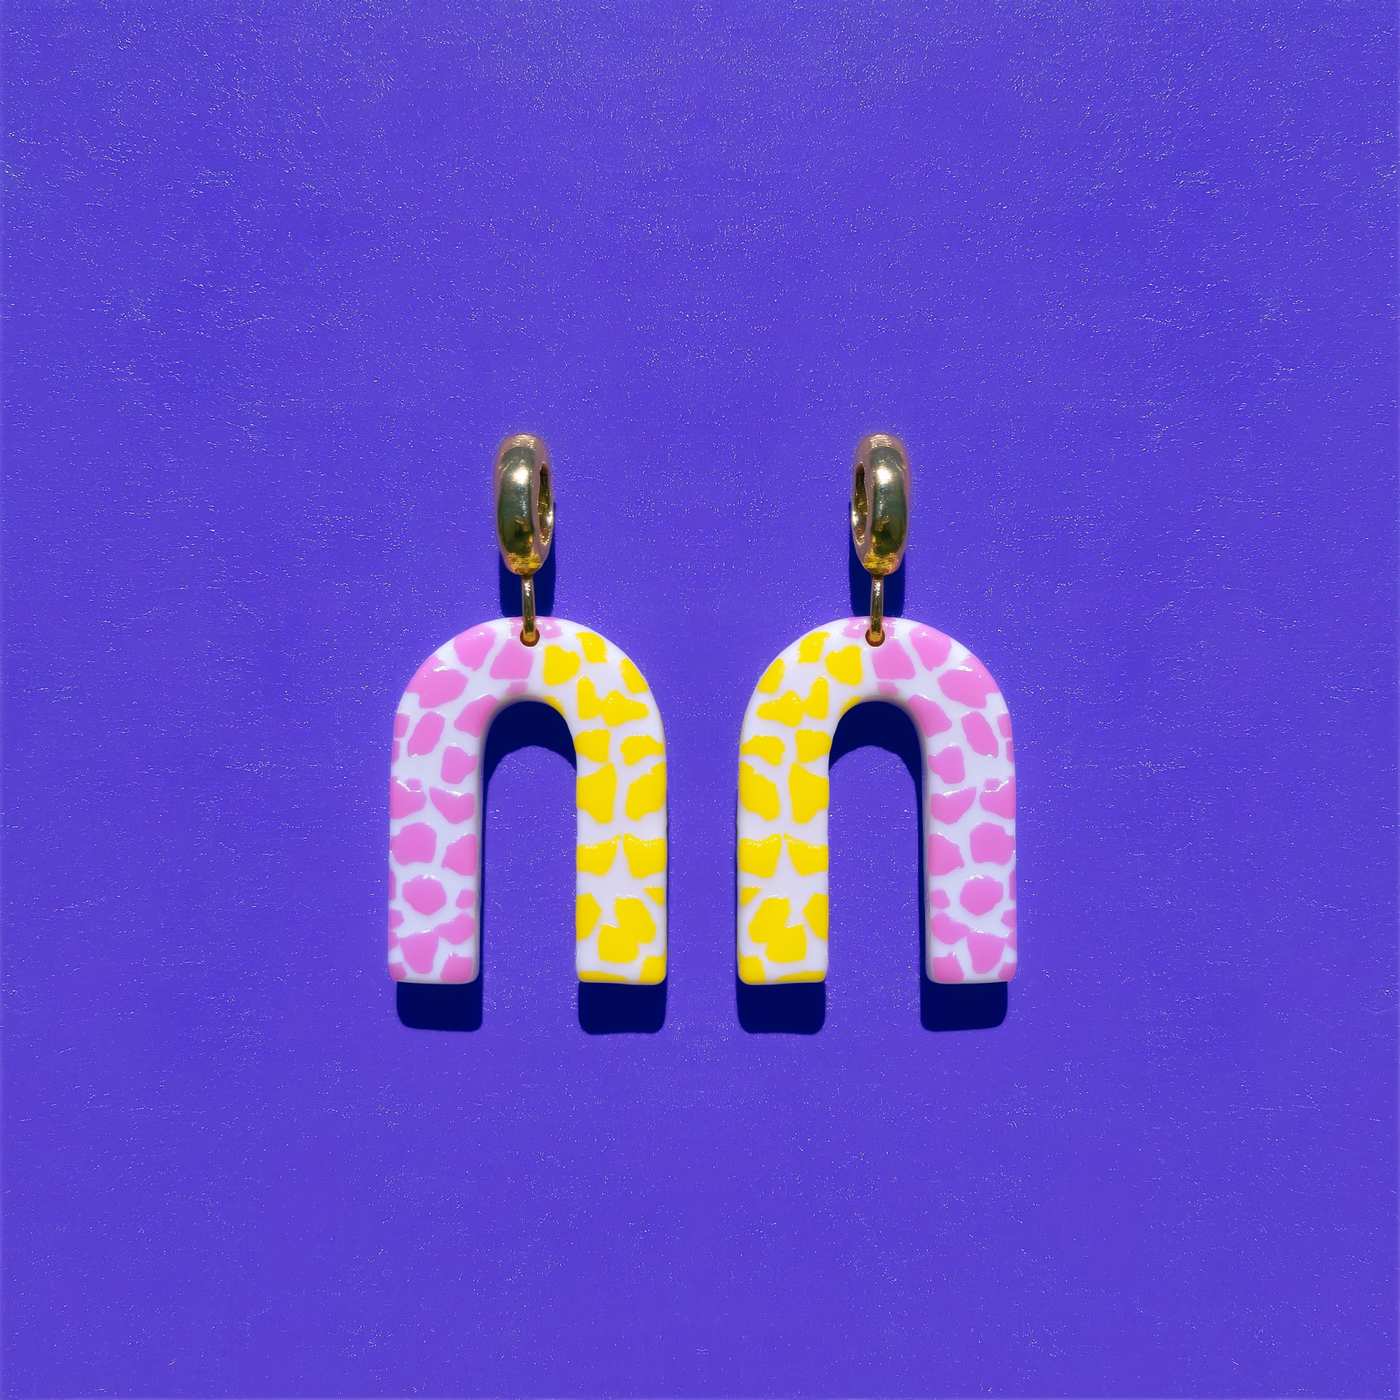
How thick should polymer clay earrings be?
Roll flat earrings about 3 mm thick or a little thinner, measure the raw slab, and size the jump ring, post pad and pasta machine setting to that thickness.
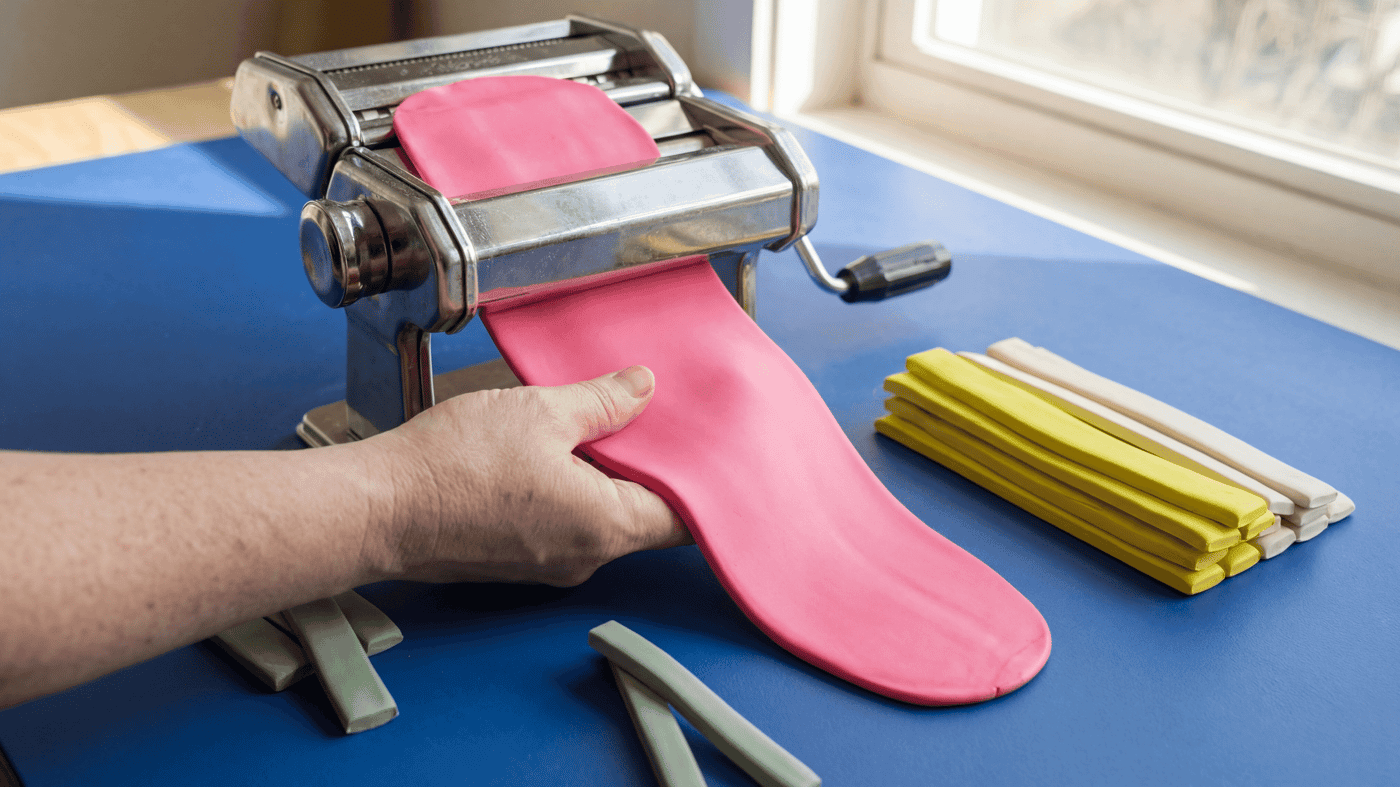
How to condition polymer clay and roll an even slab for cutters
Get every clay colour to the same softness, roll each layer to its measured thickness on a tile, and let warm clay firm up before you cut.
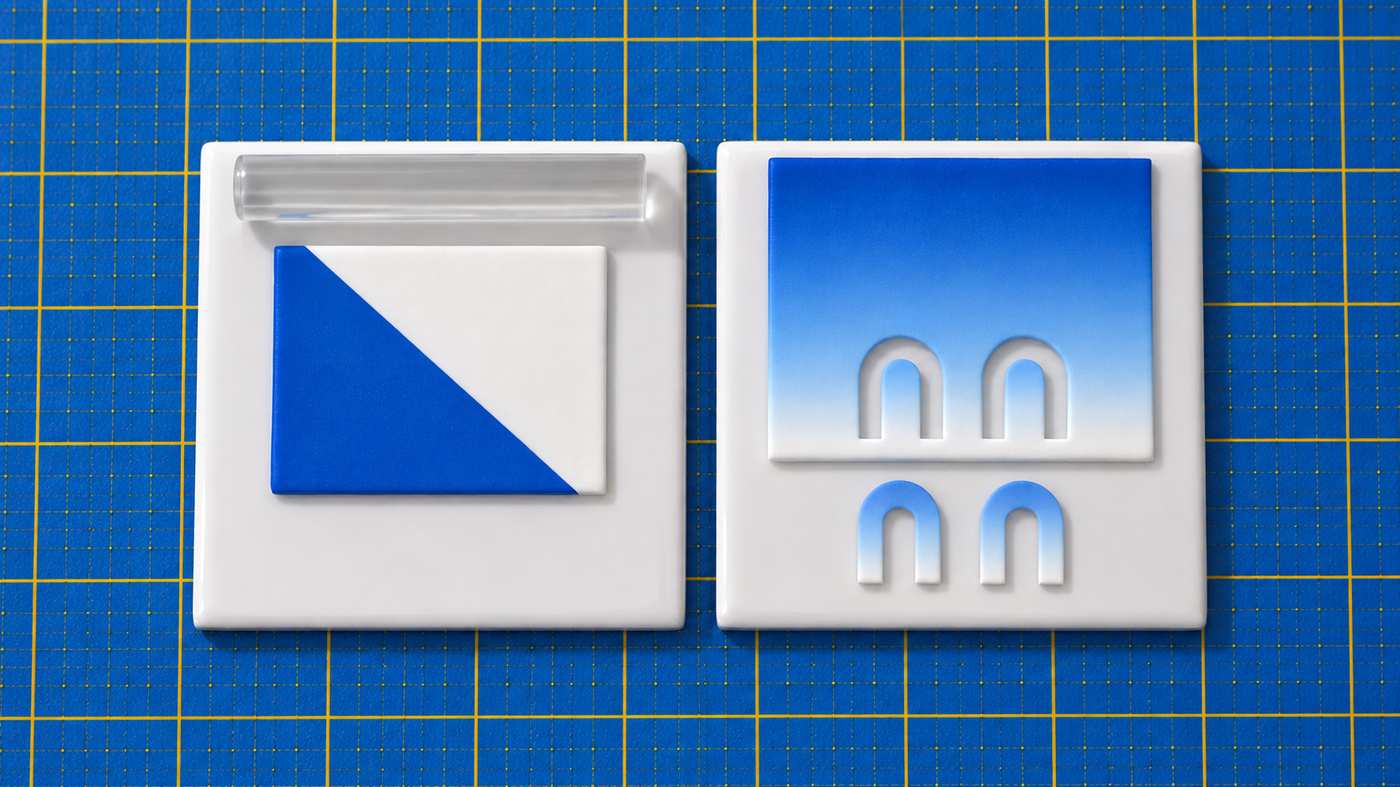
How to make a Skinner blend with polymer clay
Make polymer clay fade from one colour into another: the offset layout, the fold rule, how many passes, the no-machine method, cutting an ombre pair, cane plugs and rainbow blends.
Projects that start with rolled clay
See how a sheet becomes patterned earrings, cane-slice pieces, or buttons.