Polymer Clay Tutorials
Step-by-step polymer clay tutorials with suggested assembly paths covering flat slab work, miniature sculpting, and surface patterns.

Articles
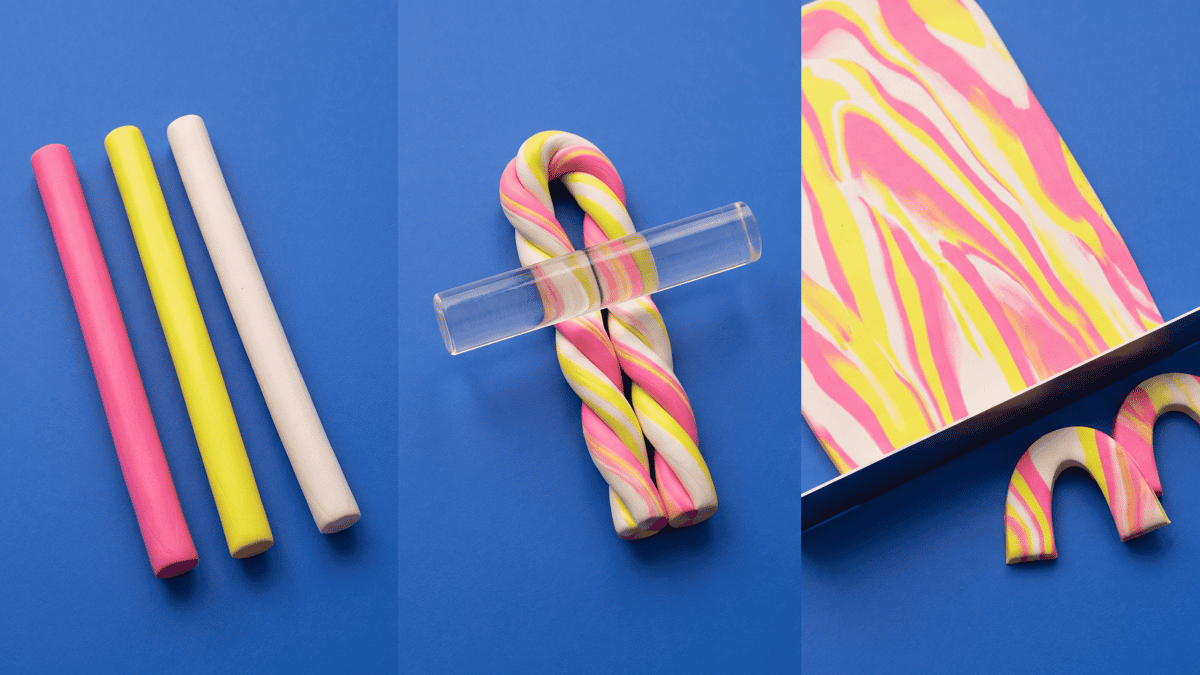
How to Marble Polymer Clay: Beginner Tutorial (Step by Step)
Learn how to marble polymer clay with three colors, a roller, and a blade. A beginner tutorial with pulled, stacked, and tile-cut variations, plus the fix for muddy slabs.
Read the guide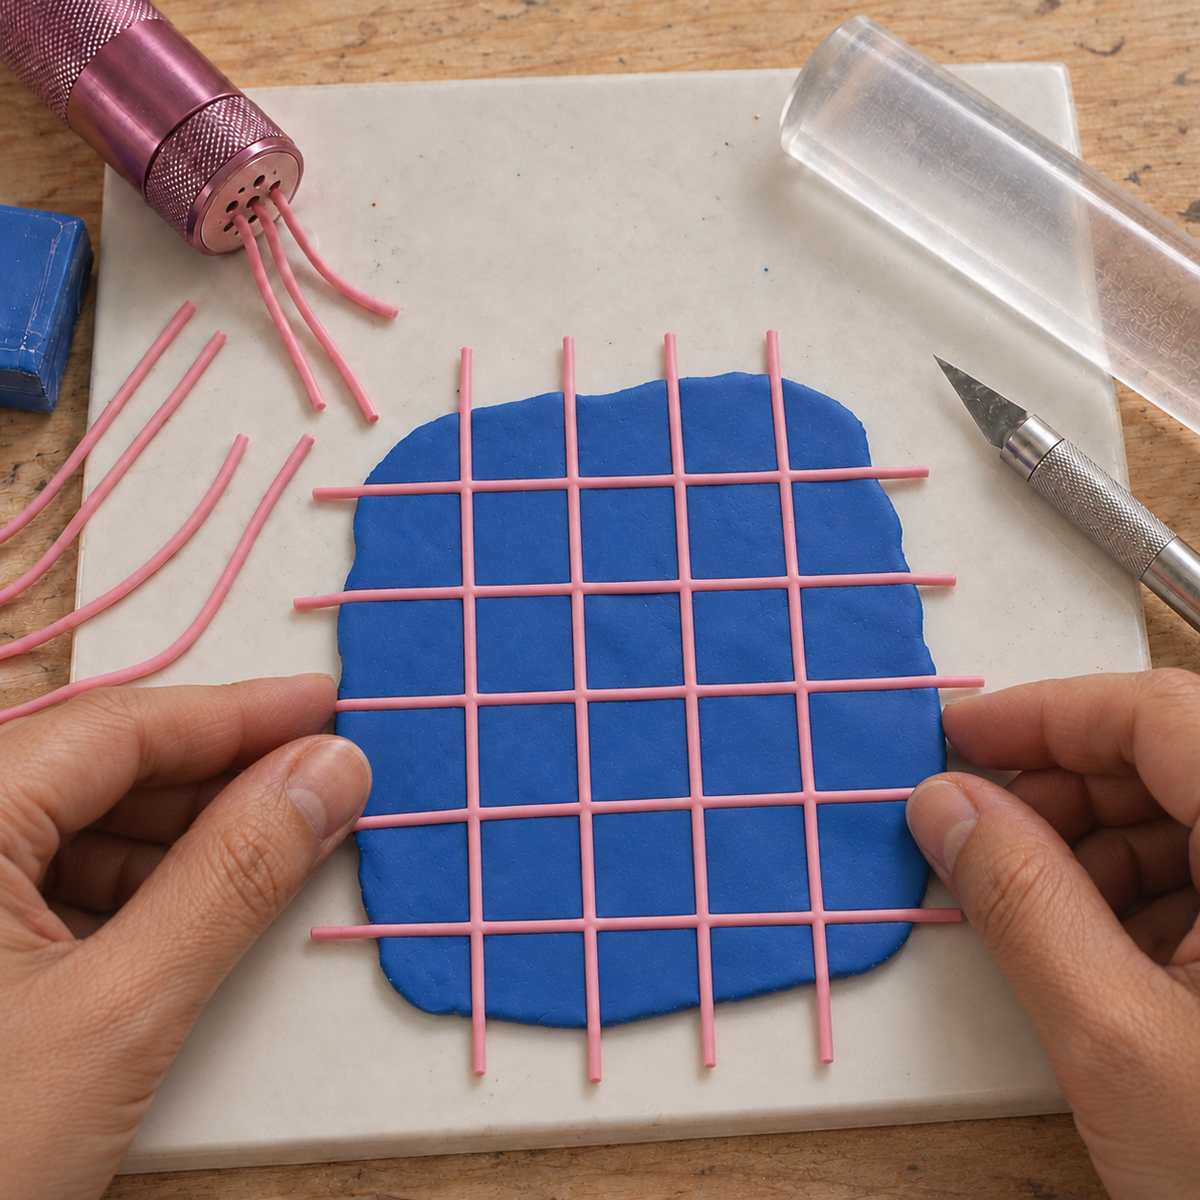
How to make grid-patterned polymer clay slabs
Lay thin strands of contrasting clay in two directions, then roll the grid into your slab before cutting. Follow the four illustrated steps.
Read the guide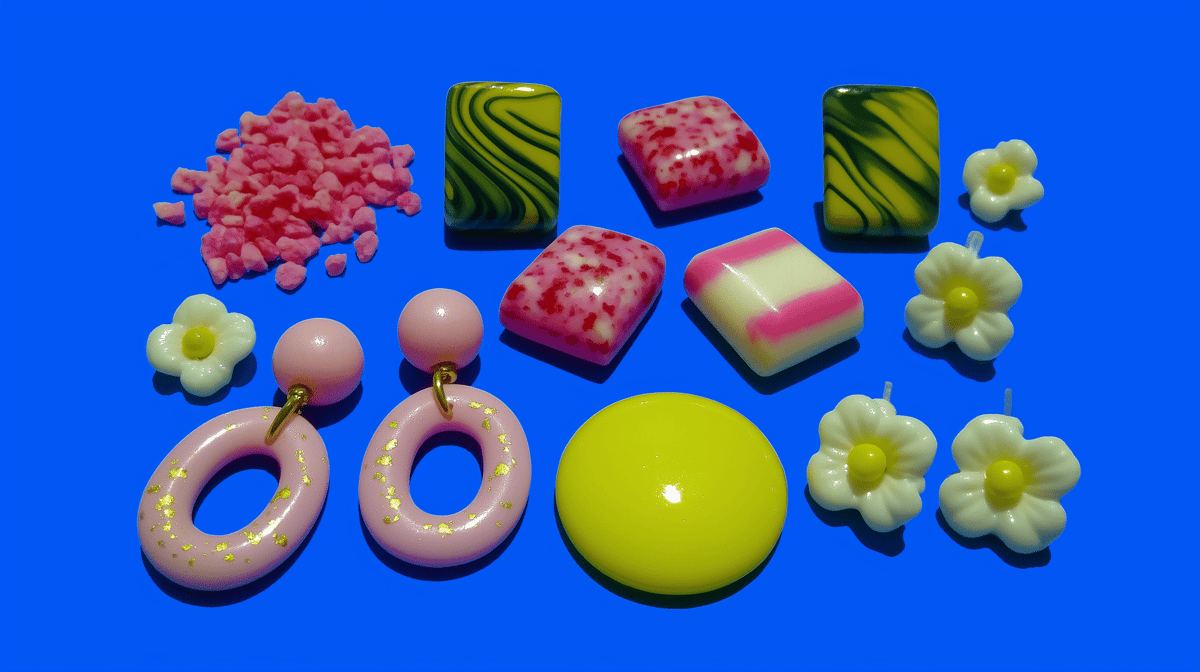
Polymer Clay Color Mixing: Sage and Terracotta Swatch Tests
Try measured first-swatch ratios, bake and label each chip, then change one part before mixing a larger batch.
Read the guide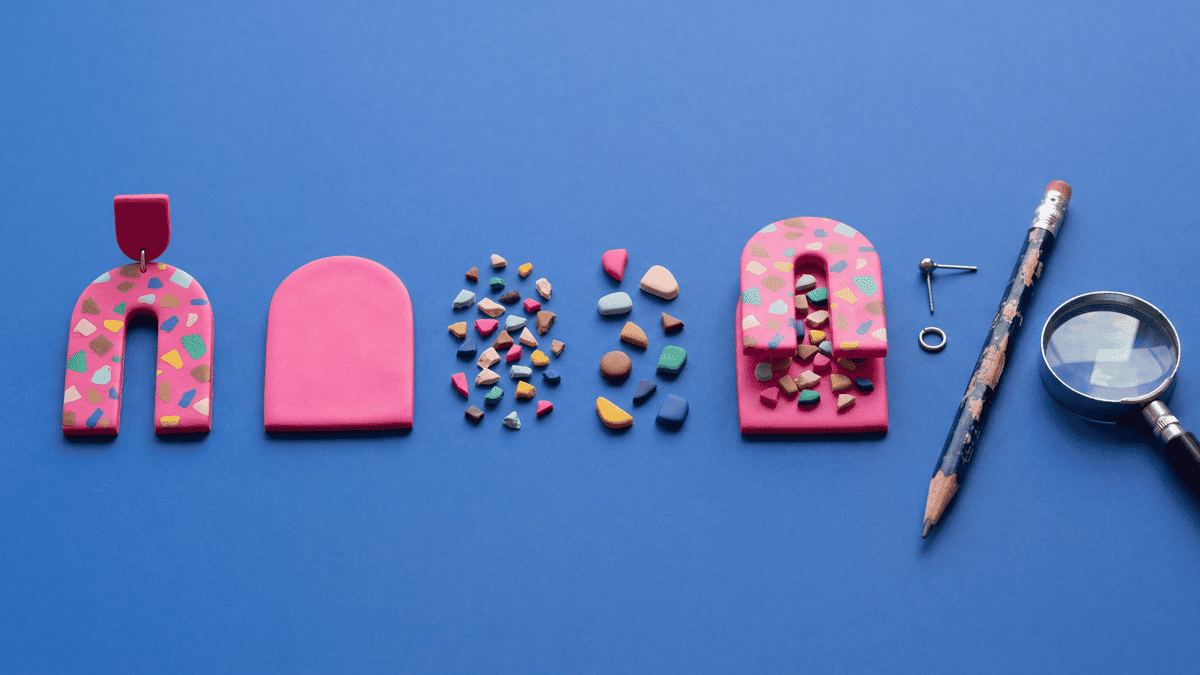
How to Reverse-Engineer a Polymer Clay Design from a Photo
Separate what a photo shows from what you are inferring, then test one possible construction route on a small scrap-clay sample.
Read the guide
Faux Stone and Translucent Effects With Cernit Tests
Choose one Cernit Translucent product, make one small visual study, follow its exact package, and keep the result tied to the recorded sample.
Read the guide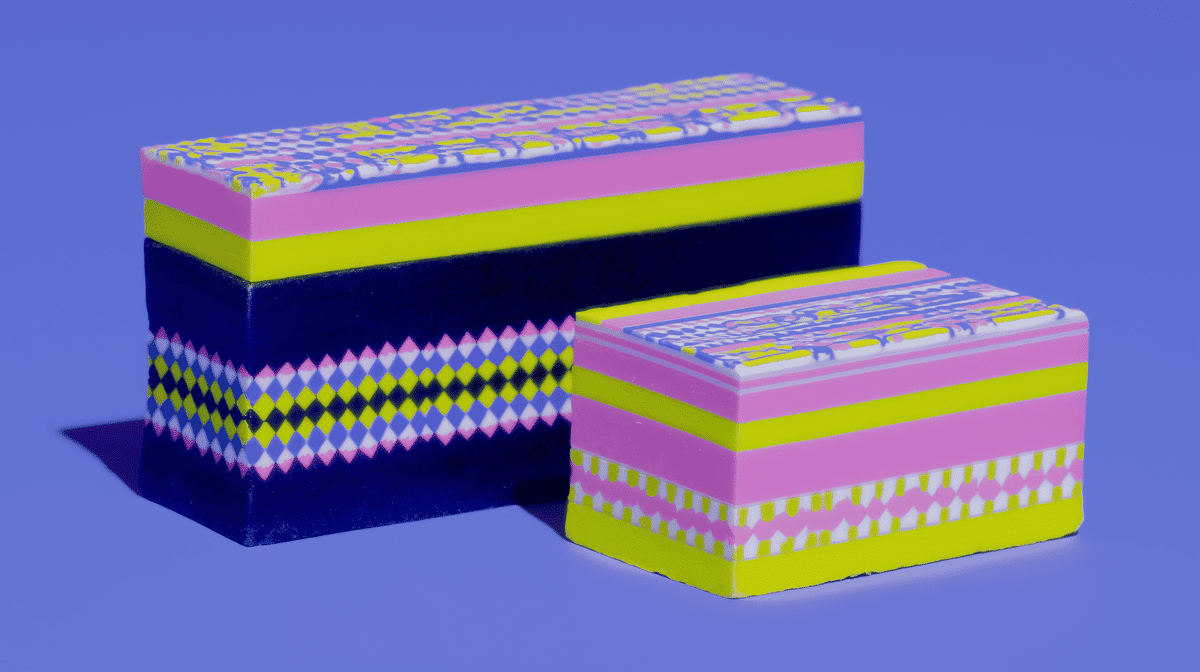
Layered Polymer Clay Pattern Block (Nerikomi-Inspired)
Stack contrasting sheets of polymer clay into a small block, slice across the layers to reveal the pattern, and bake a slice by its package directions.
Read the guide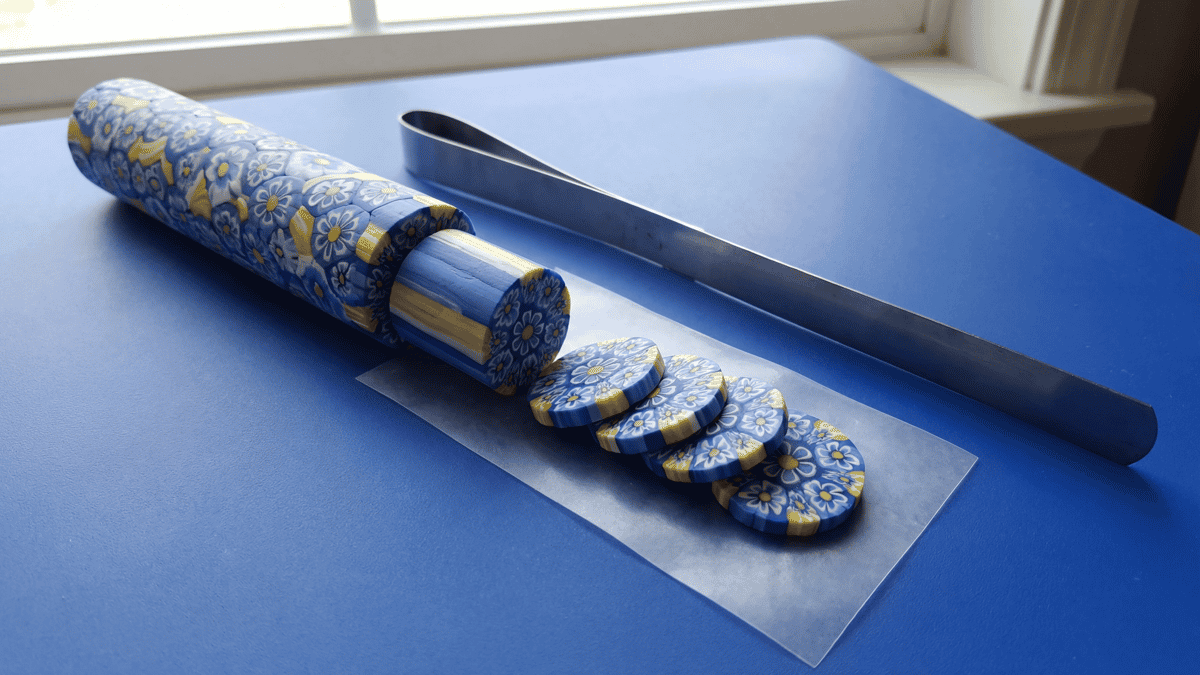
Polymer Clay Cane: A Small Recorded Pattern Exercise
Use a simple patterned-log exercise to test one clay, arrangement, cut face, and package-directed bake without turning it into a universal cane method.
Read the guide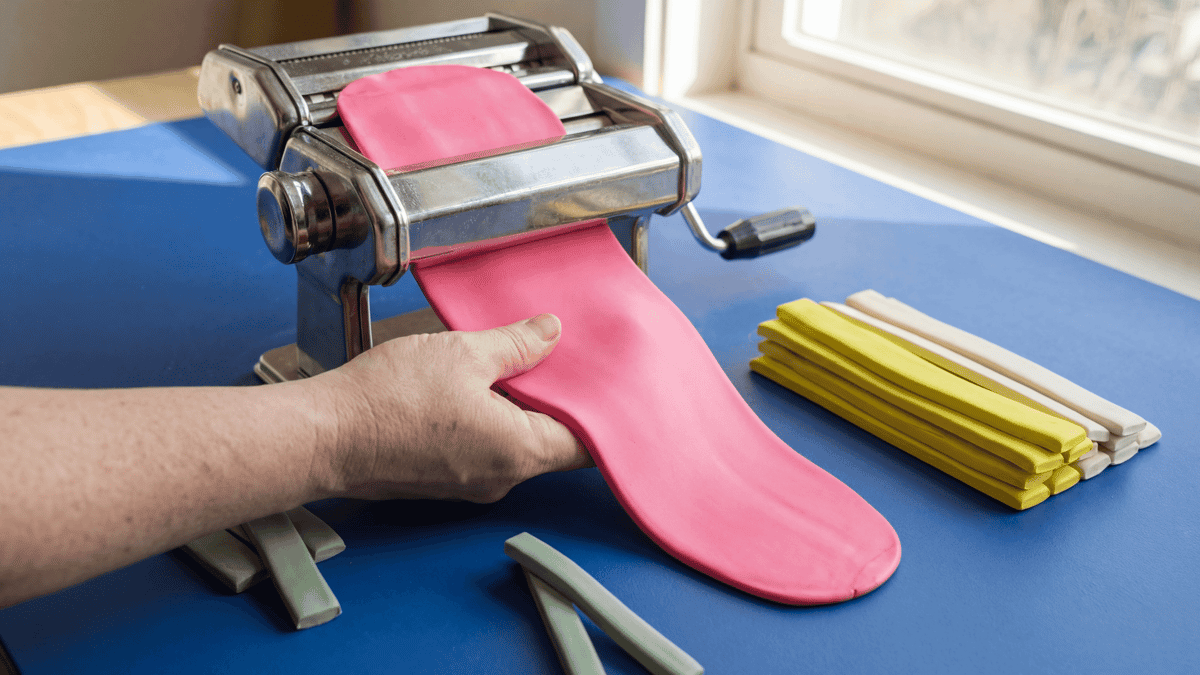
How to condition polymer clay and roll an even slab for cutters
Get every clay colour to the same softness, roll each layer to its measured thickness on a tile, and let warm clay firm up before you cut.
Read the guide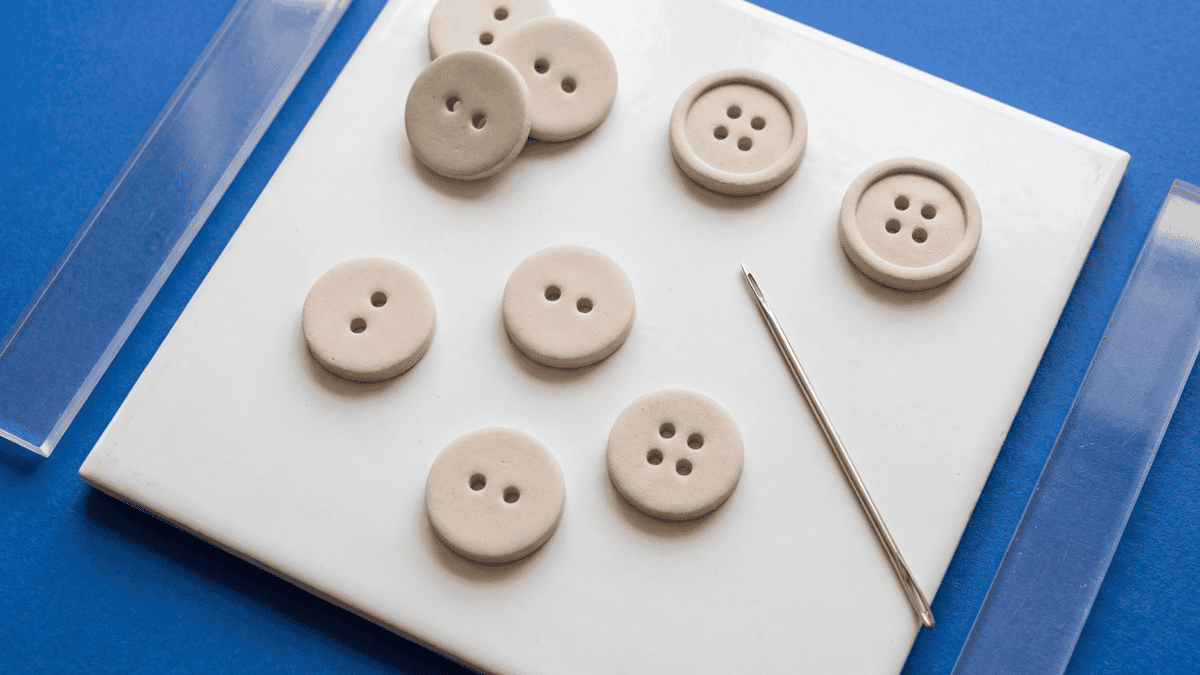
Polymer Clay Buttons: Holes, Flat Baking, and Thickness
Small button sets fail when the holes are too close to the edge, the blanks bake unevenly, or the thickness drifts from one button to the next. This guide shows the repeatable build path that keeps polymer clay buttons more consistent and easier to test on garments.
Read the guide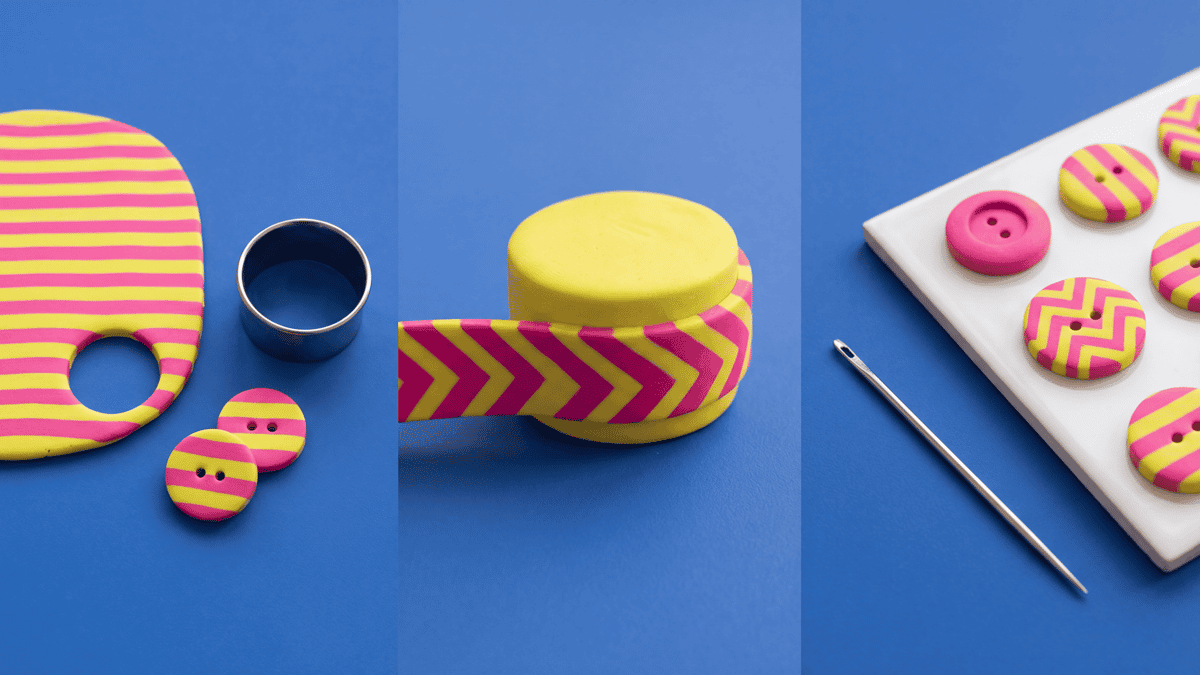
Polymer Clay Striped Buttons: Chevron Wraps and Drum Blanks
Patterned polymer clay buttons get much easier when you lock the blank size first, then build stripes, chevrons, or wrapped sidewalls around that structure. This guide covers a clean build order for flat sew-through buttons and short drum blanks.
Read the guide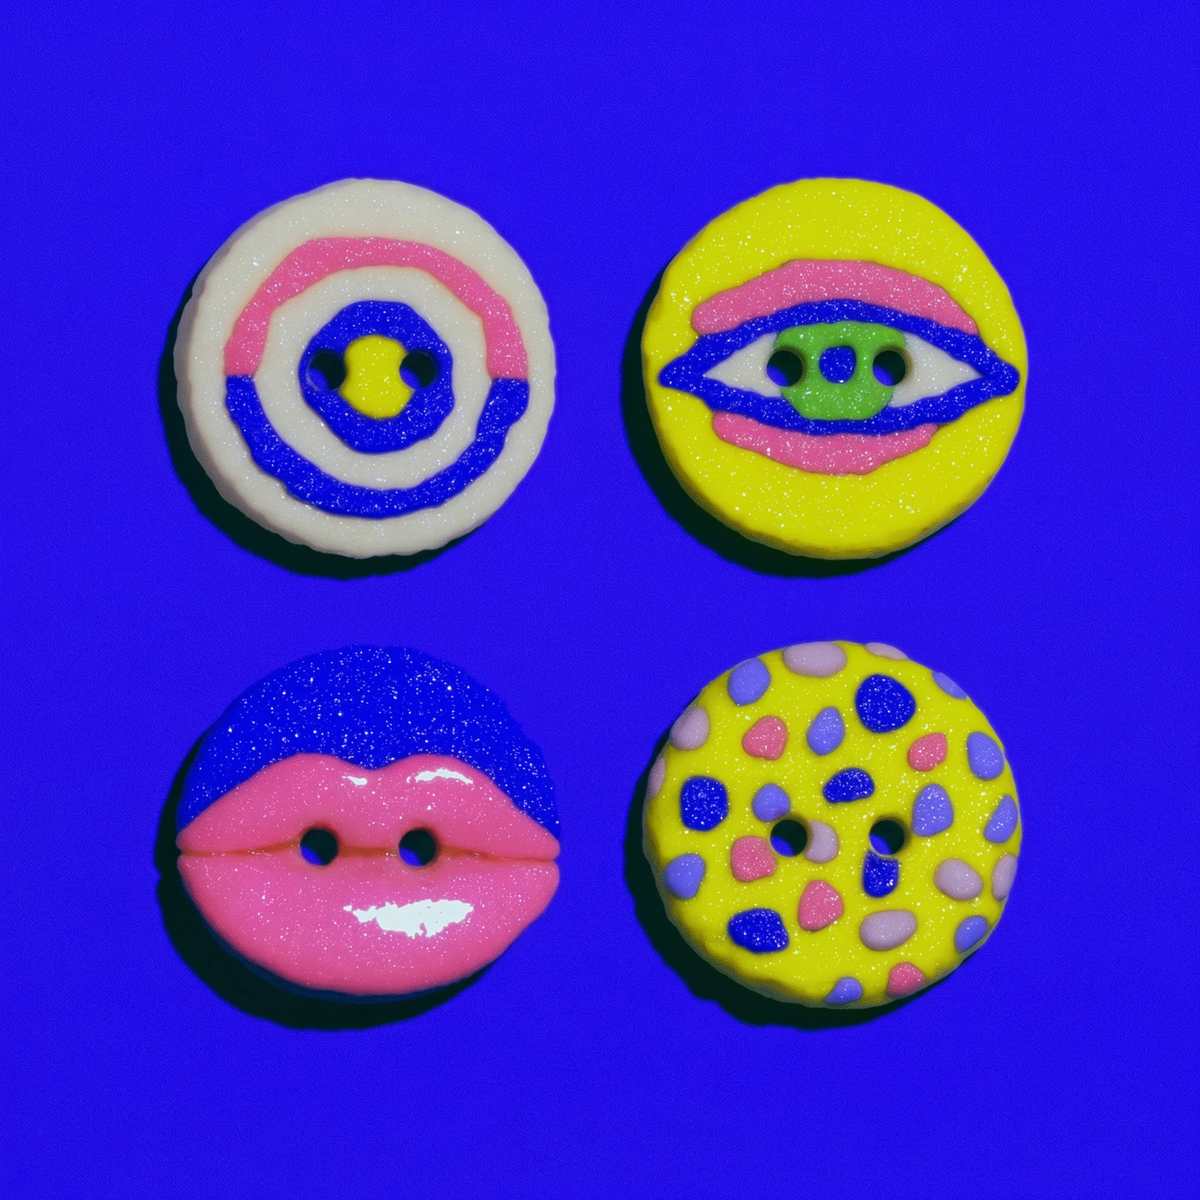
How to attach small polymer clay details so they stay on and keep a crisp edge
Stop small clay details popping off after baking or spreading as you press them. Decide on liquid clay before you start, then carry, place and tap each piece so it stays on with a crisp edge.
Read the guide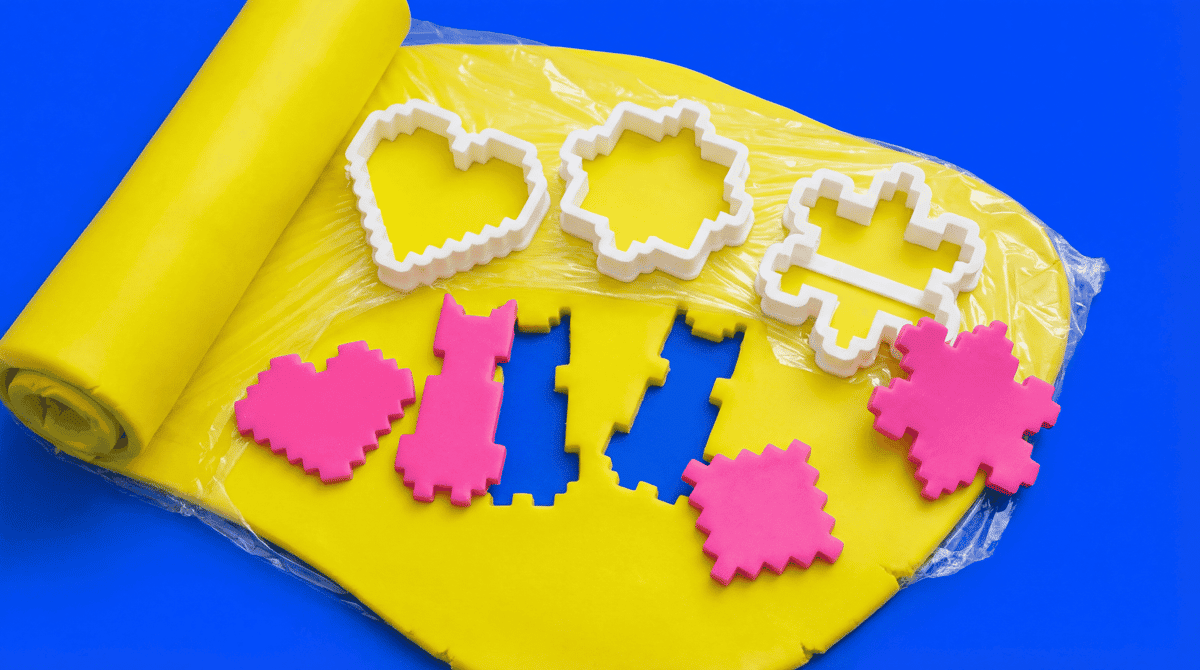
Polymer clay stuck in your cutter? How to release it and stop it sticking
Free a trapped shape, dust the cutter without leaving white clumps, and set up the slab for the next clean release. Includes the cling-wrap method for softer edges.
Read the guide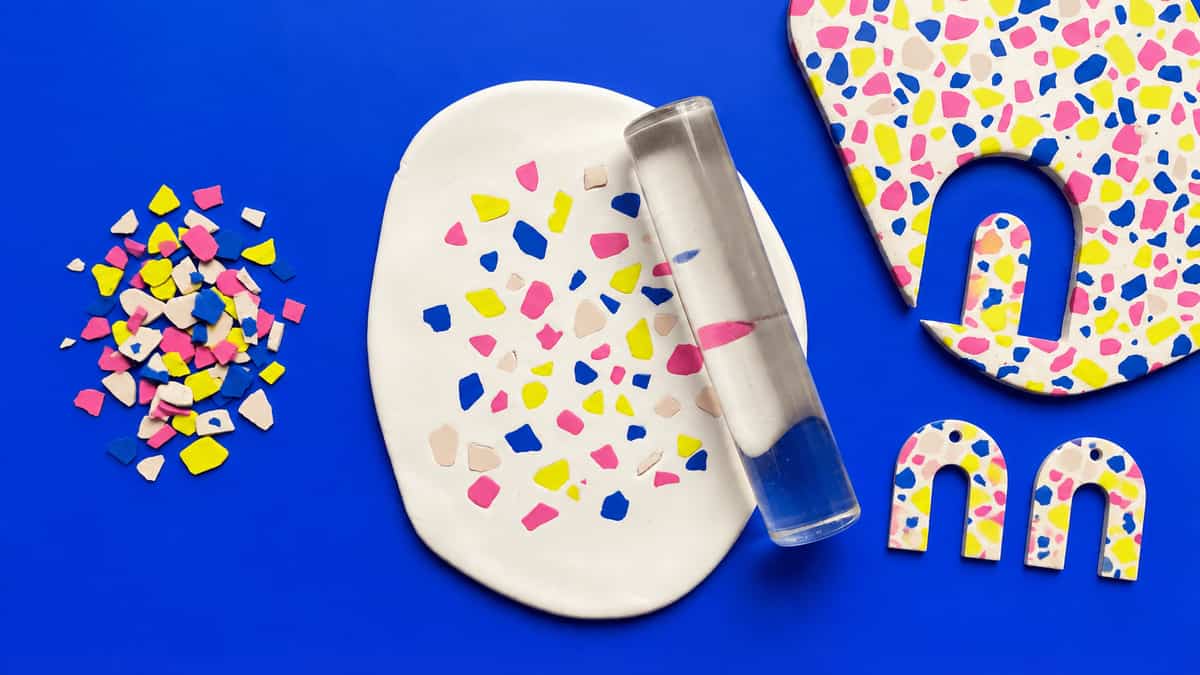
How to make polymer clay terrazzo: chips, slab, cut and sand
Roll thin chips in two to four colours, press them into a light base about 3 mm thick, roll them flush under paper, cut both earrings from the one slab, then bake and sand for the look of stone.
Read the guide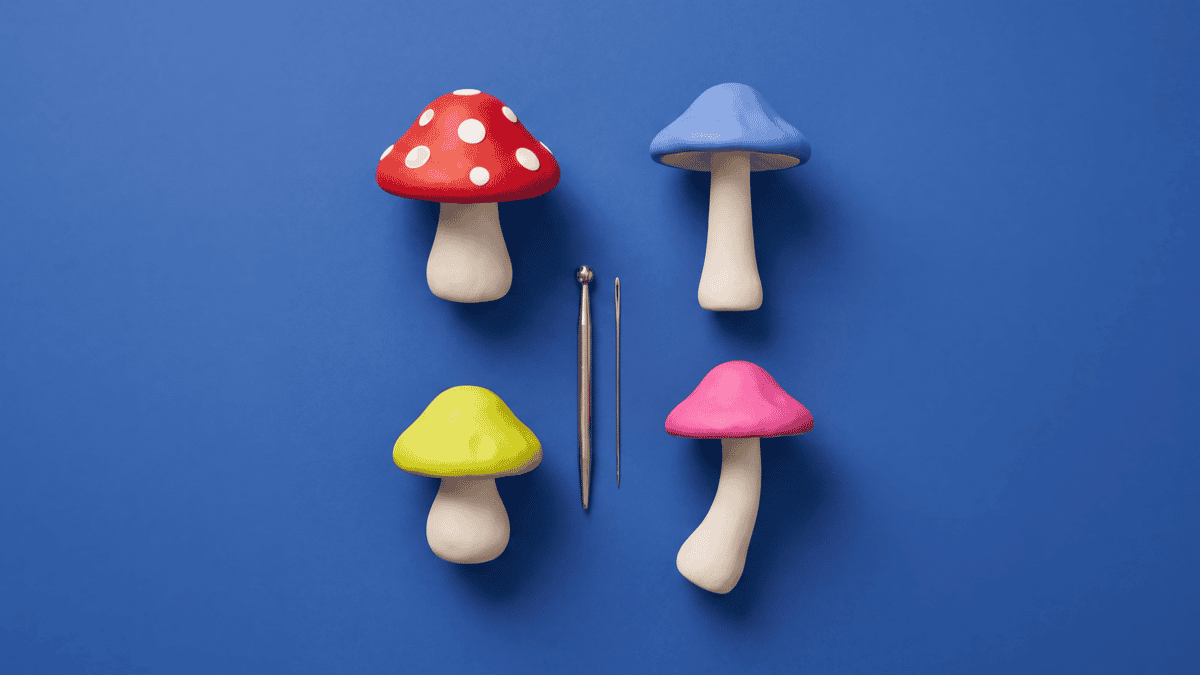
How to make polymer clay mushrooms: a desk toadstool, an earring charm and a plant-pot pick
A polymer clay mushroom is a domed cap with a socket pressed into its underside and a teardrop stem seated in it. Make a desk toadstool from a quarter bar of clay per piece, an earring charm with the eye pin set before baking, or a pick for a plant pot.
Read the guidePolymer clay tutorials
Follow the suggested assembly order first, then adjust the style.
When you're trying a new technique, the order of steps is what keeps your clay patterns from smearing or warping. These tutorials suggest an assembly sequence, from slab thickness and part alignment to baking support and finishing passes. Follow the suggested assembly order first to get a strong bake, then feel free to swap the colors, cutters, or earring findings to make it your own.
Tutorial notes
Get polymer clay tutorial picks
New step-by-step tutorials with dimensions, joins, and bake notes as they publish. Free, no spam, unsubscribe anytime.
By subscribing you agree to get Clay Bake Studio emails about new guides, tools, build kits and offers. Unsubscribe anytime. We do not sell your email. Read our privacy policy.