In brief
Key takeaways
- 1Sculpey 275 F (130 C), FIMO 230 F (110 C), Kato 300 F (150 C), Cernit 230 F (110 C). Always defer to the package directions for the exact line you bought
- 2Sculpey and Kato publish bake times per quarter inch (6 mm) at the thickest point: a 12 mm Sculpey figurine needs roughly 60 minutes, not 30. FIMO and Cernit publish flat times instead, and Cernit's 30 minutes is a stated maximum
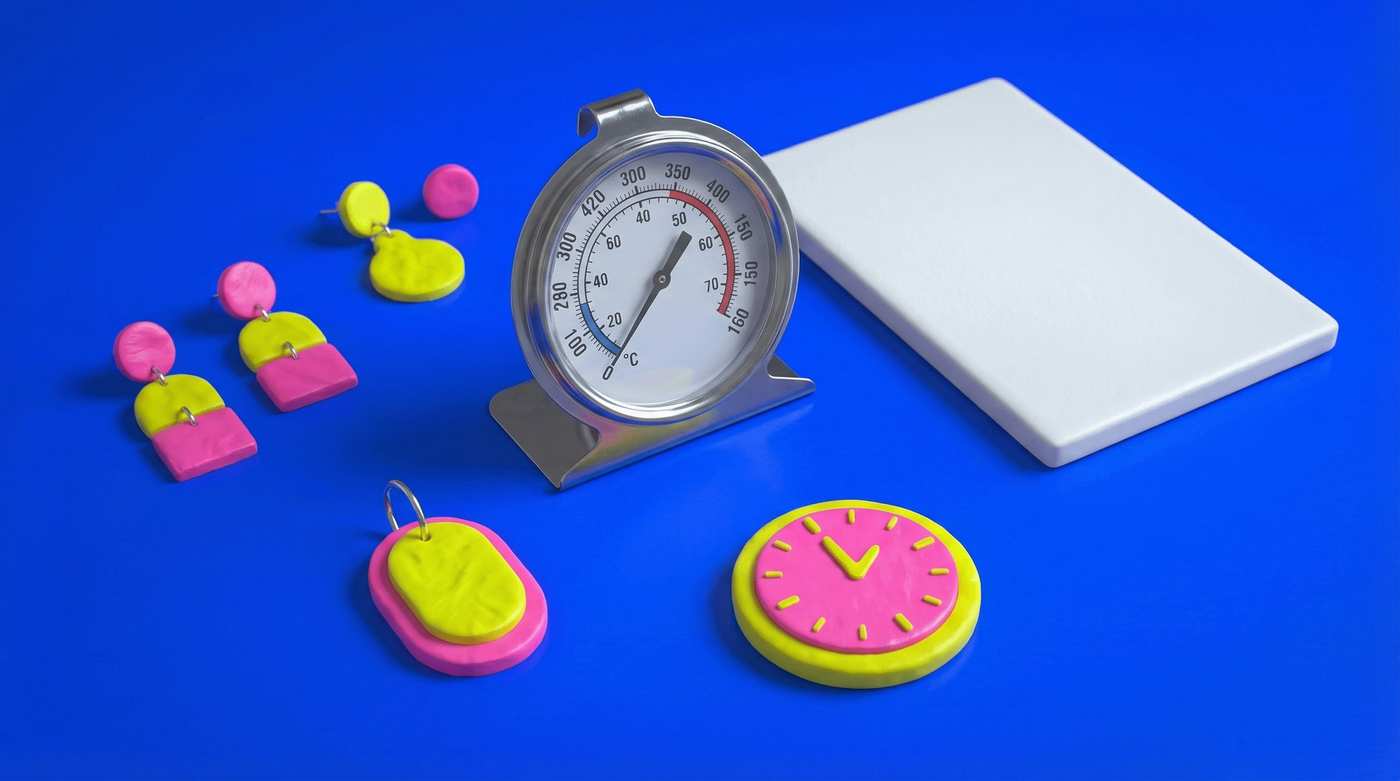
- 3Verify actual tray temperature with an oven thermometer at tray height where the clay sits. Home ovens commonly read 20 F or more off the dial
- 4When mixing brands, prefer lines that share a published temperature; if they differ, bake at the higher requirement under a foil tent and always test the combination on a scrap chip before committing to a full piece
- 5For thicker single-line work, adjust time, not heat. Dropping below that line's package temperature leaves the cured body brittle even with extended bake times
Your pieces come out underbaked or scorched even when you follow the package. The real problem is almost always that your oven is not at the temperature the dial says. This chart shows the numbers by brand, but the most important line is the one from your oven thermometer at tray height.
Bake numbers vary by chemistry. Sculpey, FIMO, Kato, and Cernit each use a different PVC and plasticizer blend, and each cures at the temperature where that specific chemistry gels. Mixing brands in one piece complicates the math. The chart below covers the major lines, then walks through the real questions that come up around oven verification, mixed brands, and underbake versus overbake symptoms.
Bake Temperature and Time by Brand
Each line is rated for a specific temperature. Polyform (Sculpey) publishes thickness-based times in minutes per quarter inch (6 mm) at the thickest point, and Kato guidance also scales with thickness; FIMO and Cernit publish flat bake times, with Cernit's 30 minutes stated as a maximum. Numbers below reflect manufacturer guidance current as of May 2026.
| Brand | Line | Bake Temperature | Published Bake Time | Notes |
|---|---|---|---|---|
| Sculpey | Premo | 275 F (130 C) | 30 minutes per 1/4 inch (6 mm) | Workhorse line for jewelry and detail |
| Sculpey | Sculpey III | 275 F (130 C) | 15 minutes per 1/4 inch (6 mm) | Soft body, suited to general crafting and bulk shapes; reach for a firmer line such as Premo for thin earrings |
| Sculpey | Souffle | 275 F (130 C) | 30 minutes per 1/4 inch (6 mm) | Lightweight, suede-like cured finish. Sculpey publishes 30 minutes per 1/4 inch (6 mm) for Souffle. Defer to package directions for the line you bought. |
| Sculpey | Sculpey Original (white and terracotta) | 275 F (130 C) | 15 minutes per 1/4 inch (6 mm) | Great classroom and craft-room body; pick a firmer line like Premo for thin or load-bearing parts |
| FIMO | Professional | 230 F (110 C) | 30 minutes (flat published time, not per thickness) | Firm body, color-mixing baseline |
| FIMO | Soft | 230 F (110 C) | 30 minutes (flat published time, not per thickness) | Softer body for everyday use |
| FIMO | Effect | 230 F (110 C) | 30 minutes (flat published time, not per thickness) | Translucent, glitter, stone, and metallic blends |
| Kato | Polyclay | 300 F (150 C) | 10 minutes minimum, 30 minutes preferred | Highest cure temperature; firm, strong cured body |
| Cernit | Number One | 230 to 266 F (110 to 130 C) | 30 minutes maximum (flat published time) | Porcelain-like cured surface. Cernit's official FAQ publishes a 110 to 130 C (230 to 266 F) range; defer to the package directions for the line you bought. |
| Cernit | Translucent | 230 to 266 F (110 to 130 C) | 30 minutes maximum (flat published time) | Strong translucency for layered work. Cernit publishes a 110 to 130 C cure range; defer to the package directions for the line you bought. |
Important disclaimer: bake numbers change between manufacturer revisions. Always read the package of the exact line you bought before each project. The table above reflects manufacturer guidance current as of May 2026, but lines occasionally re-formulate, and the wrapper is the final word.
Why Brand Temperatures Differ
Polymer clay is PVC particles suspended in a plasticizer system. Each manufacturer picks a slightly different polymer and plasticizer blend to hit a target stiffness, color clarity, and feel after cure. The published bake temperature is the point where the PVC particles gel and fuse with their plasticizer system into a stable solid.
FIMO settles in at 230 F, and Cernit cures across a 230 to 266 F (110 to 130 C) range, because their chemistries gel and fuse there. Sculpey lines tune toward 275 F. Kato pushes higher to 300 F because the formulation is built for a firmer, stronger cured body and needs the extra heat to fully cure. None of these is better or worse than the others. Each is tuned for a different working profile, and each cures fully at the published number.
Time per Thickness, Not Time per Project
Here is the trap that cracks most figurines: on the lines that publish thickness-based times (Sculpey, Kato), the bake time on the wrapper is per quarter inch (6 mm) of thickness, not per piece. A flat 3 mm Sculpey earring needs about 15 minutes at the package temperature; a 12 mm-thick Sculpey figurine body needs roughly 60 minutes (two quarter-inches), even when the wrapper prints 30. For flat-time lines (FIMO, and Cernit with its published 30-minute maximum), hold the published time and temperature and build thick figurines around a foil or scrap-clay core instead of extending the bake. Underbaking thick pieces is the single most common reason figurines come out brittle and crack at the joins.
The fix is to measure thickness at the heaviest section of the piece and scale the bake time accordingly, holding the temperature constant at the package number. Longer at the right temperature is safe. Hotter than the package is not.
Verify the Actual Tray Temperature
Even with the right number on the dial, your oven may not match. Home ovens commonly run 25 F or more off their dial reading at tray height, and the difference between 275 F and 300 F is the difference between a clean cure and a scorched edge.
Place an oven thermometer at tray height, on the surface where the clay actually sits, not on the rack mid-air and not next to the heating element. Preheat fully, let the oven cycle once, and read the thermometer. Compare to the dial setting. If the reading is 20 F off, adjust the dial accordingly and recheck weekly. Toaster ovens swing harder than full-size ovens and benefit from a foil tent or covered ceramic dish to shield the clay from the element. The oven thermometer guide walks through what to look for in a unit and how to read it.
What If I Mix Brands in One Piece?
Mixing brands inside a single piece is common in cane work, color matching, and rescue blends. There is no universal mixed-brand bake number, and the chart above does not solve the problem on its own.
Prefer lines that publish the same temperature when you blend. When the temperatures differ, bake at the higher of the two package temperatures and tent the piece with foil so the lower-temperature clay does not scorch or darken. A Premo and FIMO Professional blend, for example, bakes at Premo's 275 F under a foil tent. Baking at the lower temperature instead leaves the higher-temperature line under-cured and brittle no matter how long it stays in, which is the same under-cure rule from the FAQ above.
Try the mixed combination on a scrap chip from the same blend before committing to a full piece. Bake the chip tented, cool it fully, and press a fingernail into the surface, then flex it. If it dents or snaps easily, or the lighter clay discolors under the tent, the two chemistries are not compatible at a shared temperature and the piece needs to be built in one line. The wider the gap between the two package temperatures, like Kato at 300 F blended with a 230 F FIMO line, the more likely the blend fails this test.
Underbake and Overbake Symptoms
Underbaked and overbaked clay fail in opposite ways, and each one looks different on the cooled piece.
- Underbake: the cooled piece feels finished but snaps under stress. Earrings break at the post, figurines crack at thin connectors, and a fingernail pressed into the surface leaves a dent or chips a flake. The fix is rebaking at the package temperature for the full time. A second bake on baked and cooled clay is generally safe. The cracking guide covers under-bake patterns in detail.
- Overbake: the surface scorches, edges brown or blacken, and the room may smell strongly or smoke. Vent the room, lower the dial, and verify the actual tray temperature with a thermometer before the next bake. A foil tent or covered ceramic dish protects the surface in toaster ovens where the heating element sits close to the clay.
For oven calibration specifically, the oven thermometer guide covers what to verify and how often. The support during bake guide covers the support choices that prevent overhang cracks during cure. The cracking guide is the companion troubleshooting read for after-bake failures, and the beginner toolkit covers the rest of the kit. For a figurine where bake settings make or break the result, see the build notes on the signal mushroom figure.
More guides in this path
Open these when the next decision is material choice, attachment, or finishing.
Polymer Clay for Beginners: Brands, Tools, First Project (2026)
A beginner primer on clay choice, core tools, a first project, and the mistakes that most often cause early frustration.
Best Oven Thermometer for Polymer Clay: What To Buy First (2026)
Start with your clay line's package directions, then use an oven thermometer to check whether the shelf near your tray or tile is actually reaching that target. Placement matters more than gadget complexity, and an analog dial is usually enough to start.
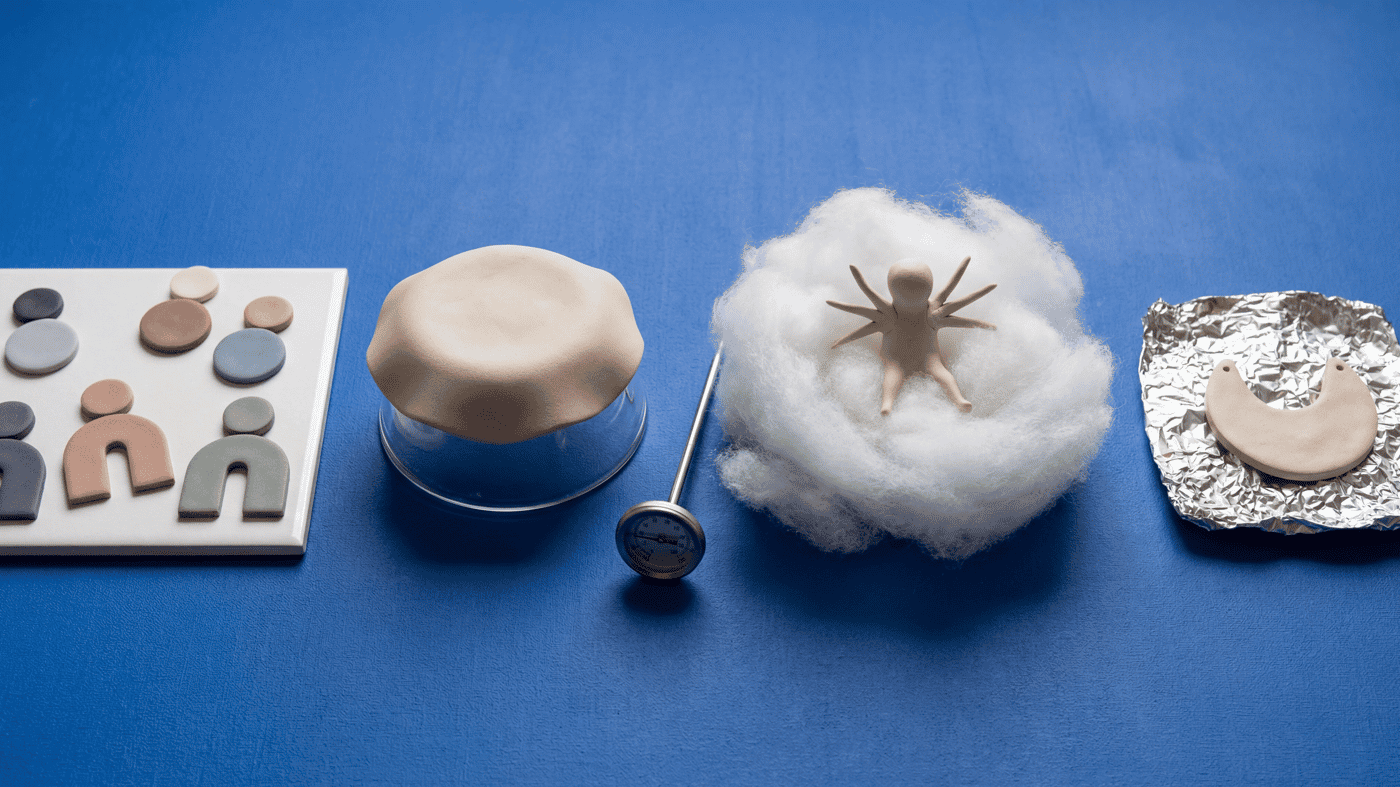
How to Support Polymer Clay During Bake by Shape
Your thin overhang drooped or the hollow body caved because it had no support inside the oven. Compare flat tiles, fiberfill, foil, and armatures by shape before you build another version.
Finished examples with related clay decisions
Each piece shows how a material, attachment, or surface choice changes the final form.