Polymer clay pixel art: pick the build method for your design
Five ways to build polymer clay pixel art, compared on one 12 x 12 design: stacked cutter layers, one stepped silhouette, square tiles, a pixel cane or clay beads, plus the sum that sets each pixel's size.
Some links on this page are affiliate links. If you buy through them, we may earn a commission at no extra cost to you. As an Amazon Associate I earn from qualifying purchases. Disclosures

In brief
Key takeaways
- Pick the method from the design: stacked cutter layers for colour pieces you want to repeat, one stepped silhouette for a one-colour shape, square tiles for a many-colour picture, a pixel cane for a batch of matching faces, and clay beads for a dotted look
- Finished width is pixels across times millimetres per pixel: 16 pixels at 1.25 mm makes a piece 20 mm wide, and the same design at 2 mm is 32 mm
- Cutters give every piece the same stepped shape, but you place each layer by hand. The Pixel Flame and Pixel Eye studs are identical pairs that face the same way, not mirrored
- Keep squares square: cut firm or briefly chilled clay, lift the blade at every corner, press once through parchment, and bake on the tile you built on by the clay's packet directions
- Count rows and columns against the chart before baking. If a lone pixel or a one-pixel line disappears at your size, use a larger pixel or redraw that feature a pixel wider
Article contentsOpenClose
Polymer clay pixel art can be built five ways: colour layers cut with stepped cutters and stacked by hand, one stepped silhouette cut from a single slab, a mosaic of separate square tiles, a pixel cane you slice into many matching faces, or rows of small clay beads. Before you choose, count two things on your design: how many pixels wide it is, and how many single pixels of colour sit on their own. Those two numbers decide how much cutting and placing each method asks of you.
Which pixel art method fits your design?
The table compares the five methods on one example: a 12 x 12 pixel design in four colours, where up to 144 squares can be filled.
| Method | What you cut and place for a 12 x 12 design | Suits | Where to learn it |
|---|---|---|---|
| Layered cutter stack | One cutter per colour, base included. Cut one piece of each colour and stack them by hand: four pieces for a four-colour design. | Raised colour layers, earring pairs and brooches you want to make again | The layered pixel earrings guide and the kits below |
| One stepped silhouette | One outline cut from one slab. Other colours are painted on after baking or pressed in as relief detail. | A shape whose stepped outline carries the design, in one colour | The stepped silhouette guide |
| Square tile mosaic | One small square for each pixel that differs from the base colour, up to 144, each placed by hand. | A flat picture with many colour changes and a tiled look | This page, below |
| Pixel cane | Up to 144 square logs, background included, built into one block once. Every slice after that is a finished face. | A batch of matching pieces, and pixels smaller than you could cut one at a time | This page, below |
| Clay beads | One matched ball of clay for each filled pixel, up to 144. | A domed, dotted look like cross-stitch | The bead grid guide |
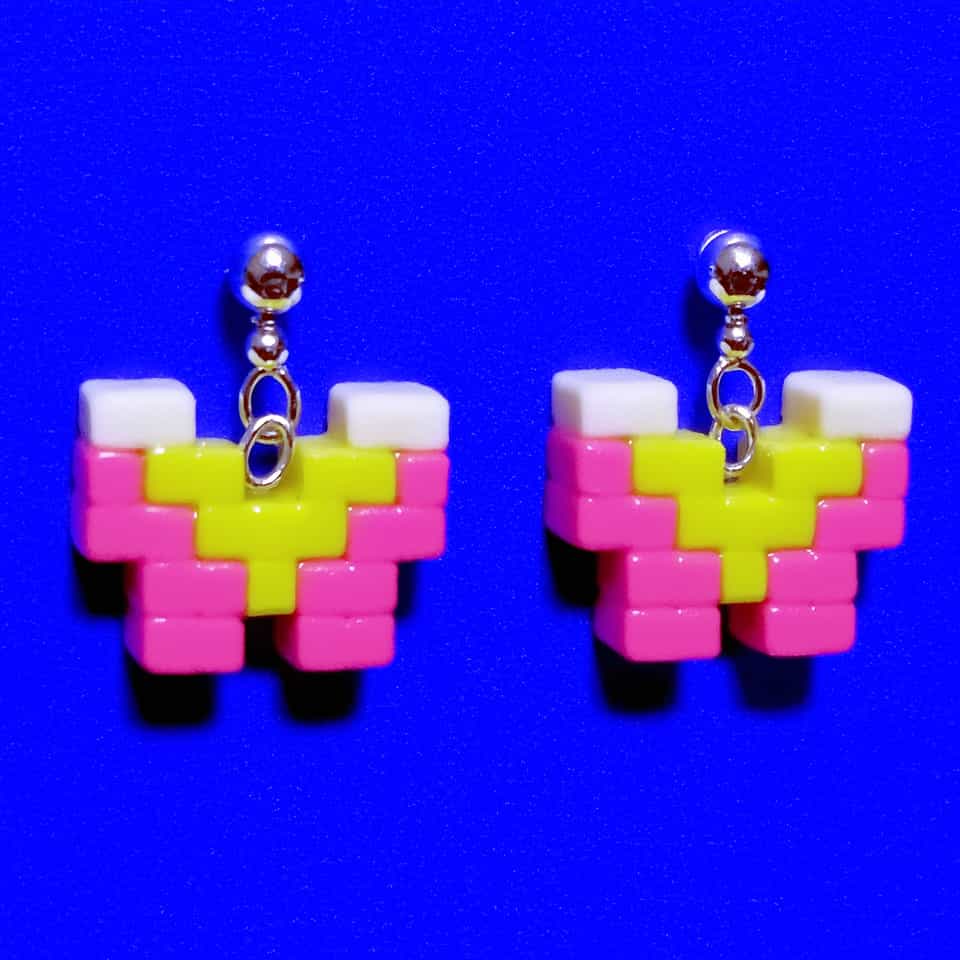
The cover image shows three of them side by side: a pink heart of separate square tiles on a pressed grid, a yellow heart cut as one stepped silhouette, and a blue heart built from round clay beads.
Lone single pixels are where the methods differ most. A cane builds every lone pixel in at full size before you shrink it. A layered build can make one as a window cut through the layer above, so the colour underneath shows through. In a tile mosaic or a bead grid, each lone pixel is one small piece you place on its own, and on a silhouette a one-pixel step is the narrowest corner you cut.
See this decision in finished pieces
Open lookbook entries that use the materials, attachments, or methods covered here so you can match the choice to a real shape.
How big should each pixel be?
Multiply the number of pixels across by the width of one pixel in millimetres: that is the finished width. Work it backwards when you already know the size you want, by dividing the finished width by the pixels across. The stepped silhouette guide uses a stud-sized example: 16 pixels across at 1.25 mm per pixel makes a piece 20 mm wide.
| Example: pixels across | Millimetres per pixel | Finished width |
|---|---|---|
| 16 | 1.25 mm | 20 mm |
| 16 | 2 mm | 32 mm |
| 12 | 2 mm | 24 mm |
| 12 | 4 mm | 48 mm |
Count the widest row of the design, from the first filled pixel to the last, not the whole canvas it was drawn on. Count the height the same way. Each method then sets the pixel size in its own way:
- Layered cutters: the cutter file fixes it. The ClayBake pixel kits come in set sizes: the Pixel Eye from a 26 mm stud to a 62 mm eye, the Pixel Flame from 32 to 48 mm tall, and the Pixel Lips from 44 to 62 mm wide.
- Stepped silhouette: the scale you print or draw the template at.
- Tile mosaic: the width of the squares you cut.
- Pixel cane: the log size you build with, shrunk by however much you reduce the cane. A 12-pixel cane built from 4 mm logs has a 48 mm face; reduce it until the face is 24 mm across and every pixel is 2 mm.
- Clay beads: the bead diameter, because touching beads sit one diameter apart.
Then check the smallest features, because a lone pixel or a line one pixel wide shrinks with everything else. At 1.25 mm, a lone pixel in a tile mosaic is a square of clay 1.25 mm across that you cut and place by itself. If a feature disappears or smears at your size, give the whole design a larger pixel, or redraw that feature a pixel wider. To see how finished pixel pieces look at different sizes, browse the pixel art lookbook.
Layered colour pieces cut with stepped cutters
This is the method behind ClayBake's pixel Build Kits. Each cutter cuts one colour to its stepped shape in a single press, so you never cut a step by hand. You cut each colour from a thin sheet, then stack the pieces on a thicker base. The cutters give every piece the same shape, but nothing on them holds one layer in place on another: you set each piece down by eye, one edge first, and nudge it into place before any pressure goes on.
Where pixels of one colour touch, the cutter cuts them as one connected piece, so the gaps inside it are already spaced for you. Three kits show the method at different sizes:
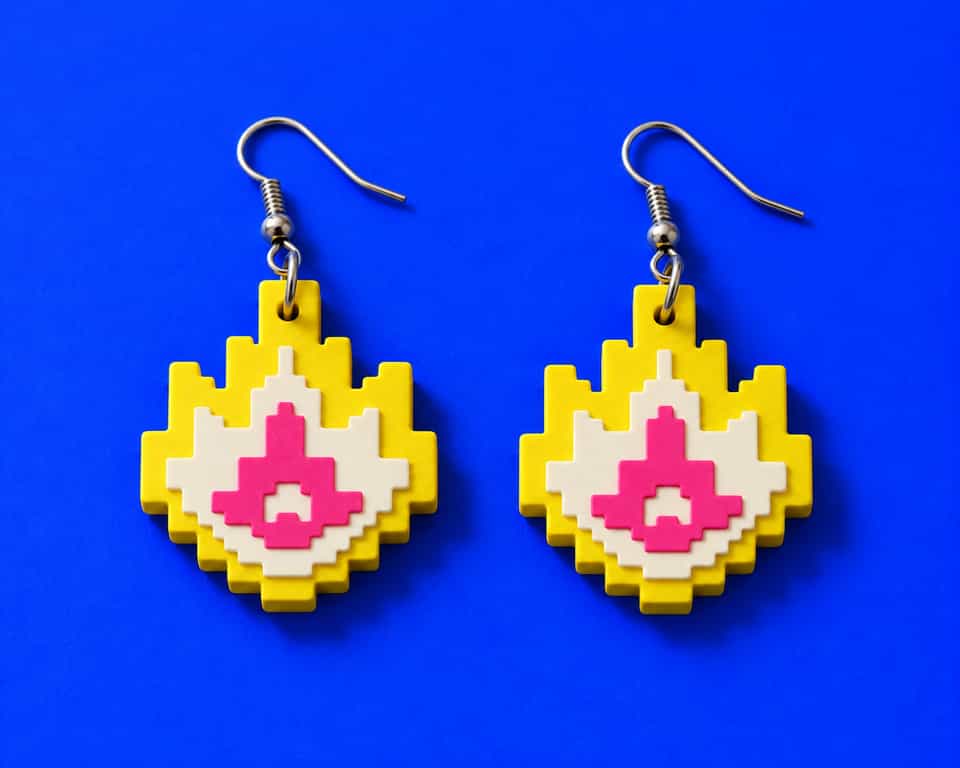
- Pixel Flame Earrings: three cutters make a yellow base, a white flame and a magenta centre with a window that shows the white clay beneath. Four sizes, 32 to 48 mm tall.
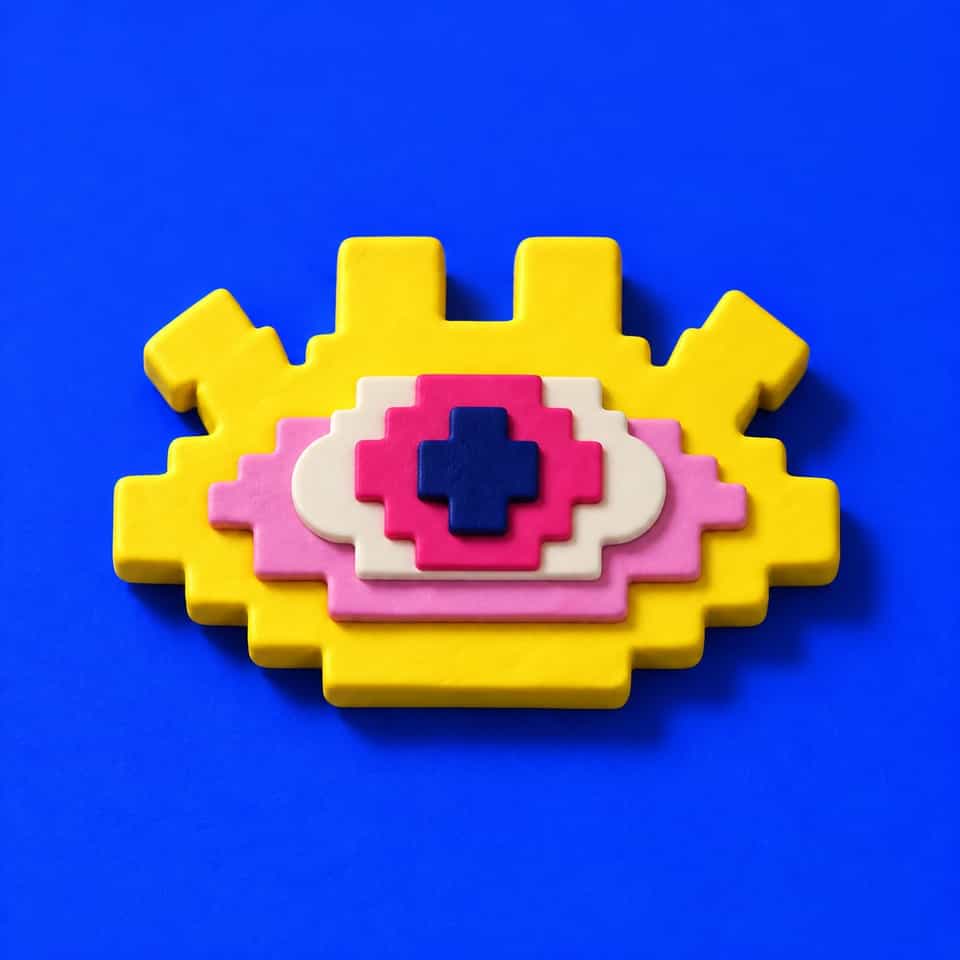
- Pixel Eye: five cutters make the base, backing, white eye, iris and pupil. The 26 mm size makes a pair of studs; the 52 to 62 mm sizes make a larger eye.
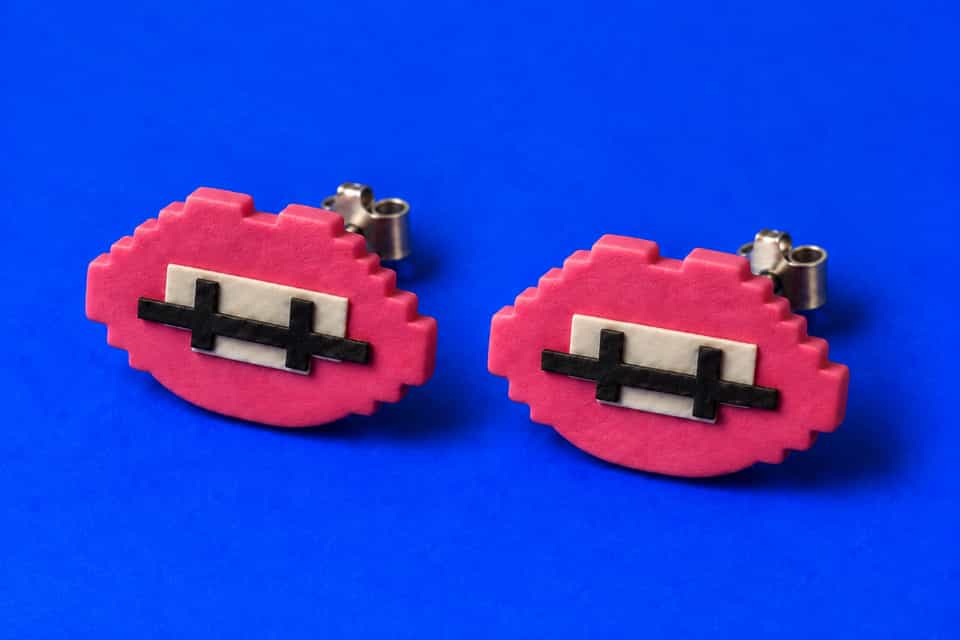
- Pixel Lips Brooch: five colour layers, with the white teeth cut as one connected piece, in four widths from 44 to 62 mm.
Each kit also includes a one-slab relief cutter that cuts the outline and presses the pixel detail into a single slab, which is the stepped silhouette method below done with a cutter. Digital STL cutter files and guide. You need a 3D printer or print service, plus your own clay and findings.
Pairs in these kits are identical, not mirrored. The Pixel Flame and the Pixel Eye studs face the same way, so you cut every shape twice and build both earrings the same way. Mirror a pair only when your own design leans or points one way: turn the second piece of each layer face down before you stack it, so its outline reverses.
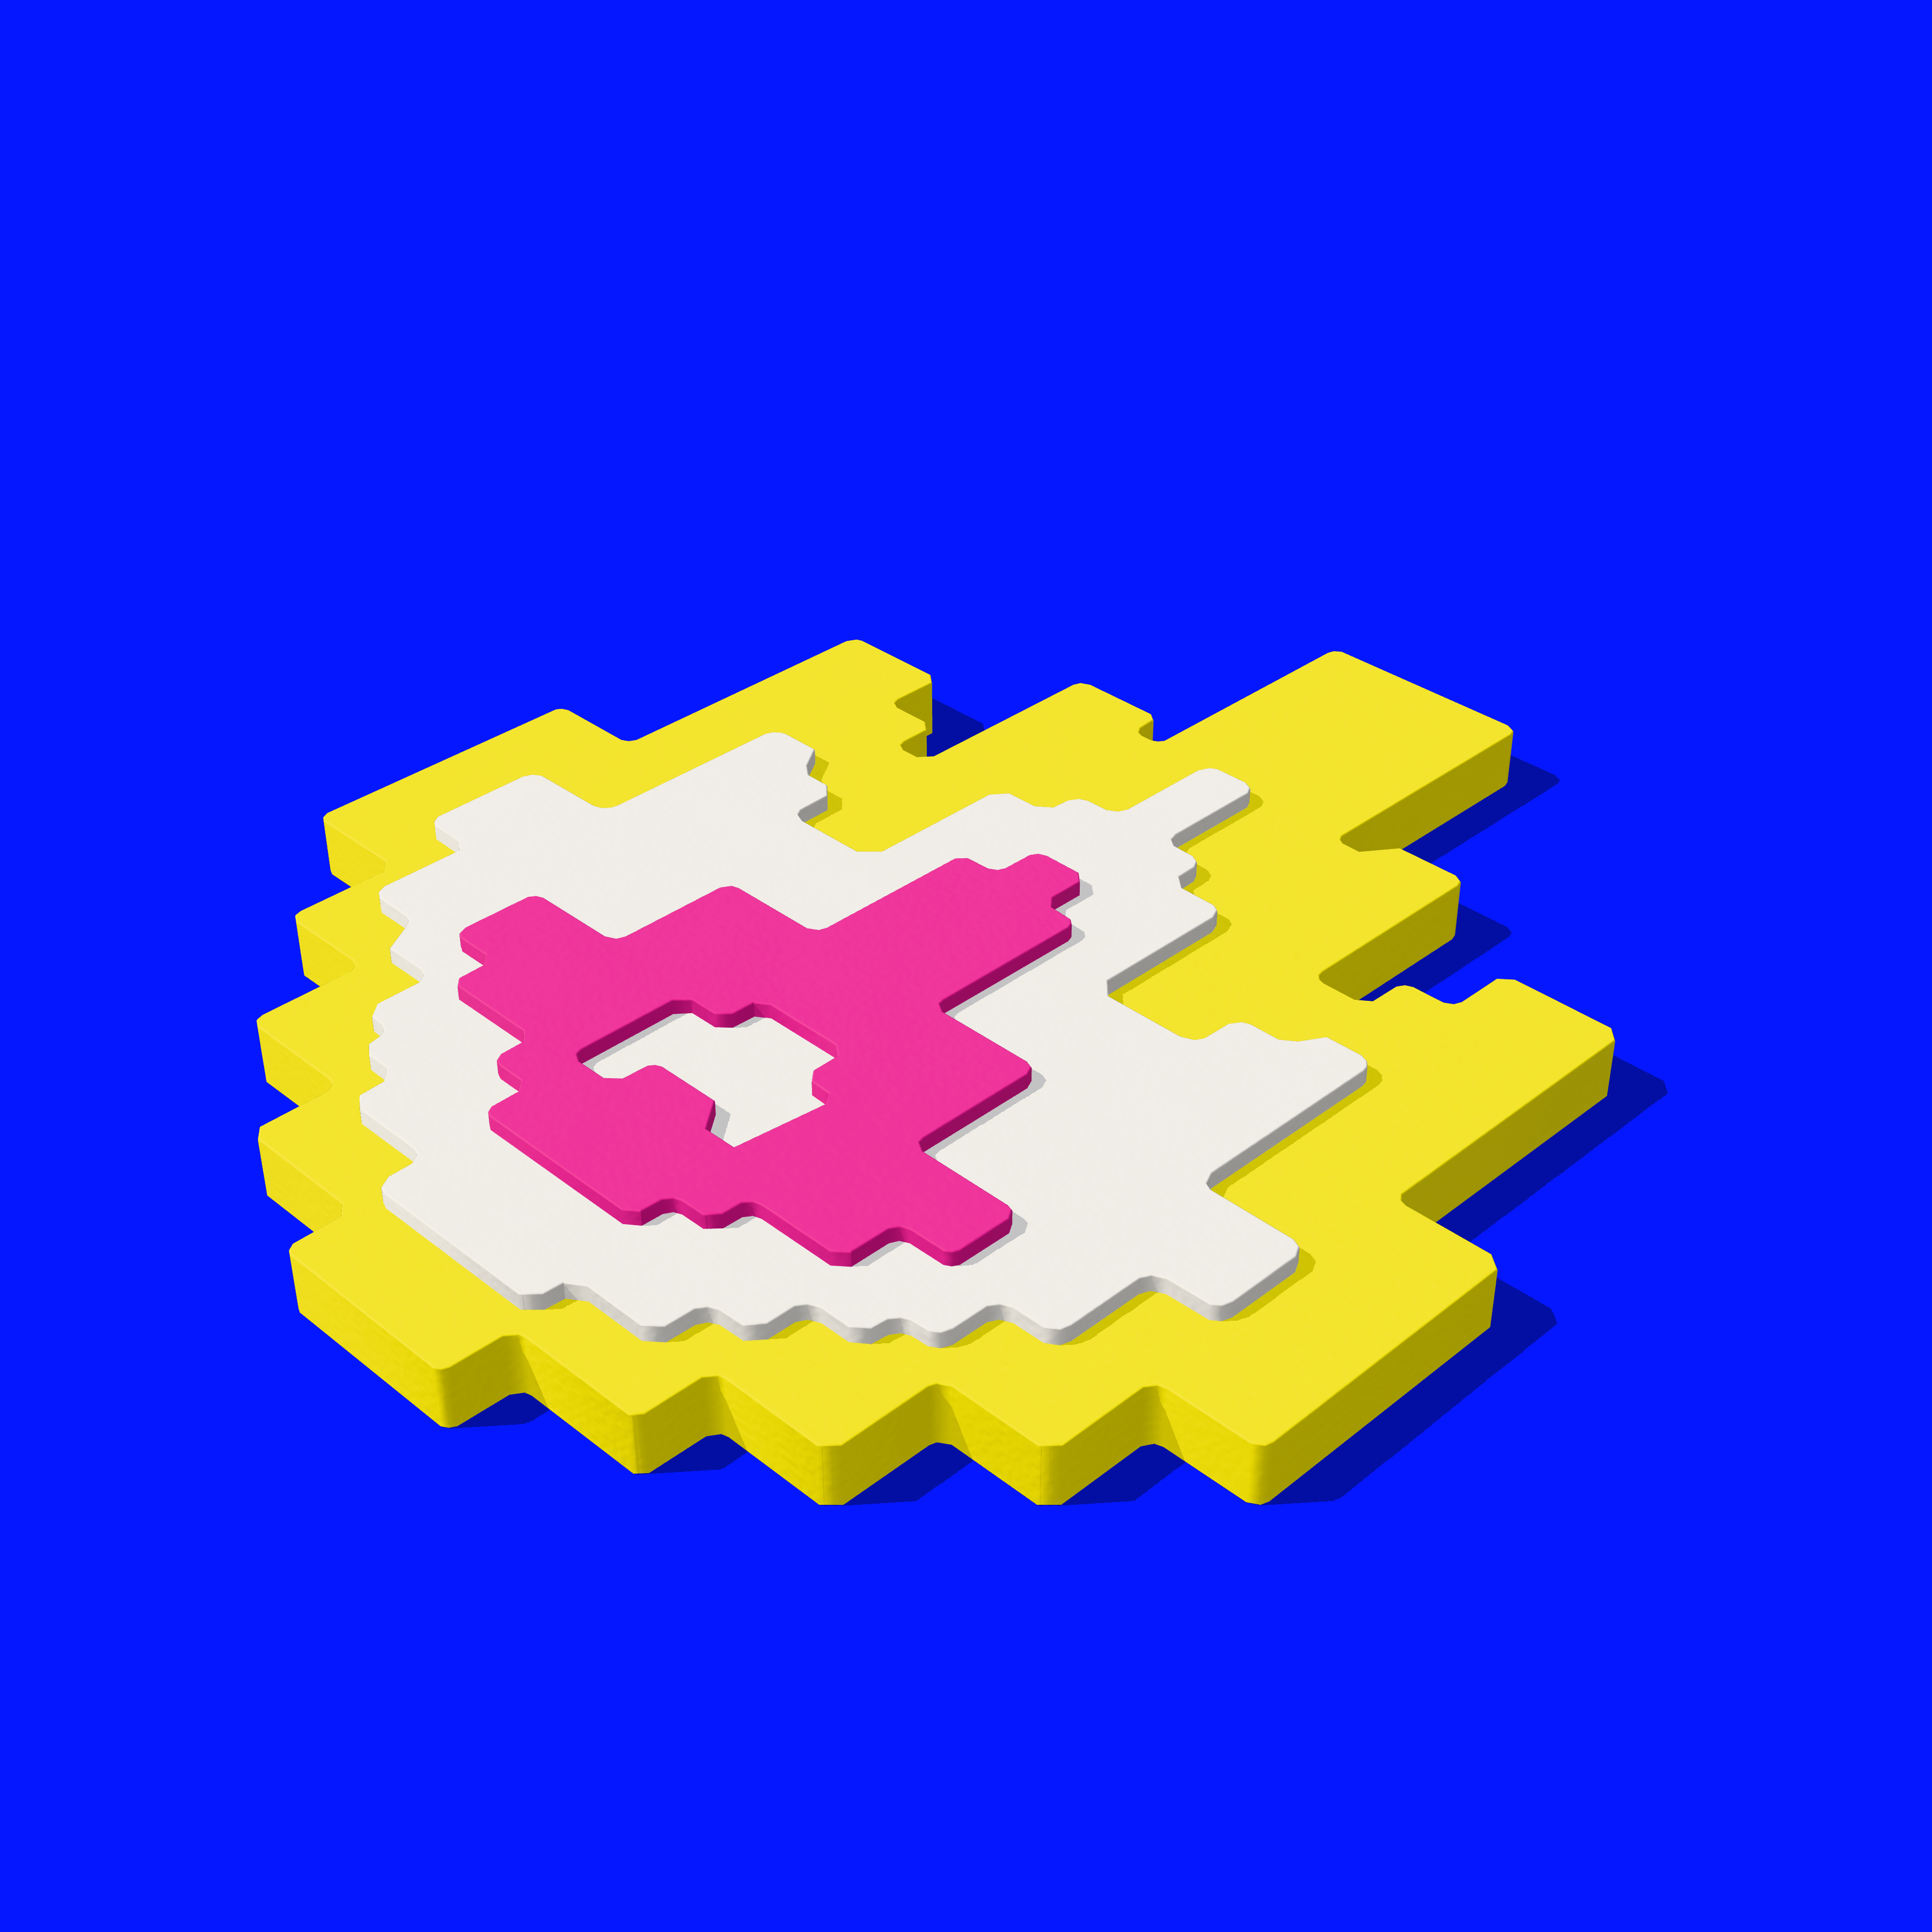
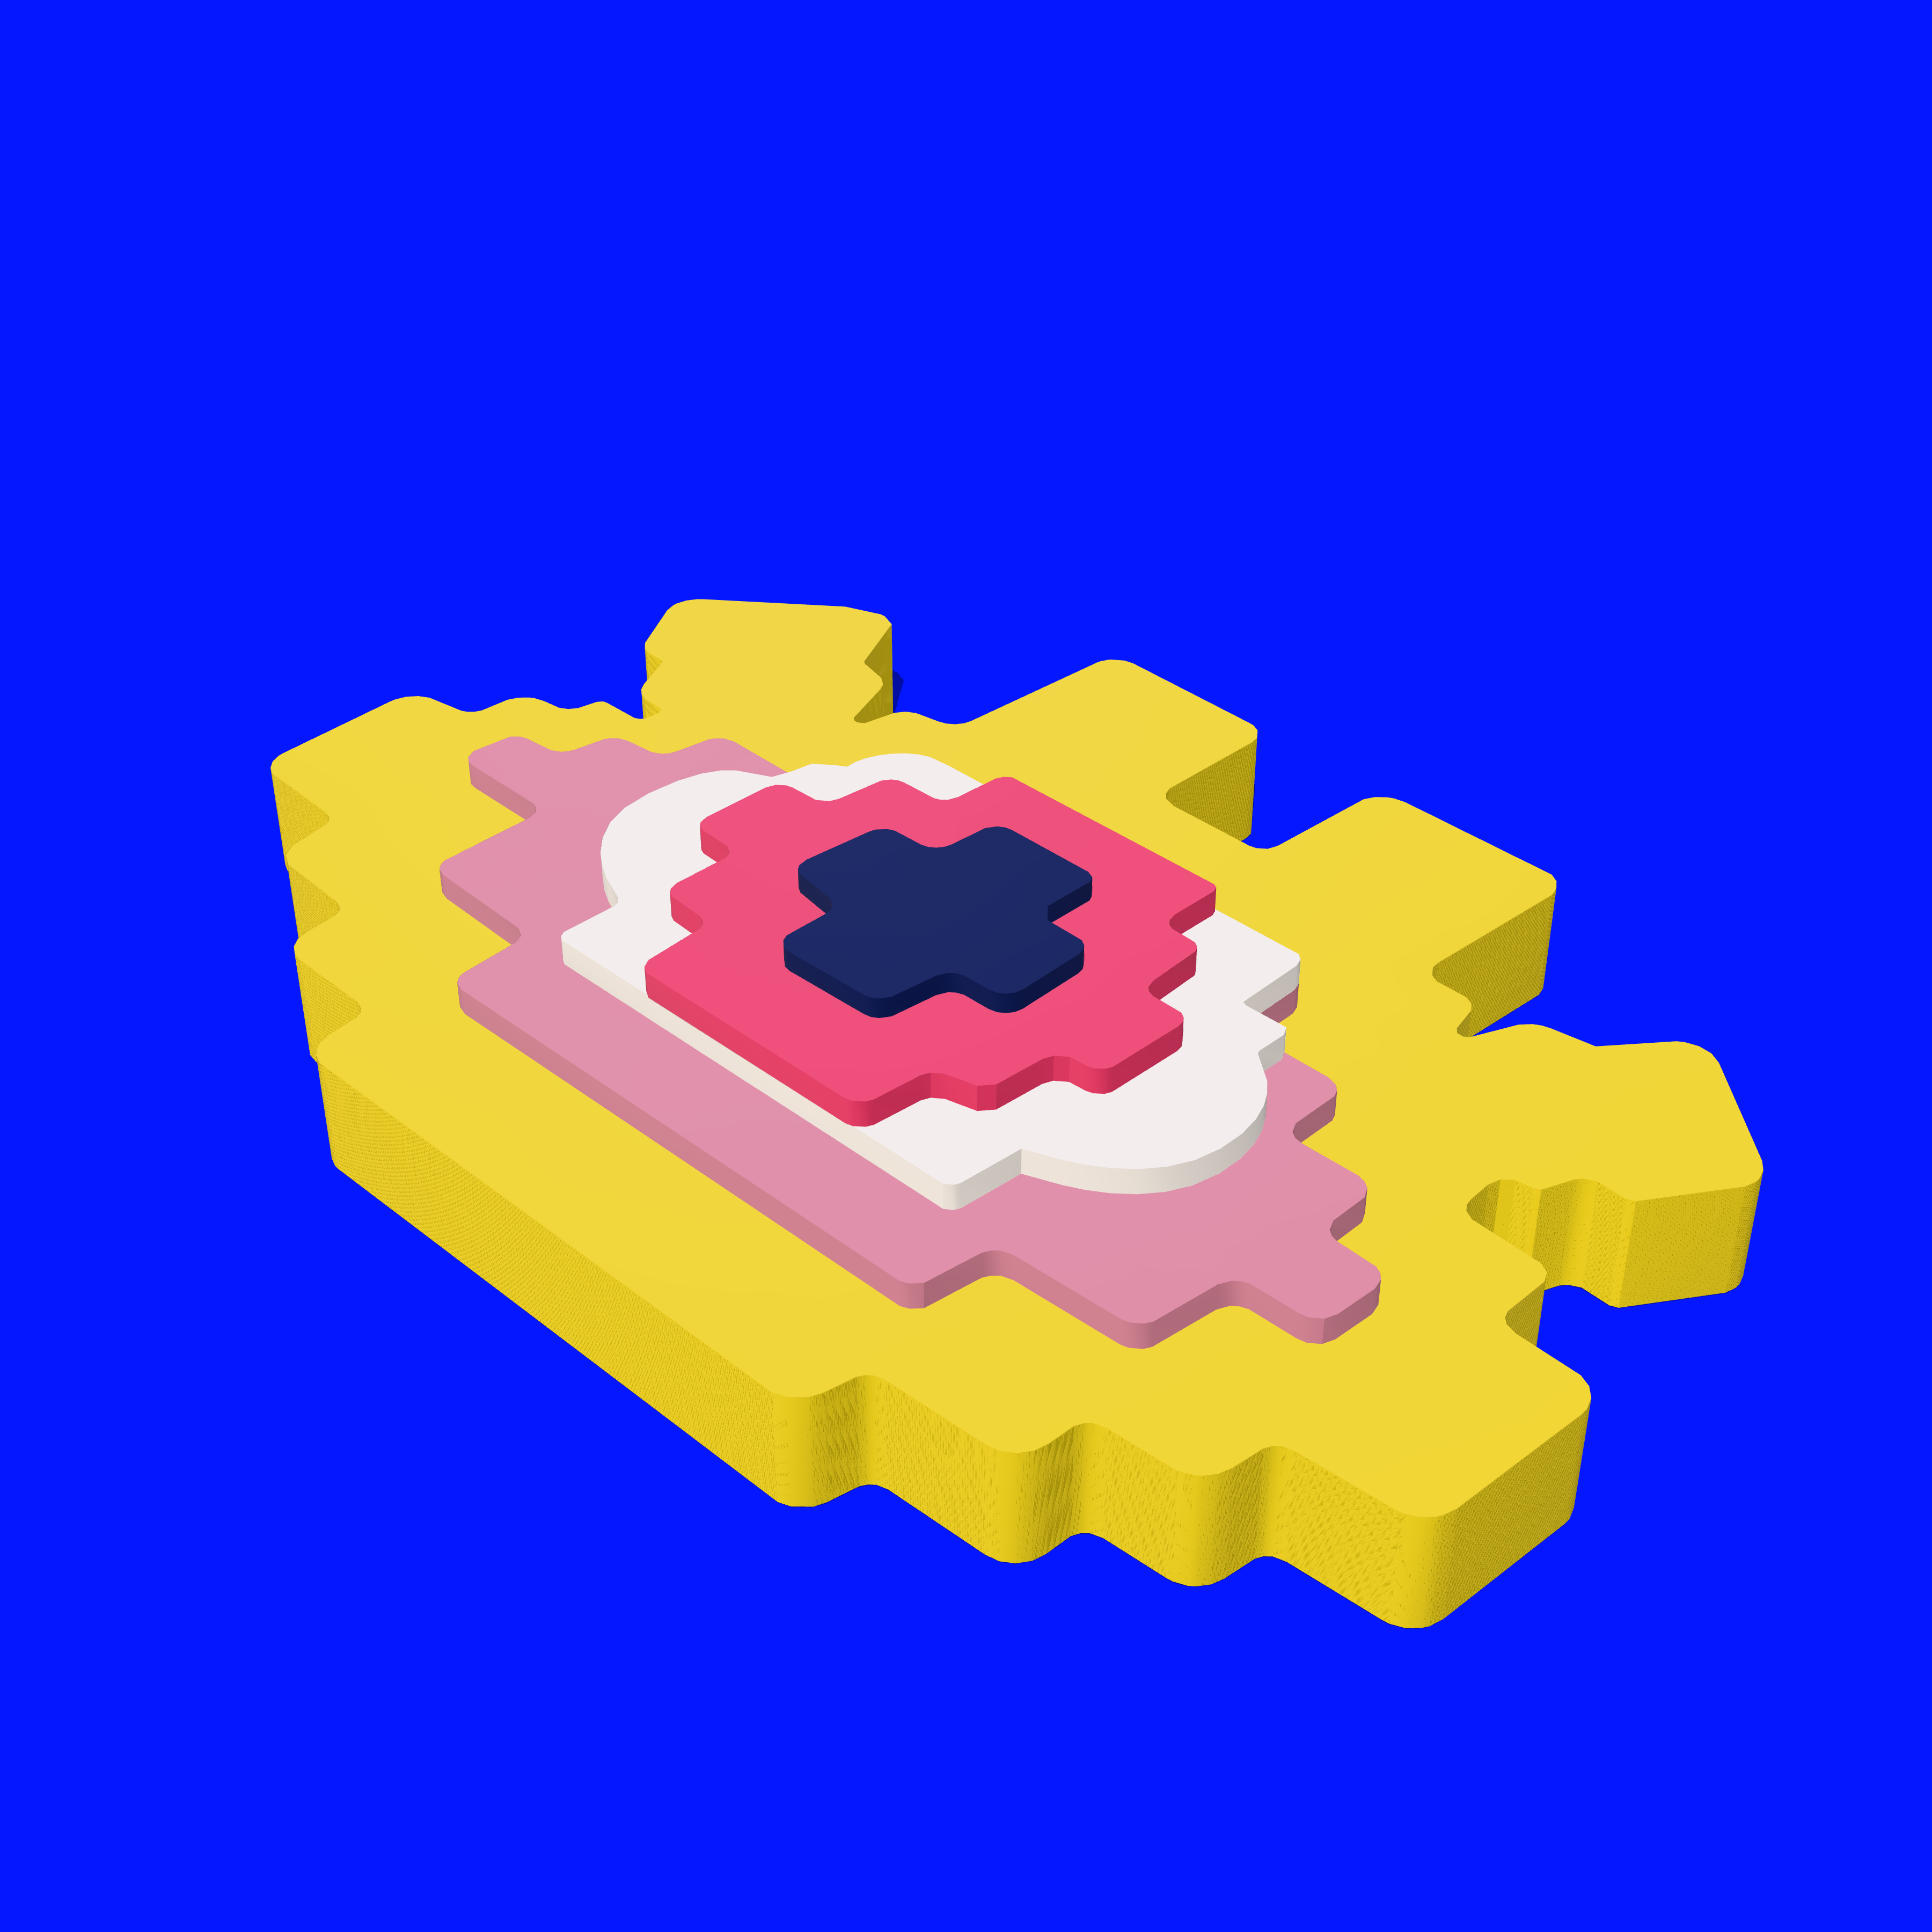

The layered pixel earrings guide covers lifting thin layers on a blade, placing them, pressing the stack and trimming. Without a printer, you can cut the same layers around paper templates with a craft knife.
One stepped silhouette from a single slab
For a one-colour shape, cut the whole outline from one slab. Draw the design on graph paper, one square per pixel, at the finished size you worked out, and cut the outline from paper or acetate to use as a template. Roll an even slab, rest it or chill it for a few minutes until it feels firm, and lay the template on top.
Cut each straight step with a tissue blade held upright. Lift the blade at every corner and start the next edge fresh, because dragging the blade through a corner rounds it. Before you lift the shape away from the slab, count the steps along each side against the template, while a miscut is still easy to redo.
Add colour after baking with paint, or press detail into the slab with a relief cutter like the ones in the pixel kits. Sand only the flat front and back; sandpaper run along the stepped edge rounds the corners. The stepped silhouette guide walks through the template and the cut.
A mosaic of separate square tiles
Build the picture from small squares of raw clay pressed onto a base slab, one square for each pixel. Sculpey's Desert Tiled Tray project uses the same method with triangles: sheets about 1/8 in (3 mm) thick, pieces placed from the centre out along drawn guide lines, then burnished level through paper.
- Cut the squares. Roll each colour to one even thickness. Cut the sheet into strips one pixel wide with a tissue blade against a ruler, then cut across the strips at the same spacing. Each square is one pixel.
- Make the base. Roll a slab in the background colour on the tile you will bake on, a little larger than the design. Lightly mark one line across and one line down through the middle to line up the first rows.
- Place from the middle out. Set the squares row by row against the lines, following your chart, and push each one snug against its neighbour. Leave background pixels as bare base. How well pressed raw clay holds after baking varies by brand, so for a piece you will wear, brush a very thin layer of liquid clay over the base first; Sculpey's tray spreads Translucent Liquid Sculpey under its pieces.
- Press once. Lay parchment or deli paper over the squares and burnish them with your fingertips until they feel level.
- Bake on the tile. Follow your clay's packet directions and let the piece cool before you lift it.
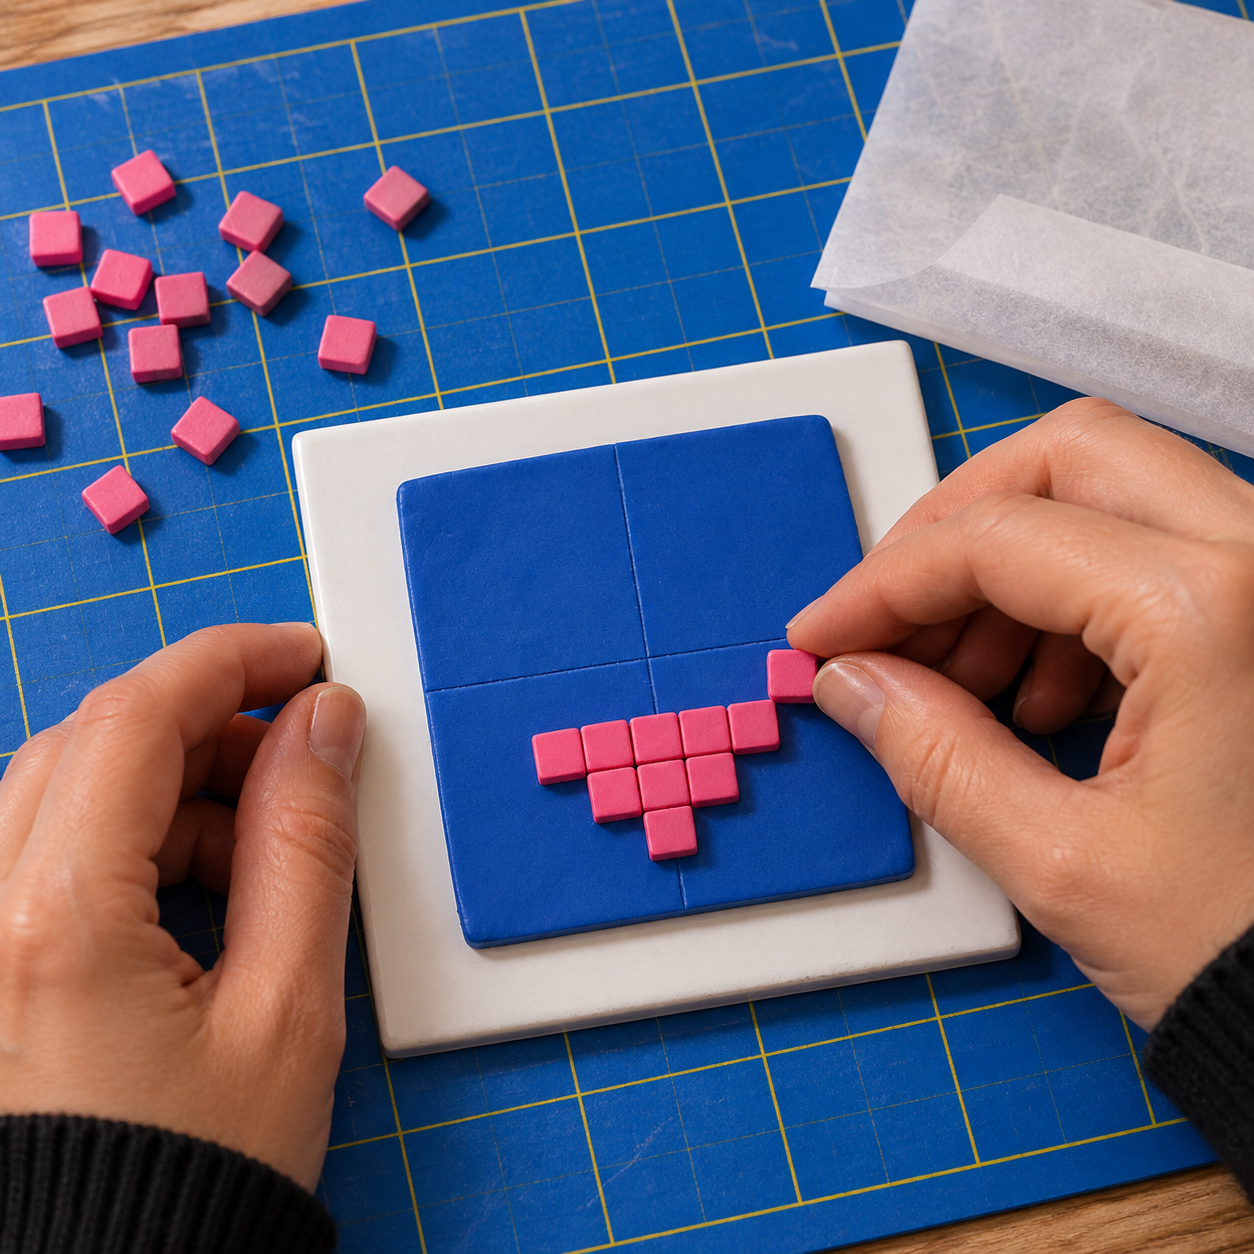
Snug squares of one colour read as a single block of colour. Leave a hairline gap between the squares, as on the pink heart in the cover image, and the grid shows instead. ClayBake's Pixel Loom Core, a printable grid cutter set for rounded-square 4 mm tiles, is listed on the tools page as coming soon.
A pixel cane for many matching pieces
A pixel cane is a block of clay with the design running all the way through it, so every slice cut across it shows the whole picture. You build it once from square logs, one per pixel, then cut as many matching faces as you need for a batch of earrings or a set of cane-covered beads. Sculpey's checkerboard cane is a two-colour pixel pattern built the same way.
- Make square logs. Roll each colour into a sheet of one thickness. Measure the thickness, then cut strips exactly that wide, so each strip is square at the end. Cut every strip to the same length.
- Build it row by row. Lay the bottom row of your chart as strips side by side, then the next row on top, until every pixel, background included, has a strip. Where several pixels of one colour sit together in a row, one wider strip can stand in for them.
- Close the gaps. Roll gently along the length of the block, turn it a quarter turn and roll again, until the strips press together with no air between them.
- Let it rest. Sculpey suggests resting a cane before reducing it, even for a day, so it firms up and reduces more evenly.
- Reduce it slowly. Roll along each face in turn to make the block longer and thinner, with light pressure; Sculpey warns that too much pressure too quickly distorts a cane. One maker method keeps the corners square by resting square rods on either side, so the roller presses the cane down to their height. Every pixel shrinks in the same proportion.
- Slice. Cut thin slices with a sharp blade. If the slices smear, Sculpey suggests a few minutes in the freezer to firm the cane. Compare the first slice with your chart before you cut more, and bake the slices by your clay's packet directions.
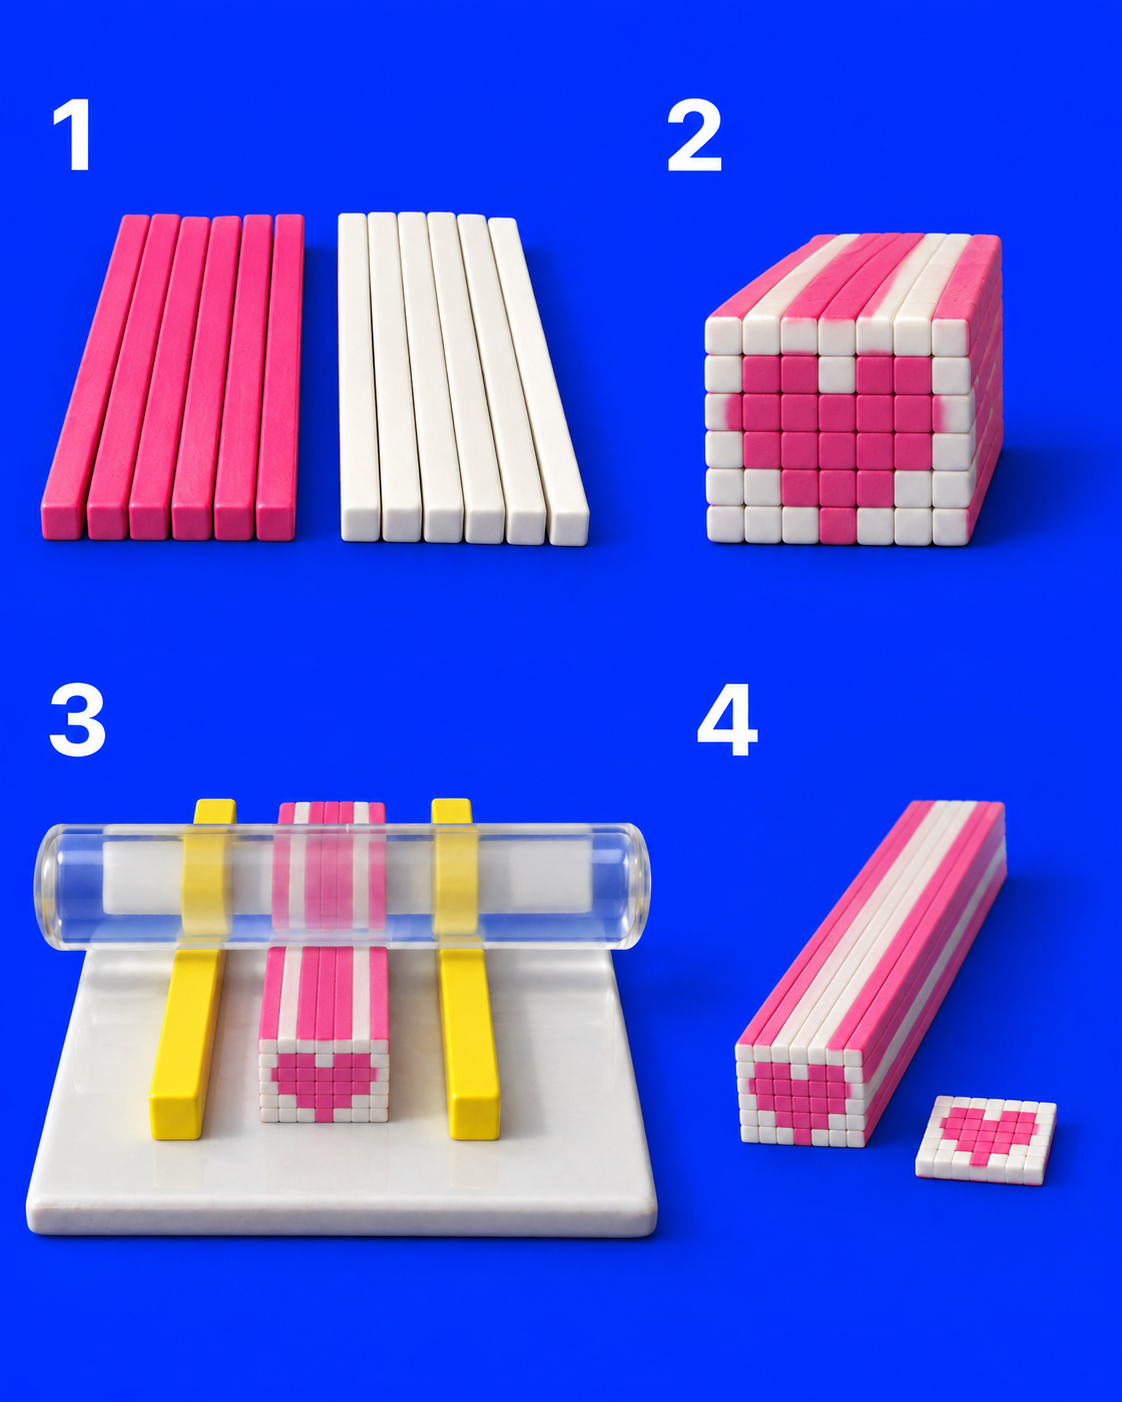
Keep every colour at a similar firmness, because a colour much softer than the rest can move as you reduce the cane and bend the grid. One long-running tutorial site that builds pixel canes from fuse-bead charts leaches any colour that is too soft before building; the soft-clay leaching guide shows how. A slice shows the design on both faces, one the mirror of the other, so turn every second slice over to make a mirrored pair.
Clay beads on a grid
For a dotted, textured version, make each pixel a small ball of clay and set the balls in rows on a base slab. The balls need to match, and Sculpey's way to portion clay evenly is to weigh equal amounts on a small digital scale or to cut equal slices from a log. Roll an even log, cut it into equal lengths and roll each piece into a ball. Set the balls in rows on a raw base, following your chart, and seat each one with a light press so it grips without flattening. The finished pixel is a dome rather than a flat square, which gives the cross-stitch look.
The bead grid guide covers placing and baking the grid. ClayBake's sphere and cylinder bead roller set, for round beads from 2 to 12 mm, is listed on the tools page as coming soon.
Keeping the squares square from cutting to baking
- Cut firm clay. Cool, firm clay cuts with less drag, so corners stay square. STAEDTLER describes FIMO Professional as much firmer than FIMO Soft and made for intricate work, which suits cutting many small squares. With a softer clay, rest the cut slab or chill it for a few minutes; clay left too long in the freezer can turn brittle. The clay brands guide compares the main lines.
- Use one clay line for every colour. Colours from one line stay at a similar softness and share one set of baking directions. For a ClayBake kit, start with the line its guide names. If you mix lines, Sculpey's advice is to bake at the highest temperature and for the longest time among them, so check that each clay allows that temperature.
- Press once, lightly, through paper. Burnish tiles and layers through parchment or deli paper, and seat beads with a light fingertip press. Rolling over a finished piece spreads the clay and widens every step.
- Count before you bake. Count the rows and columns against your pattern before baking. If a feature disappears at the finished size, simplify its outline or give it another row of pixels, then check the proportions again.
- Bake where you built it. Build on the oven-safe tile you will bake on, so the raw piece is not lifted. Bake by your clay's packet directions with an oven thermometer beside the clay, and let the piece cool on the tile.
- Finish the faces only. If you sand, sand the flat front and back. Sandpaper along a stepped edge rounds the corners.
Turning pixel pieces into earrings
Decide how each earring will hang before you bake. A dangle needs a hole for a jump ring: the Pixel Flame's hanging hole goes through the flame's own top pixel, and the jump ring hole guide covers punching the hole in raw clay or drilling it after baking. A stud has no hole: the 26 mm Pixel Eye studs are glued to flat-pad posts after baking, with a glue suited to baked clay and metal. The earring findings guide helps you choose posts, hooks and backs for the size you made.
Other reads on this topic
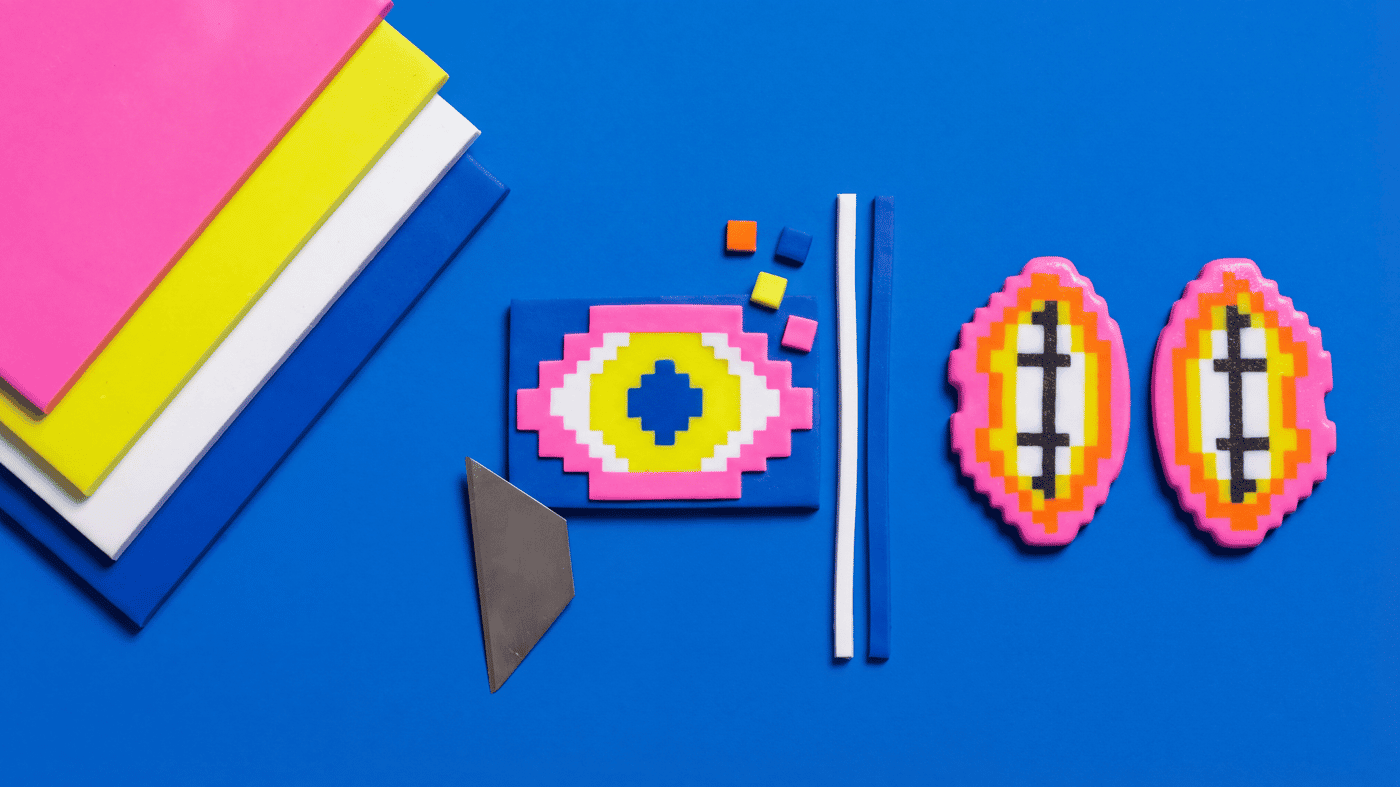
Layered pixel clay earrings: how to line up thin colour layers without stretching them
Your cutters shape each piece, but you place every colour layer by hand. Lift thin layers on a flat blade, line each one up before any pressure, then press the stack lightly through parchment.
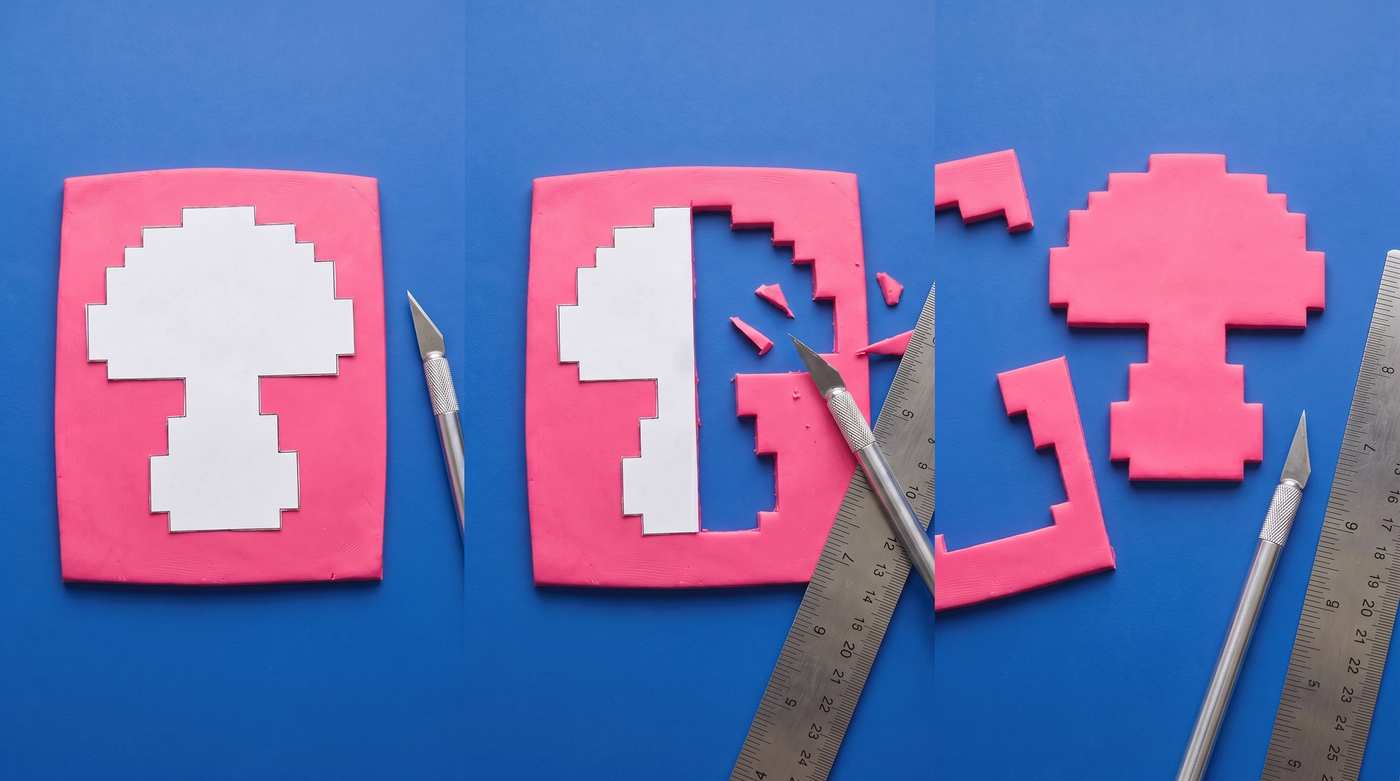
Cut 8-Bit Pixel Polymer Clay Earrings: Staircase Guide
True 8-bit pixel earrings and brooches need stepped-edge silhouettes that look like deliberate pixels from a distance, not softened curves. This guide covers grid-based templates, blade-cut checks, and keeping the staircase crisp through cure.
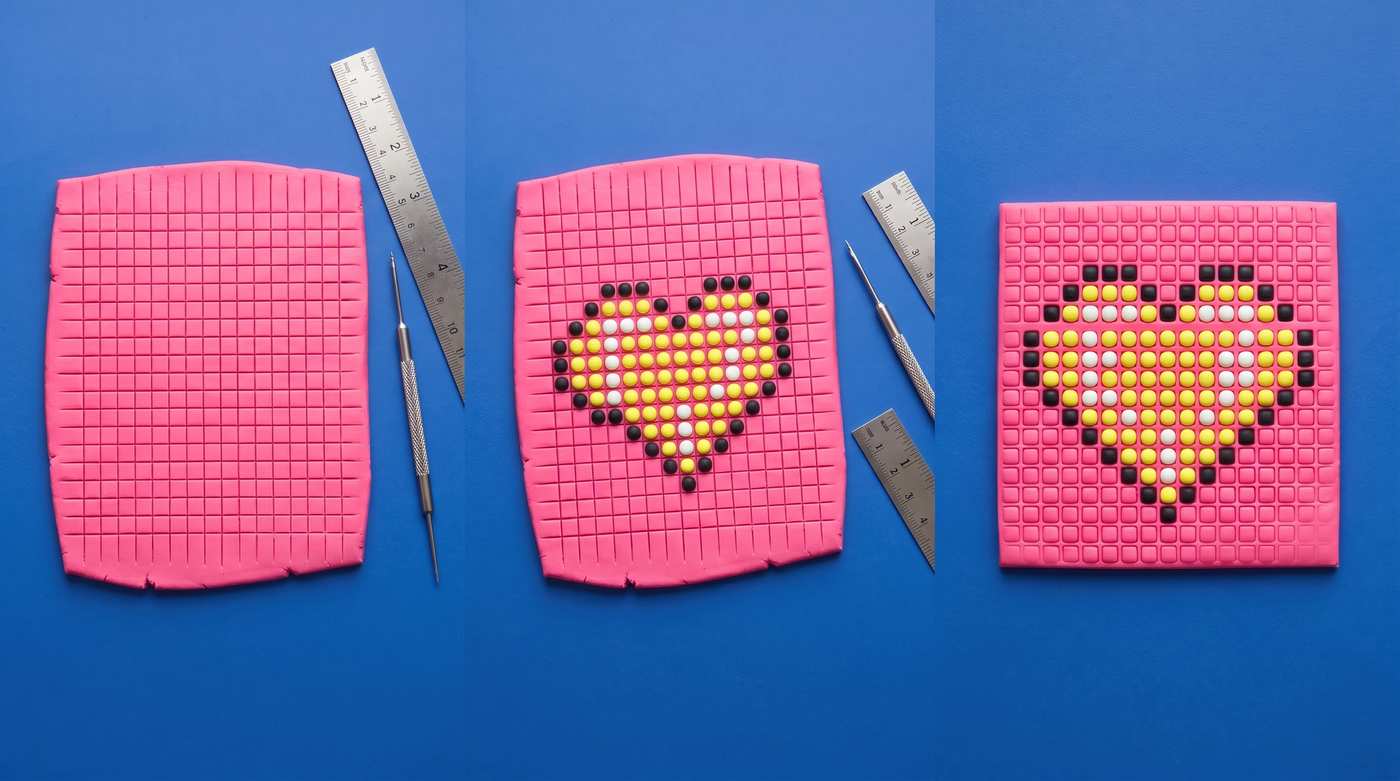
Polymer Clay Bead Grid Tutorial: Cross-Stitch Pixel Patterns
A regular grid of small clay beads can look like cross-stitch when the bead size, spacing, and color placement stay disciplined. This guide covers bead rolling, grid jigs, and how to keep the inlay flat and aligned through cure.
Finished examples with related clay decisions
Each piece shows how a material, attachment, or surface choice changes the final form.