
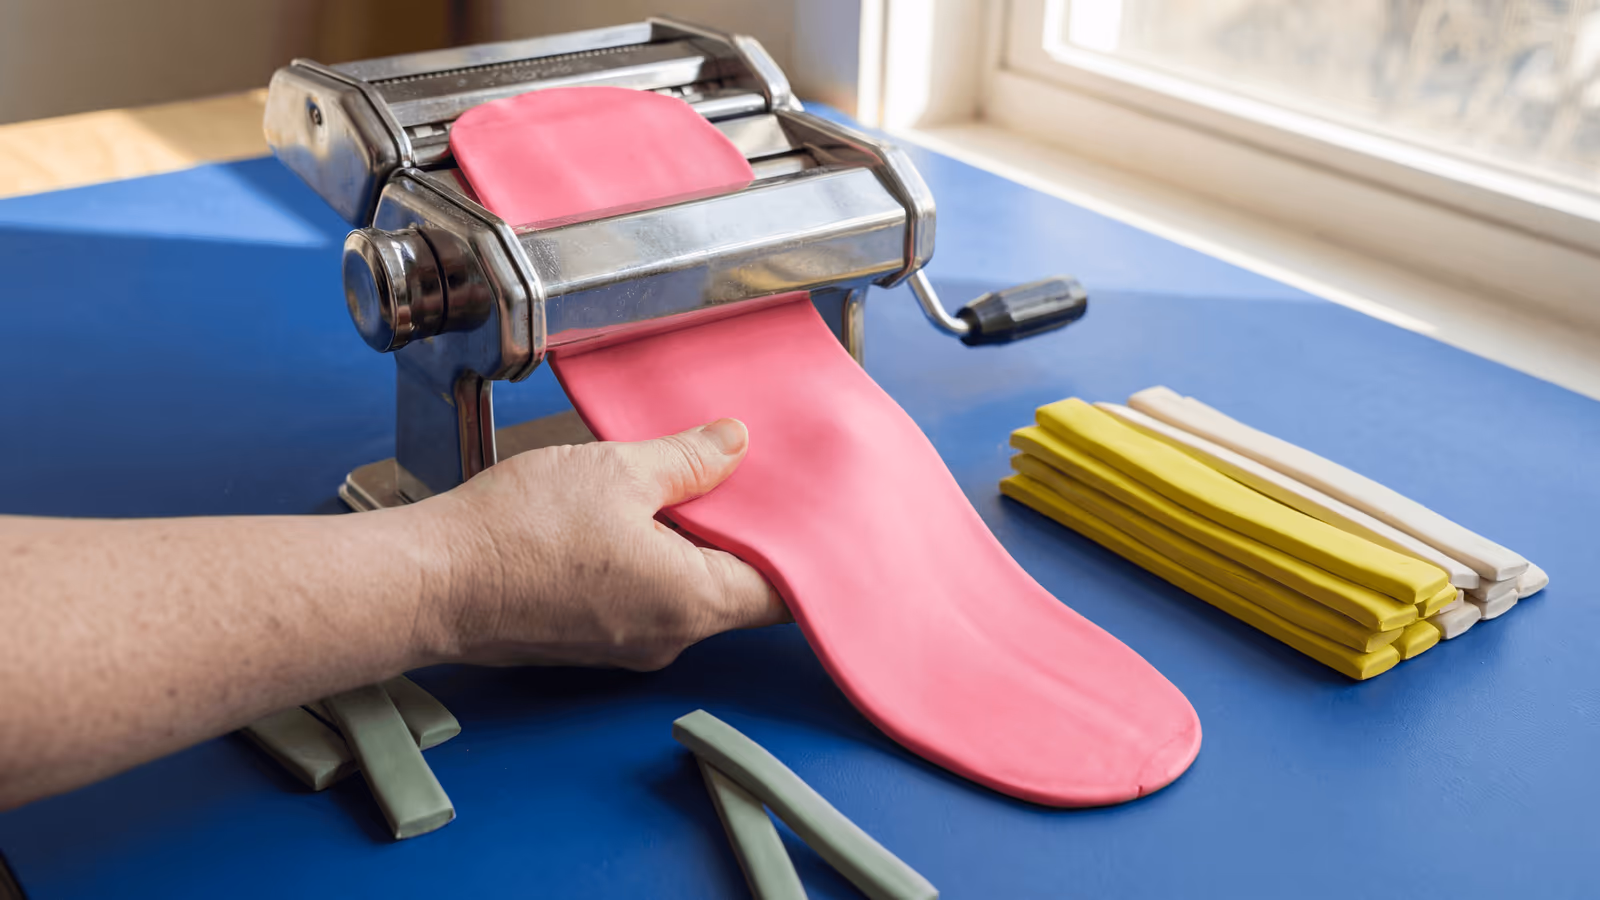
Conditioning Polymer Clay for Clean Sheets, Crisp Cuts, and Better Canes
Conditioning is not just softening clay. It is how you get cleaner slabs, steadier cane reduction, and sharper cut edges before the piece ever reaches the oven.


Use this as a maker reference, not a final spec. Before you rely on it, check your clay brand's instructions, seller details, and manufacturer safety guidance for your own setup.
Start with one mirrored lip template and keep both plaques flat, because the images show graphic stepped lip shapes with a pink center and a yellow border rather than soft sculpted mouths. Cut both lips from the same sheet, lay the pink center in after the outer outline is sharp, and pierce the hanging point on the centerline so the pair faces forward instead of twisting inward.
A quick read on the clay method, surface finish, and effort level before you start gathering tools.
Dimensions, motif spacing, and step timing below are build-ready estimates inferred from the reference image and the listed technique. Verify measurements against your own setup before cutting or assembling.
Work in sequence so the form, thickness, surface detail, and finishing stay controlled from prep through bake.
Roll one even slab thickness for the yellow border layer and one for the pink center layer.
Cut the outer lip shape first so the top bow and lower corners match from left to right.
Trim the pink center insert from the same mirrored template family and place it only after the outer edge is already clean.
Pierce the top center hanging point before baking so the lip hangs forward instead of canting to one side.
Bake the plaques flat on a tile, cool them fully, and clean the hole only if it tightens during cure.
Attach the silver hook wires and jump rings after cure, then gloss the front lightly if you want the same slick finish.
Metal findings like posts, hooks, and jump rings may contain nickel or other allergens. If you have sensitive skin, choose surgical steel or titanium findings and test any sealant or coating on a small area before wearing.

Start with the core build kit, then add optional finishing or hardware only if it fits the version you want to make.
Some links in this build guide are affiliate links. If you buy through them, we may earn a small commission at no extra cost to you. That support helps keep our guides and research free. We choose products we think are relevant to the build, but check the listing details, dimensions, and material fit for your own setup before you buy. As an Amazon Associate I earn from qualifying purchases.
Gets you close to the bright pink lip centers in the reference pair.
Use this for the border so the lips keep the same poster-bright outline.
Helps you keep the mirrored lip plaques flat instead of rounded.
Useful for making both lips from one even sheet so they hang as a pair.
Important for trimming the stepped corners and cupid-bow shape cleanly.
Matches the hook-style assembly in the images.
Connects the hook to the lip plaque without crowding the top edge.
Read the technique guides that matter most for building this piece, refining the finish, or avoiding the most common mistakes.

Conditioning is not just softening clay. It is how you get cleaner slabs, steadier cane reduction, and sharper cut edges before the piece ever reaches the oven.

Choose polymer clay earring findings by front view, rear contact area, disclosed metal details, attachment method, and finished weight instead of treating one post, glue, or metal as universal.

The best clay cutters for beginners are usually sharp, repeatable starter shapes. Clean release and even slab thickness matter more than a long novelty list.
Explore adjacent builds with similar form, finish, or construction ideas.
Start with posts, glue, and cutters before you obsess over the silhouette. Those three decisions drive clean assembly and fewer failures.
See all guides
Many makers reach for a two-part epoxy when they want slower setup time for post placement. Treat every adhesive as a test-first choice, especially if the clay, finding, finish, or prep routine changes.

Use flat-pad posts with clear material specs when you want a common, easy-to-source assembly starting point. If you add titanium, verify the listing details and material spec before you position it as a separate hardware option.
Keep this build handy while you test your own version.
Tag #ClayBakeStudio on Instagram or TikTok.