tutorials10 min read
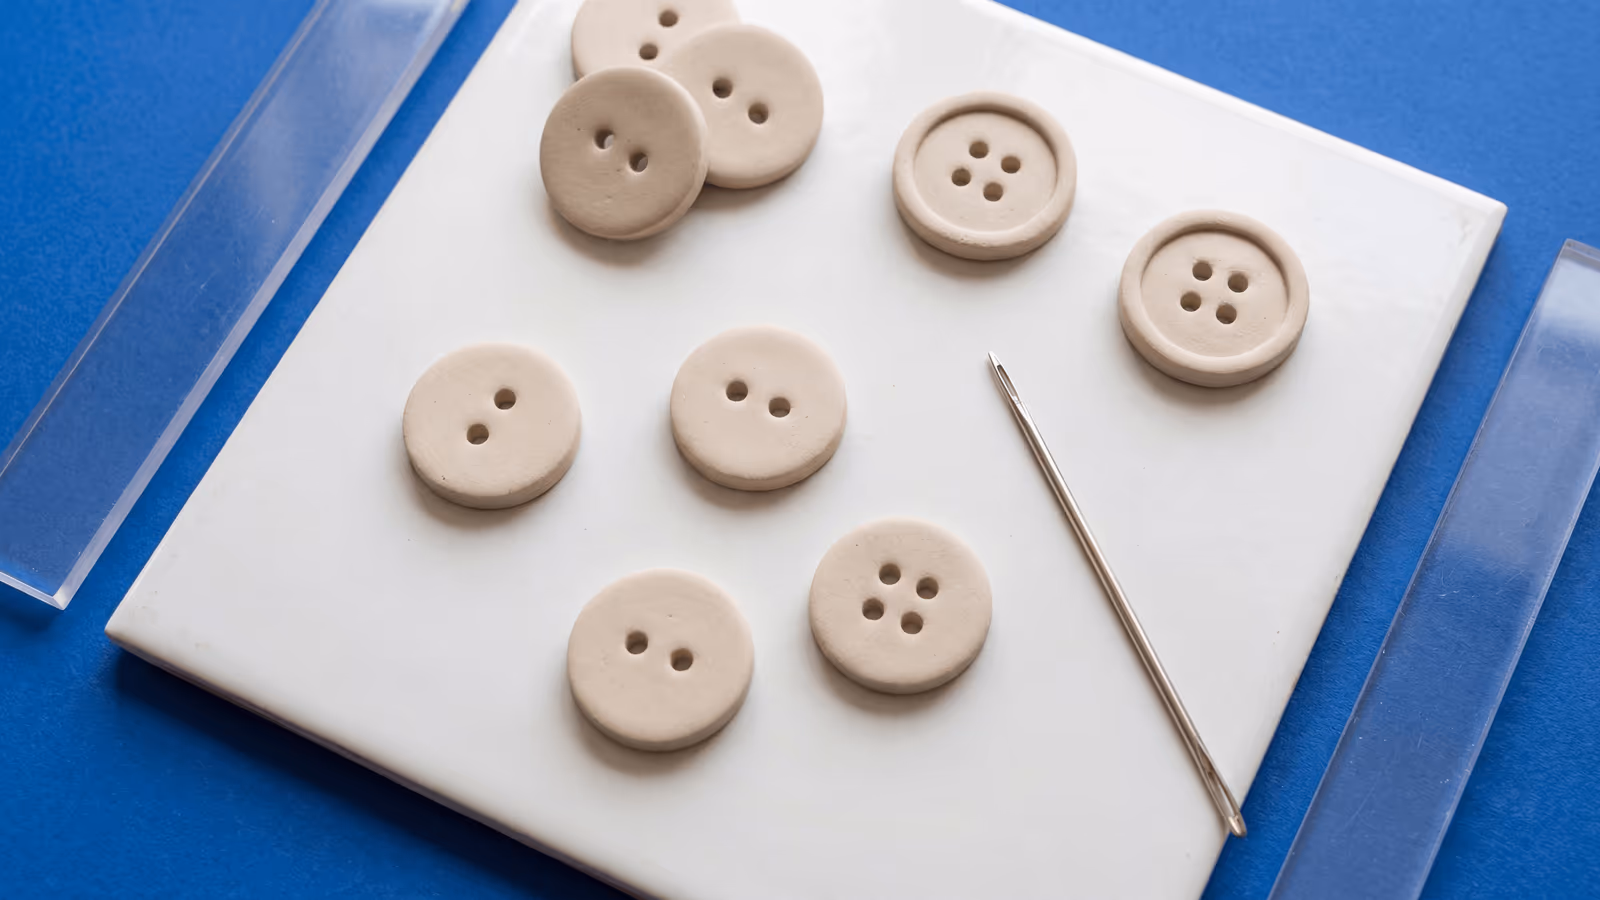
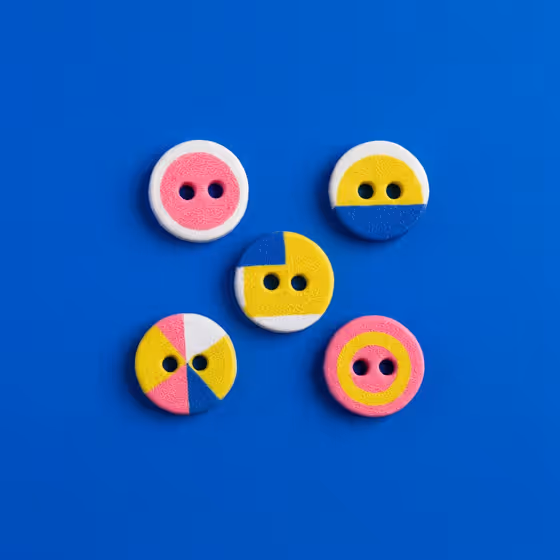
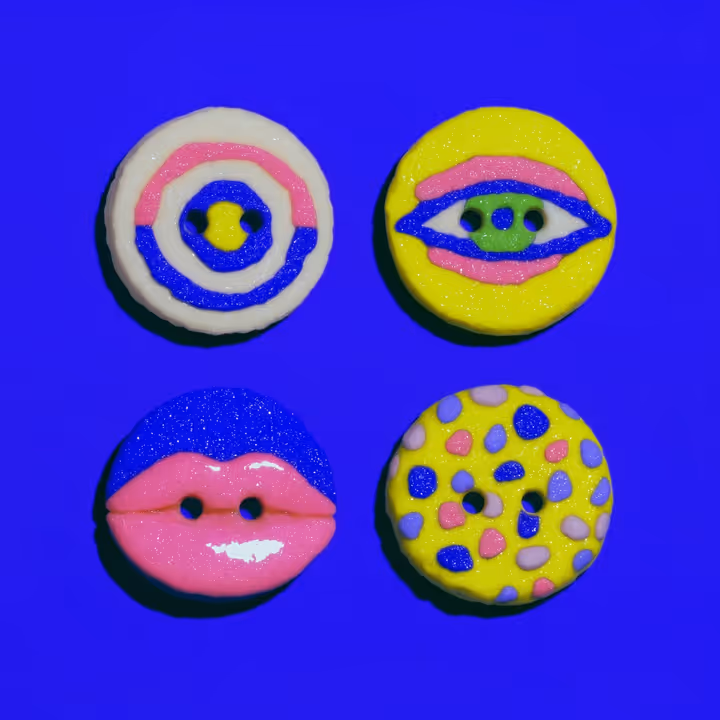
Polymer Clay Striped Buttons, Chevron Wraps, and Drum Blanks
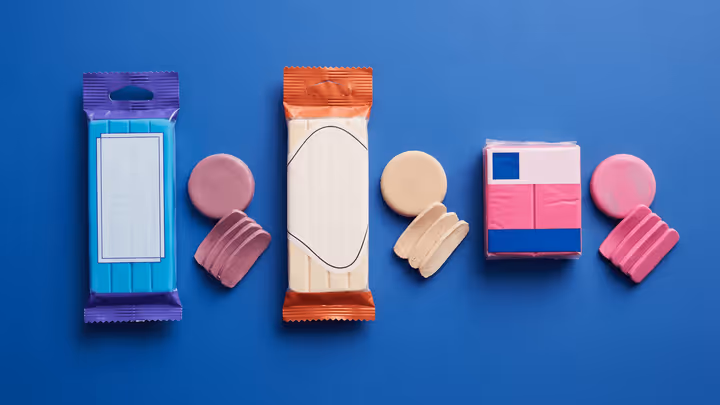
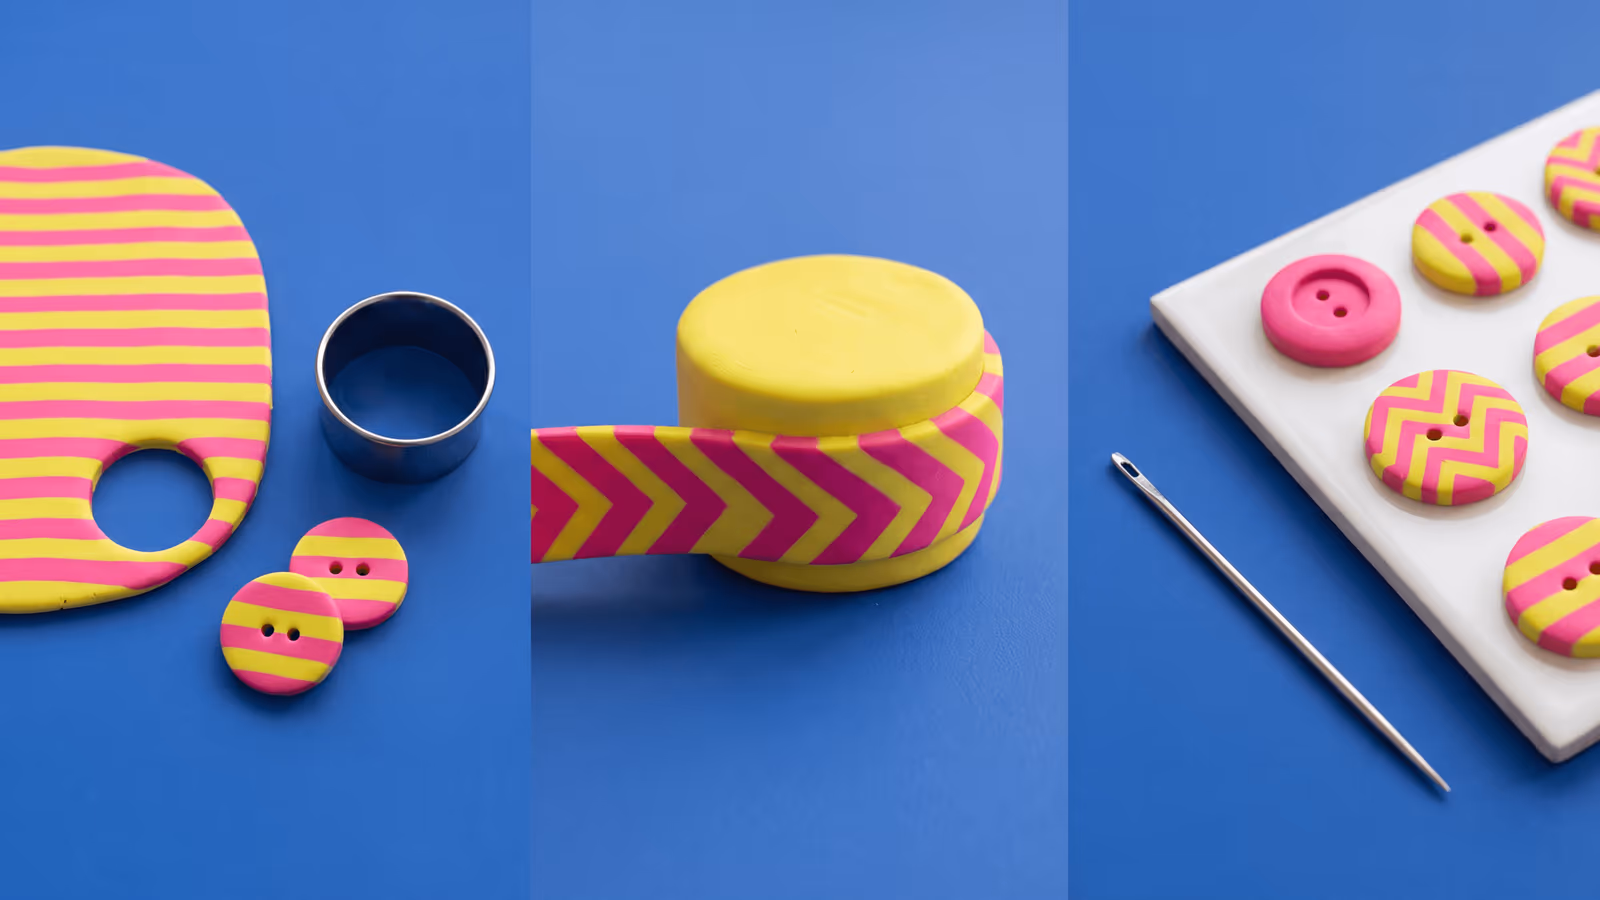
Patterned polymer clay buttons get much easier when you lock the blank size first, then build stripes, chevrons, or wrapped sidewalls around that structure. This guide covers a clean build order for flat sew-through buttons and short drum blanks.
Read guide