
In brief
Key takeaways
- Build the grid on a flat slab before cutting your finished shape
- Lay thin parallel strands, then cross them with a second set at right angles
- Adjust the spacing before rolling the strands into the surface under paper
- Recheck the slab thickness after rolling and follow your chosen project's cutting instructions
Article contentsOpenClose
A blue slab with fine pink lines makes a bold background for colourful earrings. Build the grid on the uncut slab so the lines run across the whole design, then choose where to place your cutter.
This surface pattern uses thin strands of contrasting clay laid in two directions. The four illustrations below show the order: parallel lines, crossing lines, the complete grid, then rolling it into the surface.
Choose your tools and colours
Gather two colours of polymer clay, a roller, thickness guides, a clay-compatible work surface, paper and the cutter for your finished shape. Our beginner toolkit guide explains the basic equipment.
Prepare the slab and contrasting strands
Condition each colour, then roll the base into a flat slab. Roll the contrasting colour into thin strands. Aim for a similar width along each strand so the grid reads evenly across the surface.
Leave enough decorated area around your intended shape to move the cutter before you commit. A wide grid gives more space to the background colour; closer lines make the pattern busier.
1. Lay the first strands
Lay the strands parallel across the slab, leaving space between them. Place them lightly at first so you can adjust the spacing. Carry each strand across the area you intend to cut.
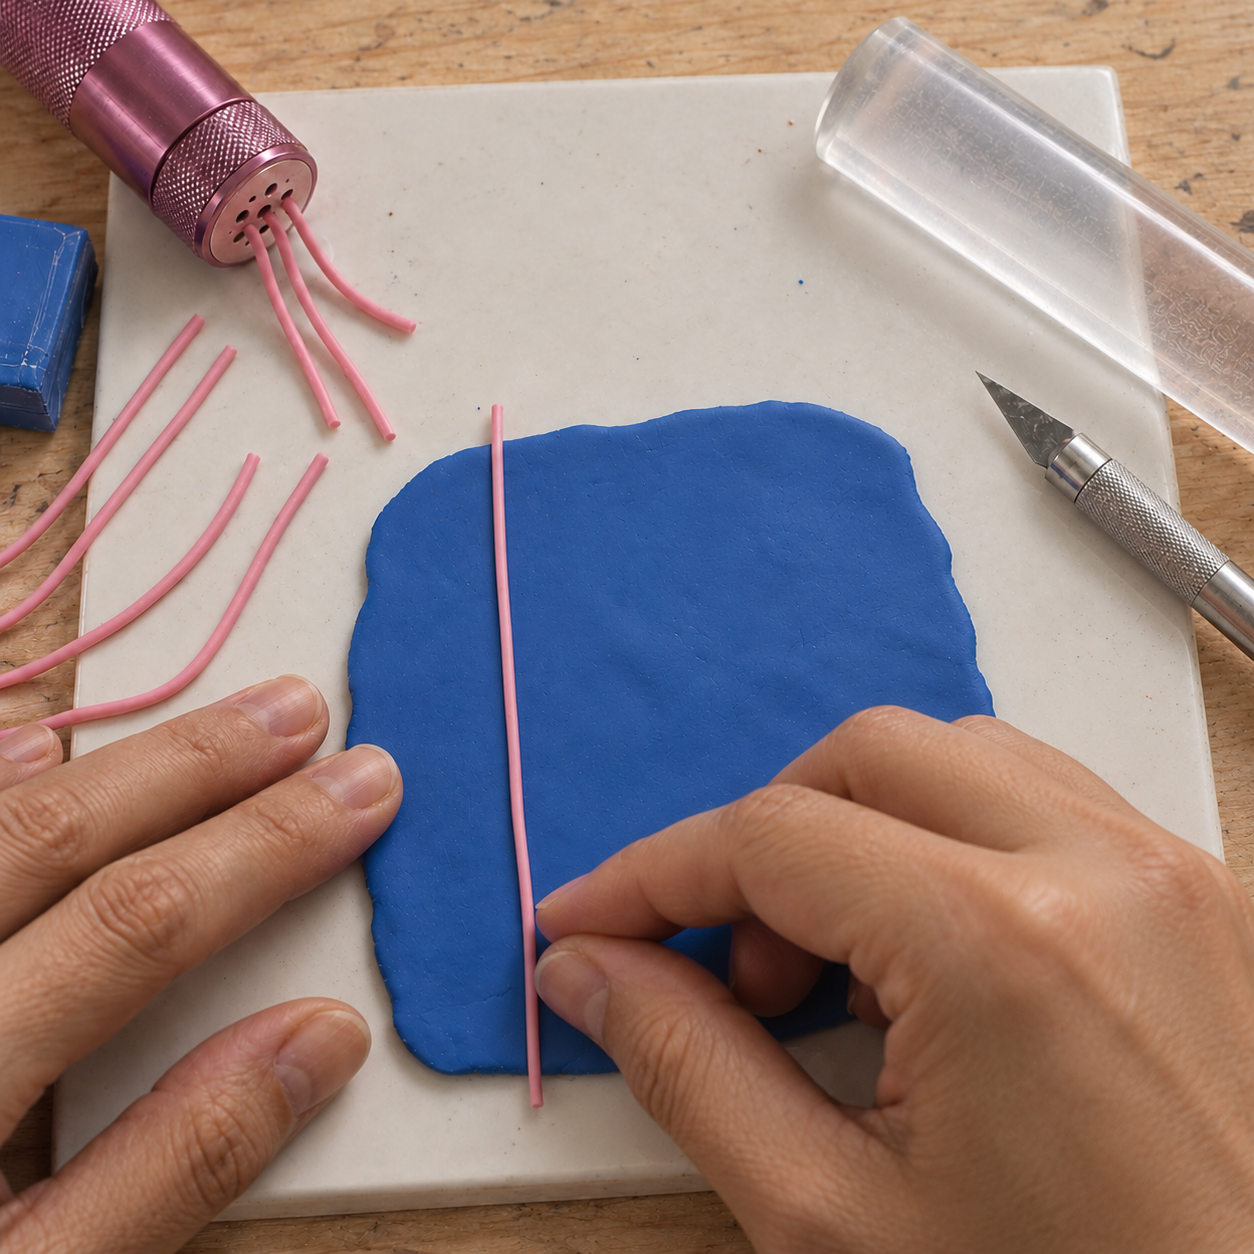
2. Cross the strands
Lay a second set across the first at right angles. Use the same spacing in both directions for a square grid, or leave wider gaps in one direction for rectangles.
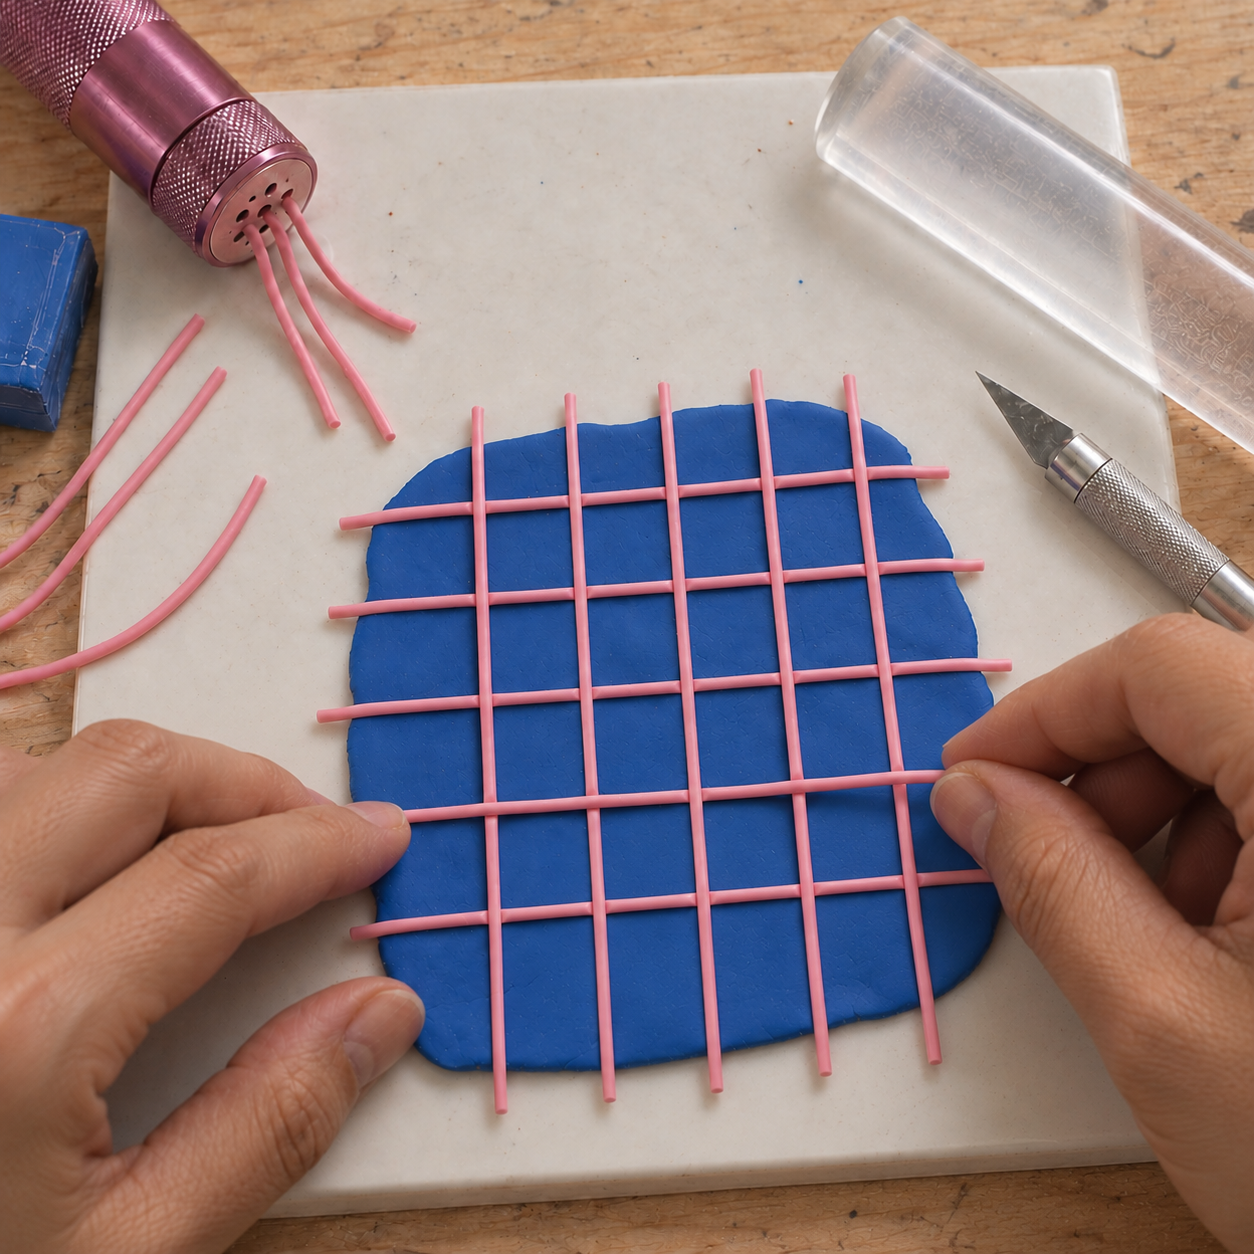
3. Complete the grid
Continue across the area you will cut. Look along the rows and columns, then straighten any strands and adjust the gaps before rolling. Check that your chosen cutter fits within the patterned area.
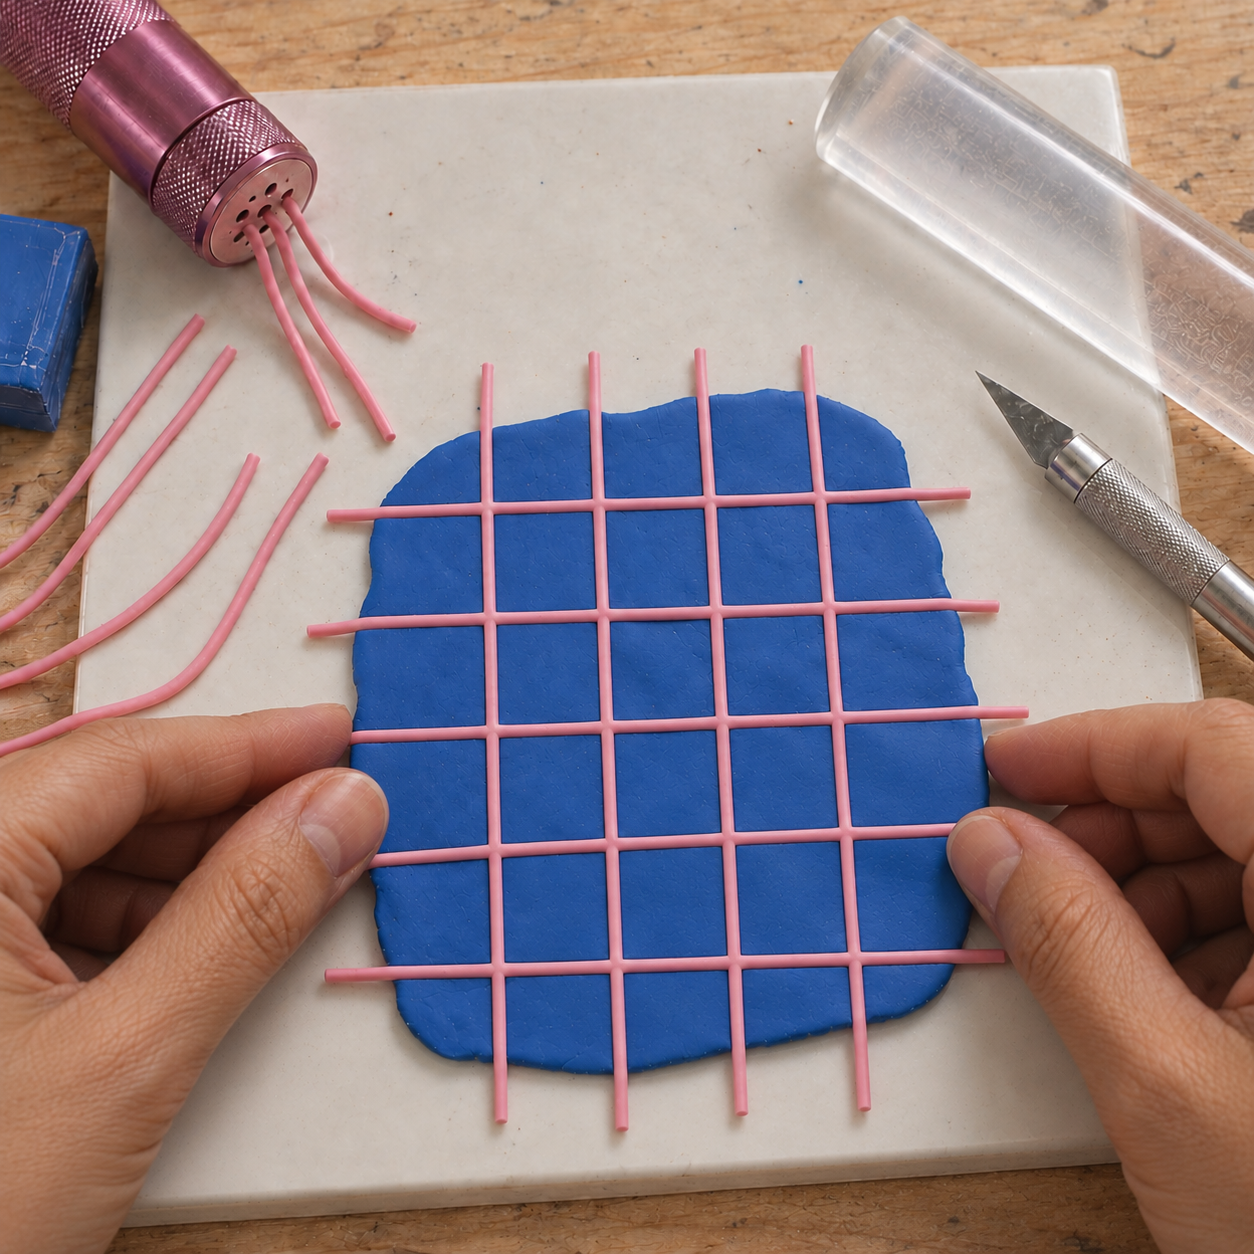
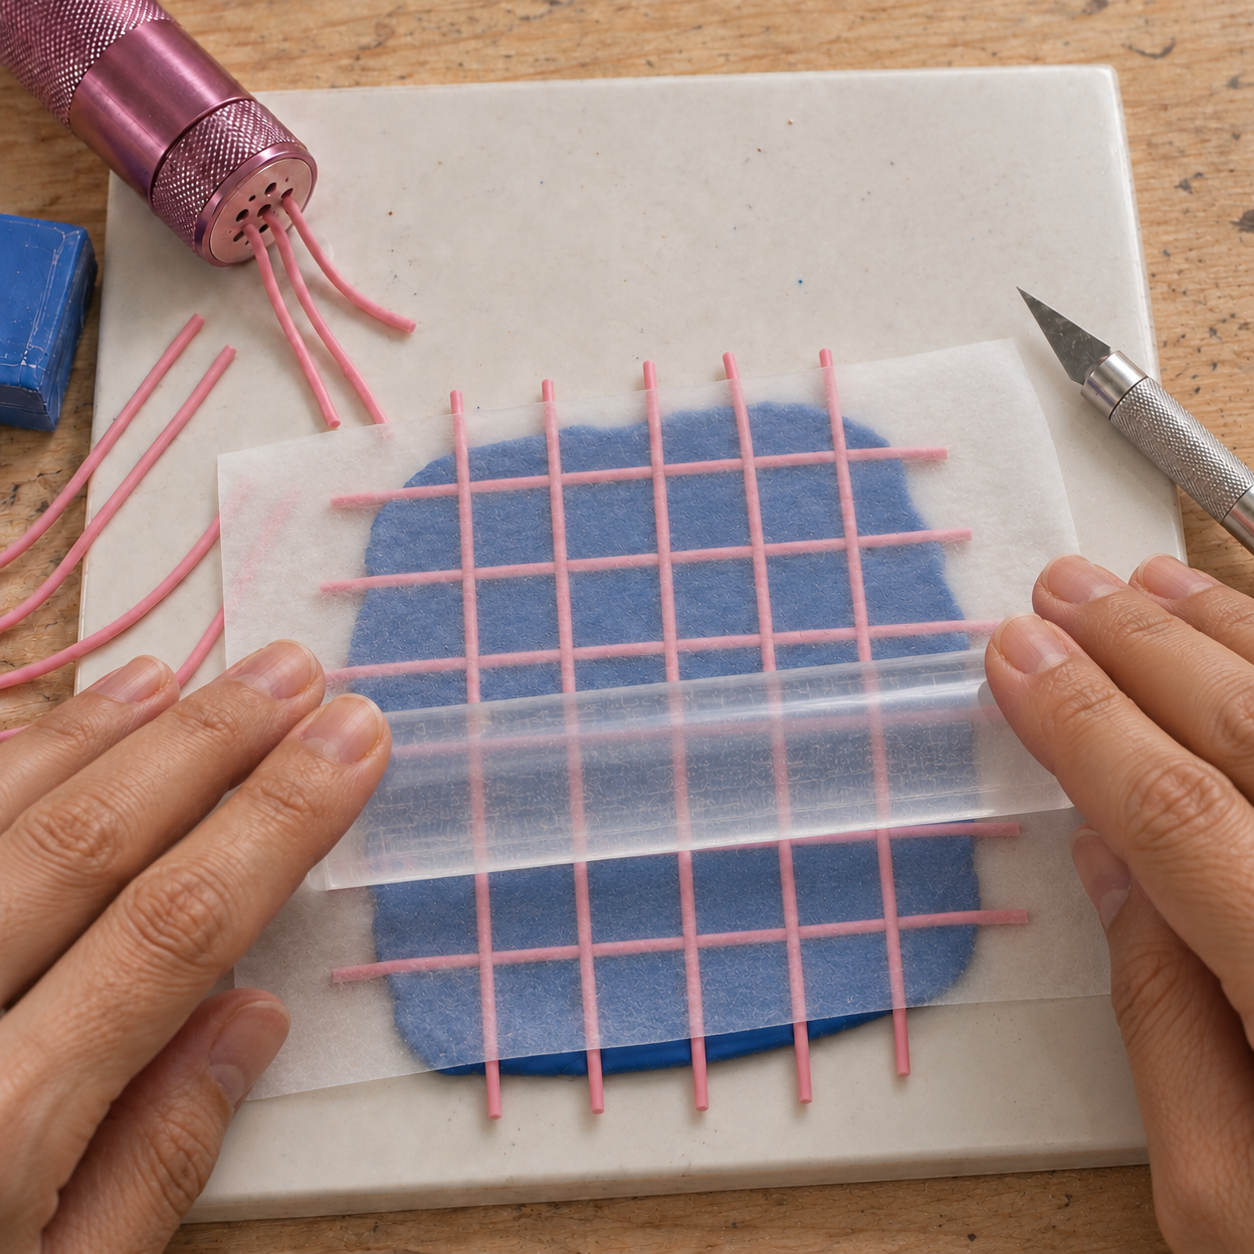
4. Roll under paper
Cover the grid with clean paper and roll gently to press the strands into the slab. Lift the paper to check the lines between passes. Keep the pressure light and stop once the surface is ready for your chosen design.
Use a clean sheet of parchment paper for this step.
Cut your patterned slab
Recheck the slab thickness with your guides after rolling. Position the cutter over the section of grid you want to use, then cut the shape and clear its openings.
For the earring display card and cutter set, use the kit's 2.0 mm starting thickness for your first clay card. Follow the instructions there for your chosen cutter method and the card openings. Other shapes need their own thickness and assembly plan.
Follow the bake directions on your exact clay packet and let the piece cool fully before fitting jewellery.
Try a layered pattern next
For another way to arrange contrasting colours, try the nerikomi-inspired layered pattern block guide, which explores the pattern revealed by cutting through a layered block.
More guides in this path
Open these when the next decision is material choice, attachment, or finishing.
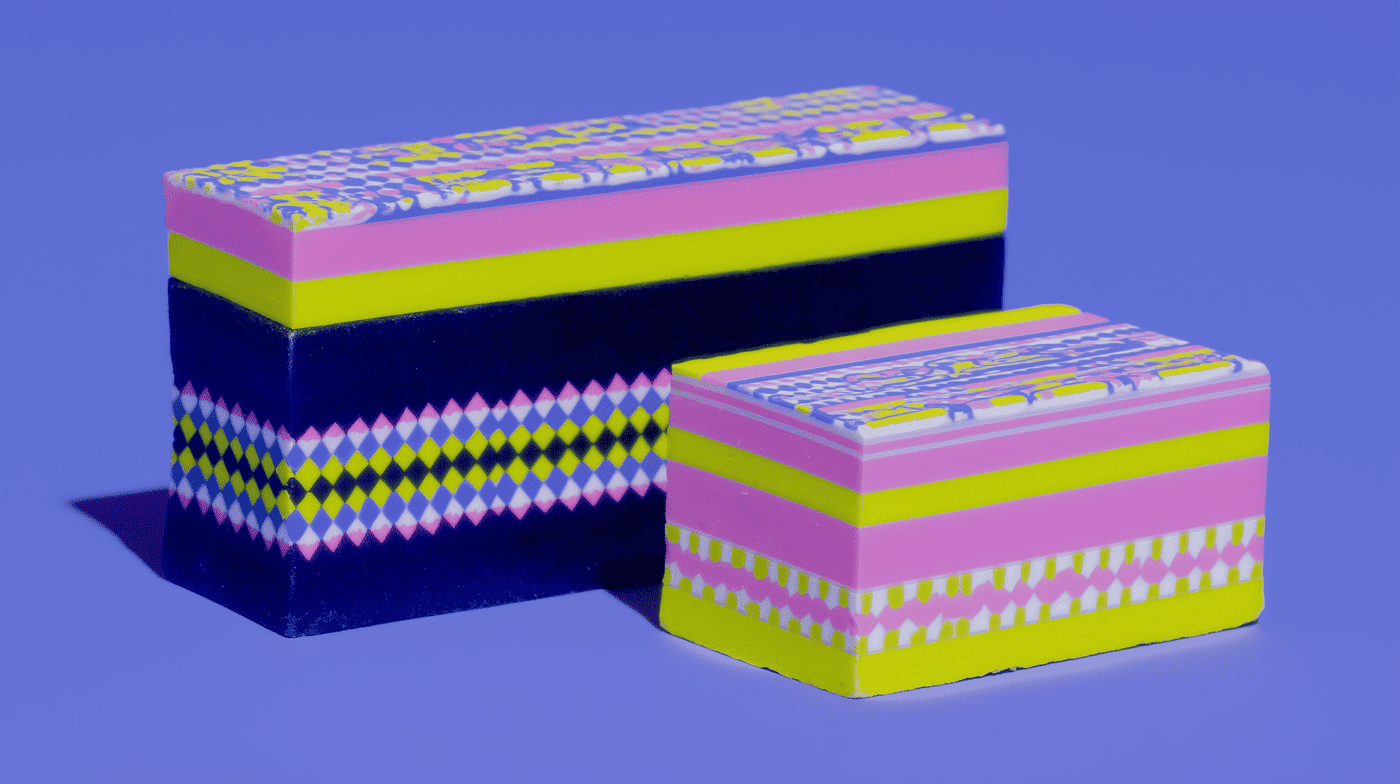
Layered Polymer Clay Pattern Block (Nerikomi-Inspired)
Stack contrasting sheets of polymer clay into a small block, slice across the layers to reveal the pattern, and bake a slice by its package directions.
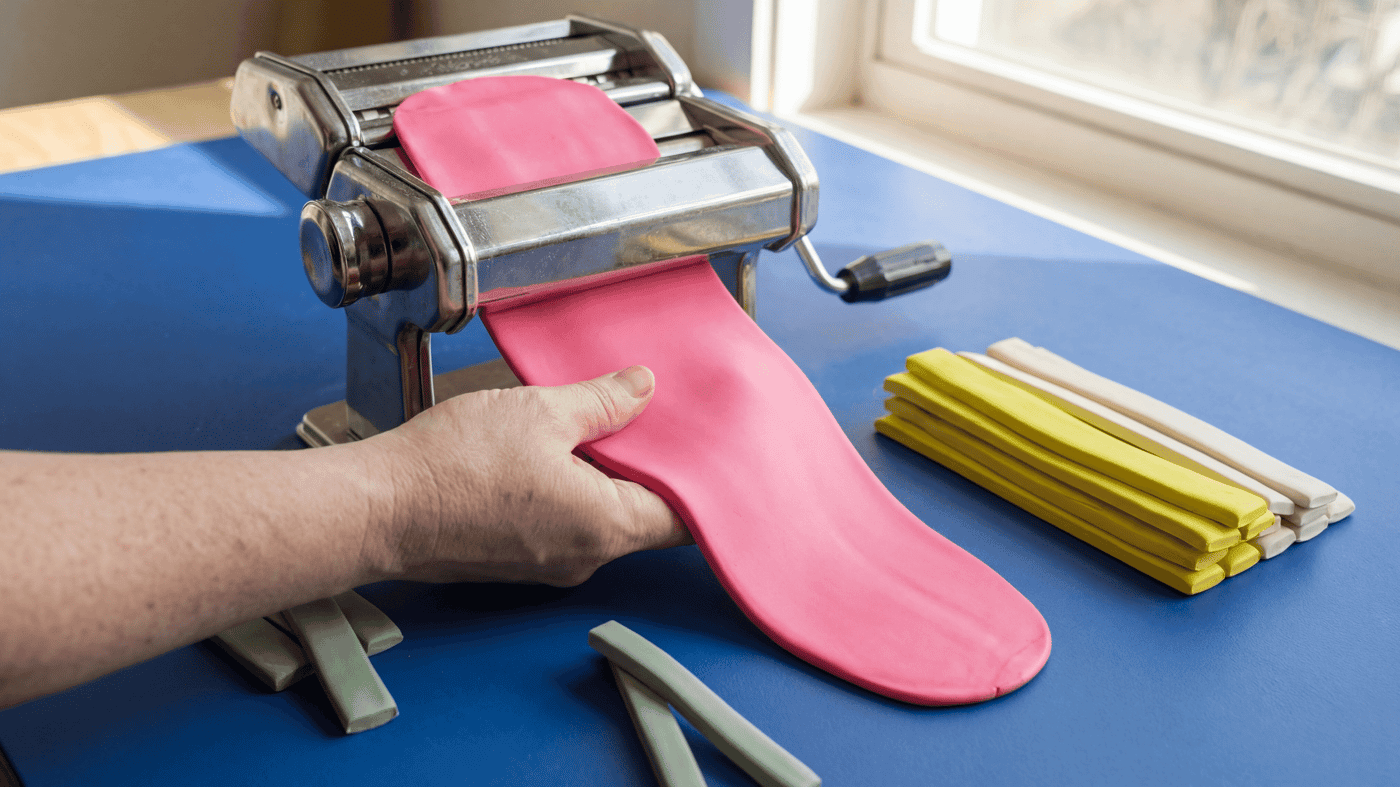
How to condition polymer clay and roll an even slab for cutters
Get every clay colour to the same softness, roll each layer to its measured thickness on a tile, and let warm clay firm up before you cut.
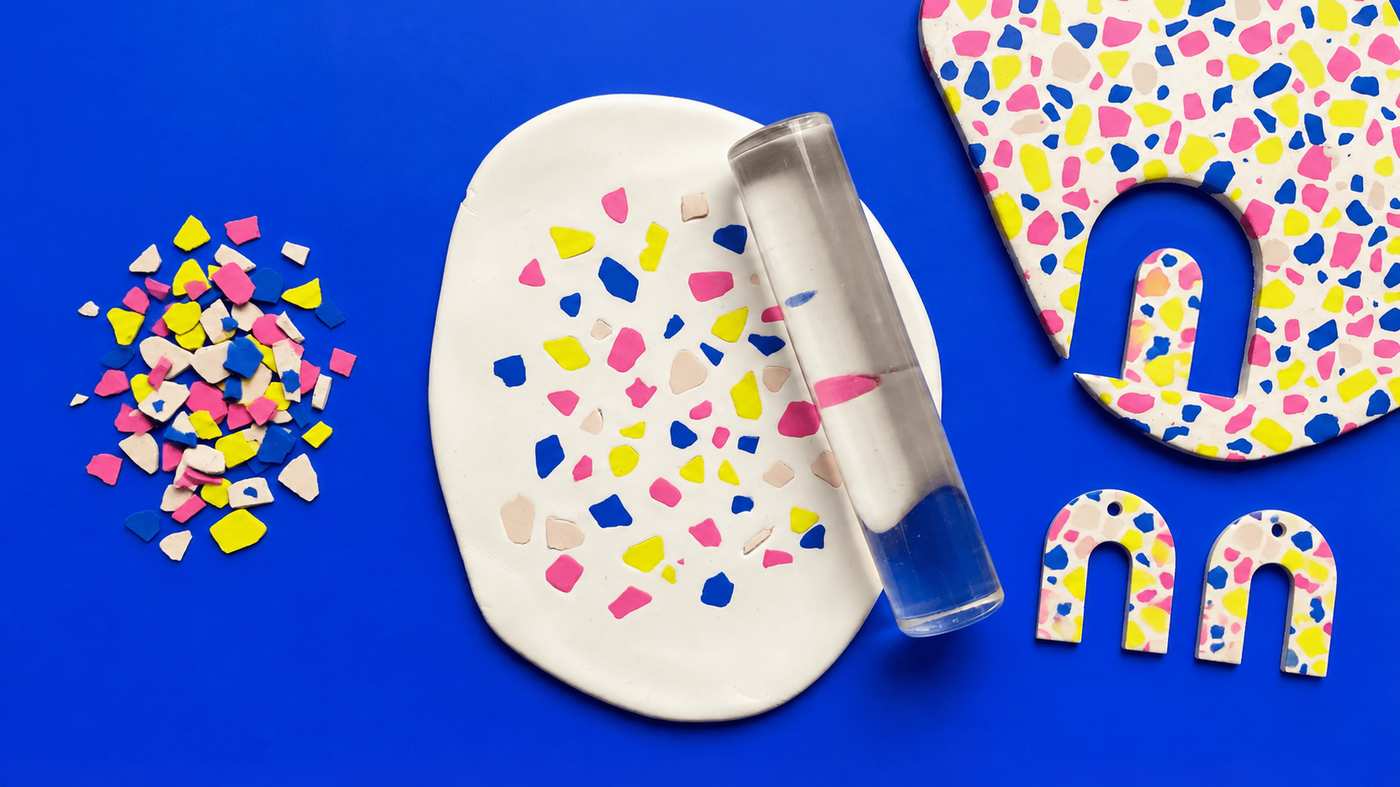
How to make polymer clay terrazzo: chips, slab, cut and sand
Roll thin chips in two to four colours, press them into a light base about 3 mm thick, roll them flush under paper, cut both earrings from the one slab, then bake and sand for the look of stone.