Best Brooch Backs for Polymer Clay (2026): Pin, Magnet, and Bar Options
Brooch back choice decides whether a polymer clay pin hangs straight, stays closed, and respects the fabric. Compare flat-pad, locking bar, and magnetic backs by pad width, weight, and wear use.

Start here
What to choose and check first
Choose brooch backs by pad shape, pin length, and finished weight. Flat-pad pin backs work for most polymer clay brooches. Magnetic backs suit lightweight pieces. Locking bar pins protect heavier statement brooches from accidental opening.
- 1Match the pad width to the rear flat area on the brooch. Aim for roughly 60 to 80 percent of the rear flat area's narrowest dimension
- 2Flat-pad safety-pin backs are the default for most polymer clay brooches under about 25 grams. Pad widths typically run 18 to 30 mm
- 3Locking bar pins are worth the upgrade for heavier statement brooches where a regular safety-pin clasp could pop open under fabric drag
- 4Magnetic two-part backs leave no holes in the fabric but cap out around 15 grams. Avoid them near pacemakers and other implanted medical devices
- 5Place the pin slightly above the visual center, square to the top edge, so the brooch hangs straight rather than tilting forward under gravity
The shortlist is judged by ordinary-use tradeoffs: pad-to-brooch contact area, weight capacity, closure security, and how well each option respects the fabric it pins to.
Flat-pad safety-pin brooch backs (18 to 30 mm)
Flat-pad safety-pin backs are the most common choice for polymer clay brooches. The pad glues to a flat baked rear surface, and the pin closes through fabric with a hooked clasp. Match the pad width to the rear flat area on the brooch.
Locking bar pin backs
Locking bar pins use a sliding or rotating lock that the safety-pin clasp does not. Useful when a heavier statement brooch could otherwise pop open under its own weight or under fabric drag during wear.
Magnetic brooch backs (two-part)
Two-part magnetic backs put a magnet on the brooch and a matching magnet inside the garment. No holes in the fabric, easy on delicate cloth, but limited weight capacity. Keep magnetic backs away from pacemakers and other implanted medical devices, and check before gifting one to someone who has such a device.
Brooch backs are the unsung hardware of polymer clay jewelry. The wrong back makes a beautiful brooch hang crooked, fall off the lapel, or tear the fabric, and none of that is the fault of the brooch itself. The fix is matching the back to the piece's weight, the rear flat area, and the fabric the brooch will live on.
Quick Comparison: Three Brooch Back Categories
Most polymer clay brooch back decisions come down to three categories. Pick by the finished weight and the fabric the piece will be worn on, then try the back on scrap before the real piece.
| Type | Best For | Weight Range | Sample-Test Before Use |
|---|---|---|---|
| Flat-pad safety-pin back | Most flat-back polymer clay brooches | Light to medium, roughly under 25 grams | Glue test on a baked scrap, fabric pin test on a scrap garment |
| Locking bar pin | Heavier statement brooches | Medium to heavy, roughly 15 to 50 grams | Confirm the lock engages cleanly, test wear under fabric drag |
| Magnetic two-part back | Lightweight, garment-friendly, no holes. Keep away from pacemakers and other implanted medical devices. | Light, roughly under 15 grams | Sample-test on the actual fabric, confirm the brooch sits flat |
Maker note on weight: the gram ranges above are working guidelines, not hard limits. A heavy brooch on a stiff coat lapel can wear well on a flat-pad back, while a lightweight brooch on a thin silk top may still tilt without a magnetic back. Test on the real fabric and the real piece before scaling to a batch.
Magnetic-back medical note: magnetic brooch backs use small rare-earth magnets. Keep them more than roughly 6 inches (15 cm) away from pacemakers, implanted defibrillators, or other implanted medical devices, and check with the recipient before giving a magnetic-back brooch as a gift to anyone who has one of these devices.
Flat-Pad Safety-Pin Backs: The Most Common Choice
Flat-pad safety-pin backs are the default for a reason. The pad glues onto a flat baked rear surface, the pin pivots out through the fabric, and the hooked clasp closes against the pin tip. Pad widths typically run from about 18 to 30 mm, and the choice should be driven by the rear flat area on the brooch itself rather than the front silhouette.
Pin length matters as much as pad width. A longer pin grips more fabric and is less likely to release under wear, but it also leaves a larger hole. Match the pin length to the typical fabric weight: a shorter pin sits cleaner on a thin cotton shirt, a longer pin holds better on a thick wool coat. Closure quality is the third variable: a hooked clasp that closes with a positive snap is more reliable than a soft loop that the pin barely catches.
Material matters less than the brand marketing suggests, but it is not invisible. Most flat-pad safety-pin backs are nickel-plated brass, stainless steel, or a base metal with an electroplated finish. Stainless steel and quality plated brass pads bond well to cured polymer clay with a tested adhesive. Lower-grade plated bases are more likely to release the plating over time, which can show as a halo of discoloration on the cured clay around the pad. If a pin back is going on a lighter-colored brooch where the back will sometimes be visible (a long brooch worn on a soft shirt, for example), step up to a stainless or quality plated brass pad.
Pad shape comes in two common families. Rounded and oval pads sit well on most brooch shapes and distribute the weight evenly. Rectangular bar pads run longer along the pin axis and are useful for tall narrow brooches where a round pad would feel wrong against the rear flat area. The rule still holds: the pad has to sit fully on cured clay, with a small margin of bare clay visible around every edge of the pad. Pads that hang off the brooch back catch on fabric and look like an afterthought from the side.
Locking Bar Pins for Heavier Statement Brooches
Locking bar pins, sometimes labeled convertible or stick pins, add a sliding or rotating lock to the standard clasp. The lock has to be released deliberately, which means the pin will not pop open under fabric drag, repeated motion, or the simple weight of a heavy brooch pulling on the clasp during a long day.
The tradeoff is weight and pad shape. Locking bar pins are usually heavier than a basic safety-pin back, and the locking mechanism takes up more rear surface area, so the pad shape often runs longer rather than rounder. Confirm the locking action engages cleanly on the new pin before any glue goes on, and check that the finished brooch still feels balanced on the fabric rather than back-heavy.
Locking bar pins also help when the brooch will be removed and re-pinned often. A non-locking safety-pin clasp wears its hook over time, especially if the brooch goes on and off a heavy garment every day. The locking mechanism reduces the load on the hook and extends the useful life of the back. For brooches that are sold rather than personally worn, the locking option is also a small reassurance for the buyer that the piece will not pop open in a busy moment.
Magnetic Brooch Backs: Garment-Friendly
Two-part magnetic brooch backs put one magnet on the brooch and a matching magnet inside the garment. The big advantage is no holes in the fabric, which makes magnetic backs the right choice on delicate clothing, fine knits, and structured pieces where a pin would damage the cloth.
Weight capacity is the limit. Magnetic backs work best for lightweight pieces, generally under about 15 grams of finished brooch. Past that, the magnet either has to be uncomfortably strong (pinching the fabric and difficult to remove) or the brooch slides on the cloth. The other limit is a real safety note: keep magnetic brooch backs away from pacemakers and other implanted medical devices. The magnet field can interfere with the device, so this is a hardware choice with a wear-context constraint.
One practical note on magnet alignment: magnetic backs work best when the brooch back is fully flat where the magnet sits. A curved or domed brooch back leaves the magnet sitting at an angle, which weakens the hold and makes the brooch sit crooked on the fabric. If the brooch has a curved back, plan a flat baked landing zone for the magnet during the build, or attach the magnet to a small flat plate that bonds to the curved back. The magnet has to mate cleanly with its partner inside the garment, and any tilt at the bond face shows up as poor hold during wear.
What About Sewing In?
Some makers sew the bar pin or the pad directly onto a garment so the brooch is permanently attached. This works well on tote bags, denim jackets, hats, and pieces that should live as part of the garment rather than as a daily-removable accessory. Use strong thread and sew through every hole on the bar pin or the pad, reinforcing the stitch line so the brooch cannot rip loose under load.
Sewing in is not a substitute for the right back choice. It is a wear-context decision: when the brooch needs to stay attached to one specific garment, sewing wins. When the brooch needs to come off and on different clothes, stay with a regular pin or magnetic back.
Pad Size and Brooch Shape
Pad sizing is where most polymer clay brooch back failures start. The pad needs to sit fully on the cured clay back with no edge hanging into space. A 25 mm pad on a 20 mm wide brooch overhangs the edge and looks unprofessional from the side. A 12 mm pad on a heavy 50 mm statement piece is too small to carry the weight, and the brooch tilts forward on the lapel.
The working rule of thumb: pad width should be roughly 60 to 80 percent of the rear flat area's narrowest dimension. For a long narrow brooch, the pad runs along the long axis. For a wider piece, a rounder pad sits centered slightly above the visual center so gravity does not pull the brooch into a forward tilt. Hold the brooch upside down before gluing and confirm the pad sits inside the rear flat area on every edge.
For brooches with a textured or sculpted back, plan a flat landing zone during the build rather than fighting the texture at the attachment step. A small smoothed patch in the rear flat area, baked along with the rest of the brooch, gives the pad a clean surface to bond to. The texture can wrap around the patch on every side. Building this in saves the rework of trying to sand a clean zone into a textured cured surface, which usually leaves a visible halo around the pad.
How to Attach (Briefly)
Attachment is its own technical step. Bake the brooch first, scuff the rear flat zone lightly with fine sandpaper, dust it clean, apply a tested adhesive to the pad, align the pin square to the top edge of the brooch, and let the bond reach the full cure time on its label before any wear test. The full walkthrough is in the attach brooch backs guide, and the adhesive choice itself is covered in the jewelry glue guide.
Common Failures and Fixes
Most brooch back failures are mechanical and trace back to one of five problems. Walk through this list before redoing the whole piece.
- Pad lifts after wear. Adhesive mismatch with the cured clay surface or with the pad metal. Re-test the adhesive on a baked and cooled scrap from the same clay line, then refresh the bond on the real piece.
- Brooch tilts forward on the fabric. Pad is too small for the weight, or the pin is sitting at or below the visual center. Upgrade to a wider pad and reposition the pin slightly above center so gravity holds the piece straight.
- Pin unhooks during wear. A non-locking safety-pin clasp is releasing under load. Switch to a locking bar pin so the clasp cannot open without a deliberate release.
- Pin tears delicate fabric. Pin length or pin gauge is wrong for the cloth. Switch to a magnetic back so the brooch sits on the fabric without piercing it.
- Bond yellows or hazes over time. The adhesive is reacting with the clay or with light. Switch to a clearer-curing adhesive (a clear two-part epoxy is a common upgrade) and reseal the bond once it reaches full cure.
What to Read Next
The companion technical walkthrough is the attach brooch backs to polymer clay guide, which covers the prep, alignment, and adhesive cure steps in detail. For the adhesive choice itself, the best glue for polymer clay earrings guide compares two-part epoxy, instant glue, and flexible jewellery adhesives across the same compatibility logic that applies to brooch backs.
For the wider hardware picture, the findings cluster hub covers earring posts, ear wires, and pendant bails using the same pad-and-balance logic. For the finish that goes on top of the cured brooch before the back is attached, the finish compatibility hub walks through which sealers, waxes, and paints play well with which clay lines.
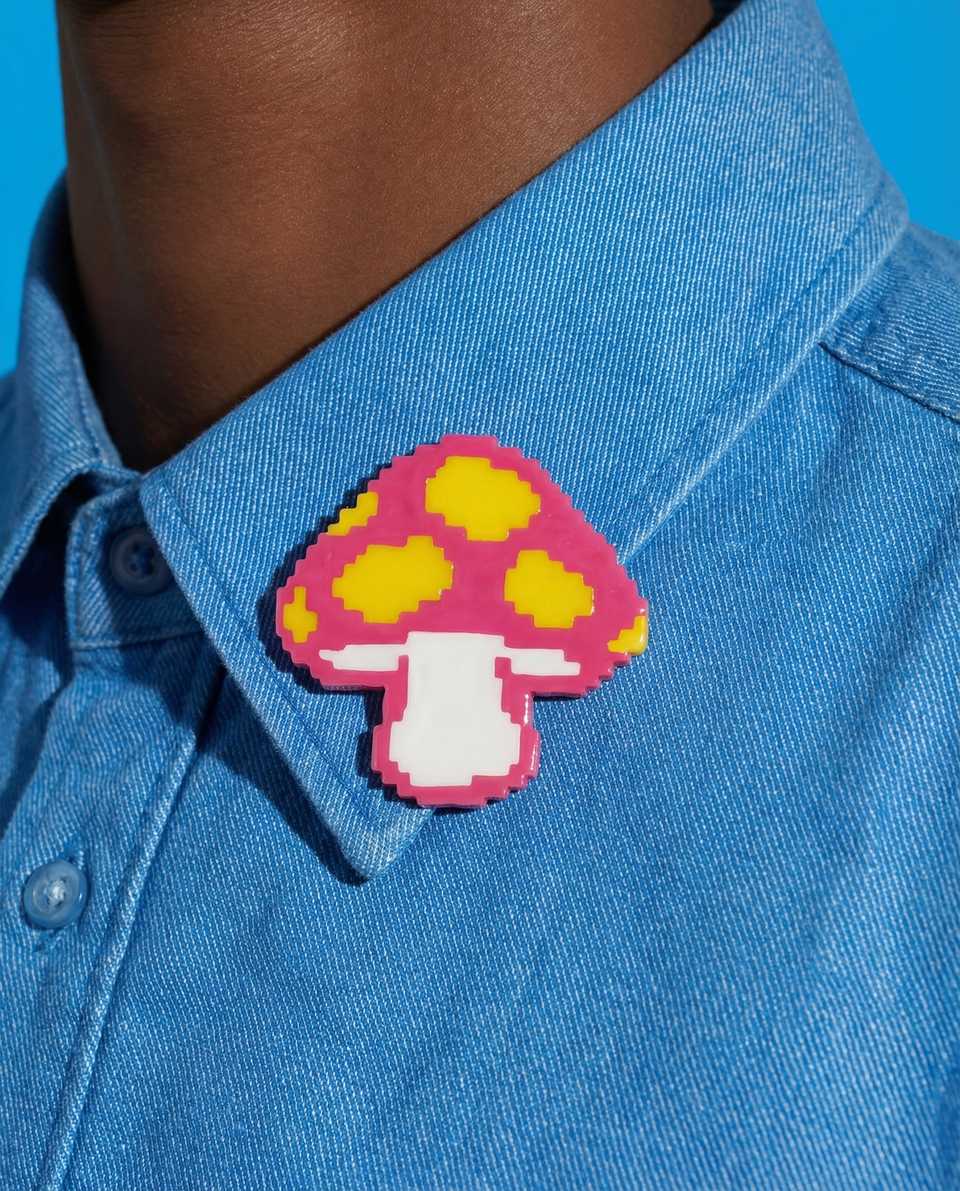
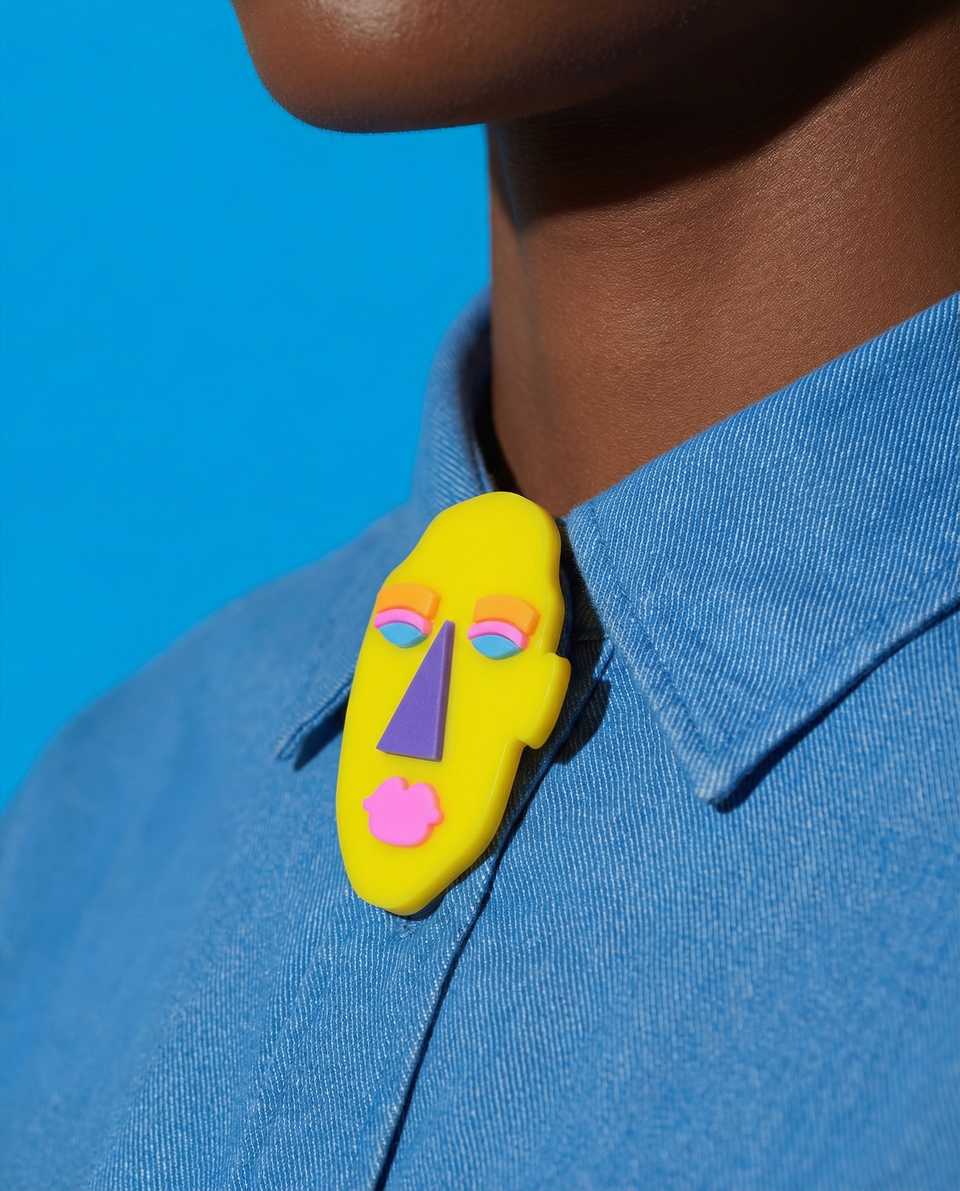
For a finished brooch reference to compare against your own build, the Matisse face brooch in the lookbook shows a flat-back silhouette that pairs cleanly with a wider flat-pad back, and the pixel mushroom brooch shows a smaller piece that suits a narrower pad and a magnetic option for delicate fabrics.
More guides in this path
Open these when the next decision is material choice, attachment, or finishing.

Earring Findings for Polymer Clay: Posts, Hooks, Jump Rings, and Attachment Planning
Posts fail when the pad is too small or the back is curved. Jump rings tear through holes with no margin. Choose findings from the back shape and finished weight, then prove the setup on one sample pair before you build the batch.

How to Attach Brooch Backs to Polymer Clay
Brooch fronts can tip or lose grip when the rear contact is curved, too small, or glued over a finish. Prepare a flat zone, match the finding size to the scale, and place it on the visual balance line before the adhesive cures.

Best Glue for Polymer Clay Earrings: Epoxy, Gel Super Glue, and Flexible Adhesive
Best glue for polymer clay earrings compared by working time, prep, finish compatibility, and a one-pair bond test before you make a batch.
Finished examples with related clay decisions
Each piece shows how a material, attachment, or surface choice changes the final form.