Finishing
Polymer clay finishing tutorials for wet-sanding, denim buffing, wax coatings, and finish compatibility.

Articles

Resin on Polymer Clay: Label-First UV and Epoxy Checks
Bake and cool the clay first, then use the exact resin maker's instructions for compatibility, PPE, lamp or mixing requirements, layer depth, and cure.
Read the guide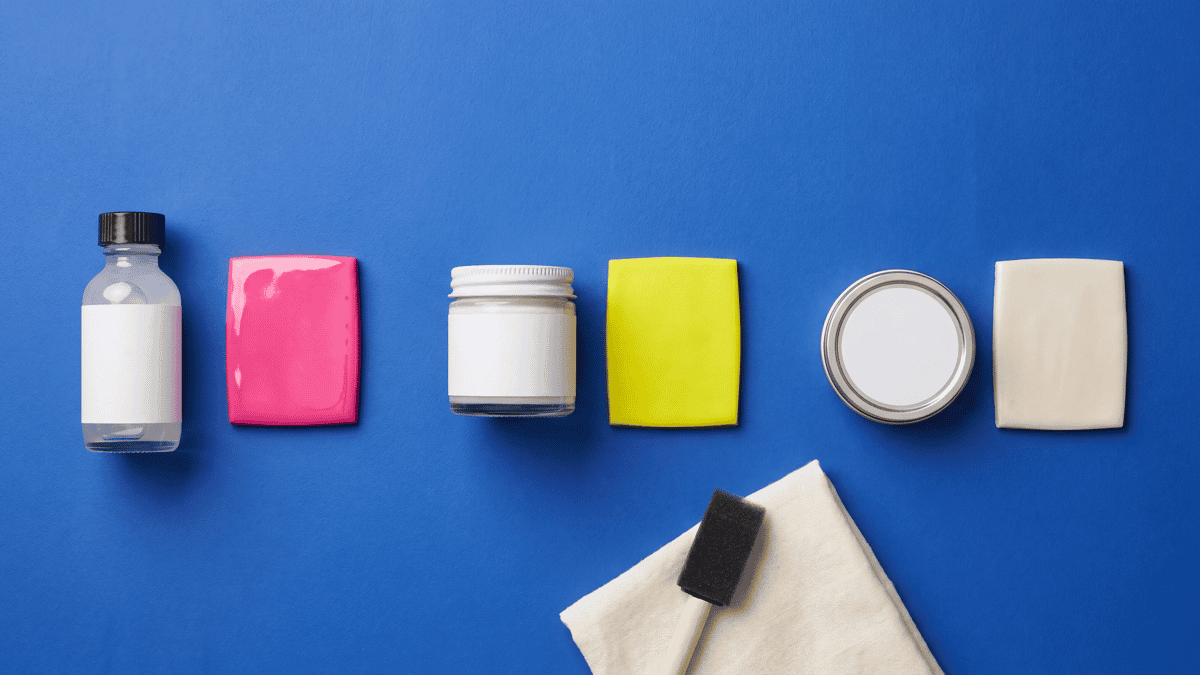
Do You Need a Sealer for Polymer Clay? Compatible Finish Options
Leave a good cured surface bare, or choose one documented water-based finish, test it on the same clay line, and follow the current product label.
Read the guide
Sanding and Buffing Polymer Clay: Pressure and When to Stop
Smooth rough edges on baked clay with wet/dry paper and water. Support small details, remove the scratches from each grit, then hand-buff for a soft sheen.
Read the guide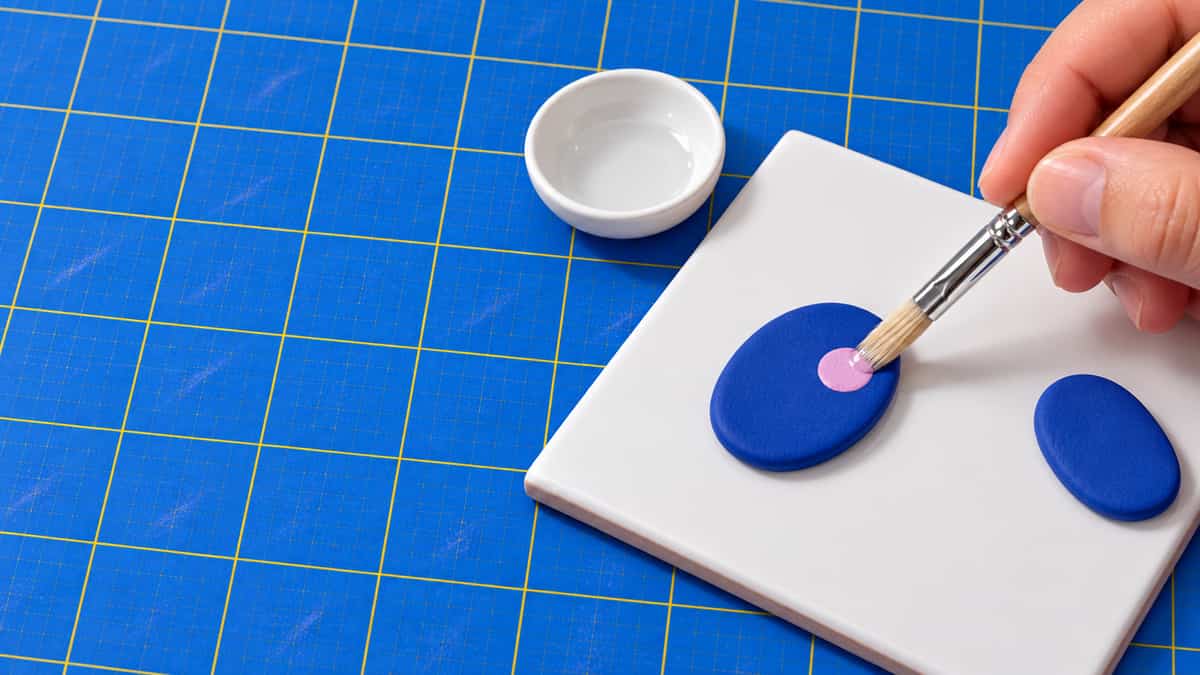
Painting baked polymer clay: which paint to use and whether to seal it
Painted details on a baked piece can smudge, rub off or leave a glaze sticky at the very last step. See which paint grips baked clay, how to brush small details cleanly, and when a coat is worth adding.
Read the guidePolymer clay finishing
Test the finish on baked scrap first.
A professional polymer clay piece often stands out because of the time spent after it leaves the oven. These guides suggest wet-sanding under water to reduce dust and scratches, buffing with denim or dremels for a natural sheen, and testing clay-compatible topcoats or resin domes on baked scrap first to avoid sticky finishes. Find the grit order and coating choice that fits your clay line.
Studio notes
Get polymer clay finishing notes
New project notes, small checks, and practical links as they publish. Free, no spam, unsubscribe anytime.
By subscribing you agree to get Clay Bake Studio emails about new guides, tools, build kits and offers. Unsubscribe anytime. We do not sell your email. Read our privacy policy.