
Straight
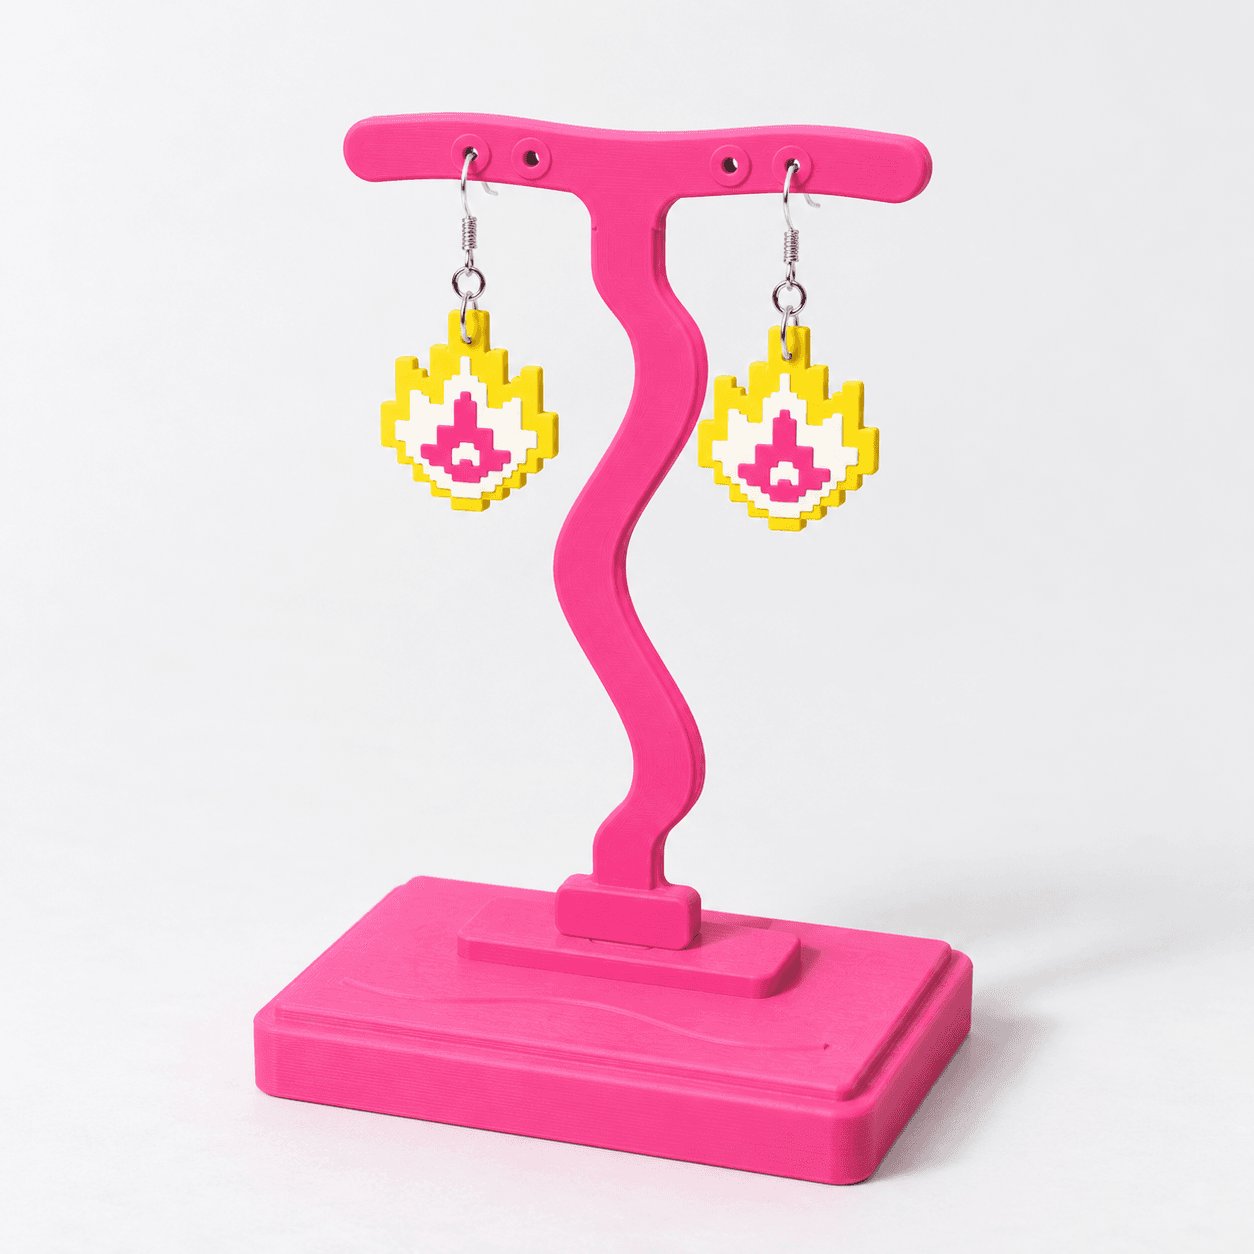
A straight stem with two earring holes 36 mm apart. Hang the complete pair and make sure neither earring touches the stem or the base.
Earring stand STL files
Give each handmade pair its own place in your listing photos, shop or stall.
Digital download: STL files to 3D print, plus a PDF guide.


Where it works
Use one stand for listing photos, several for a market table or shop shelf, and one for a favourite pair at home.

Photograph the jewellery you make with both hands free. Take a front view for the design and an angled view for the edges and findings.
Give each pair its own stand and vary the heights so earrings behind the front row can still be seen. Leave room to lift a pair off without catching its neighbours. Remove the inserts from their bases for transport.

Compact Round takes less width than Full, while Slim takes less depth and suits Mini or Short. Choose around the shelf space you have and the earrings you want to show; the exact footprints are under Sizes and fit.

Keep a favourite handmade pair on show and ready to wear on a shelf or dresser.
Two bar styles
Choose the straight stem or the wavy stem to suit your display. Both come in four heights and hold one pair.
A straight stem with two earring holes 36 mm apart. Hang the complete pair and make sure neither earring touches the stem or the base.

A wavy stem with an inner pair of holes 36 mm apart and a wider pair 54 mm apart. Use the wider holes when the earrings need more room, then check they clear the stem and each other.
Start here
Print one base and one insert, hang a pair of earrings you have made, then print more once you know the height and colour you like.
Mini leaves about 65 mm below the holes, and Slim takes the least shelf depth. For studs, check that the post reaches through the bar with room to fasten its back.
Short leaves about 111 mm below the holes for the complete drop, including its hook. Softwave has a wider pair of holes for earrings that need more space between them.
Tall leaves about 181 mm below the holes for long drops, and Full is the widest base. Try the finished stand with that pair on the table or shelf where you will use it.
Eleven STL files and README in the ZIP, with the illustrated guide and Maker Licence as separate PDFs. Print one base and one insert. Every connector fits all three bases; Full and Compact Round are recommended with all heights, Slim with Mini or Short.


Sizes
| Height | Room under the bar · stand height | Use it for |
|---|---|---|
| Mini | 65 mm · 90 mm tall | Studs and small drops. Any base. |
| Short | 111 mm · 136 mm tall | Most everyday drops. Any base. |
| Medium | 141 mm · 166 mm tall | Longer dangles. Full or Compact Round base. |
| Tall | 181 mm · 206 mm tall | Long statement pairs. Full or Compact Round base. |
Room under the bar is measured from the hanging hole down to the top of the base. Softwave inserts stand 1 mm taller.
Your pick: Full base with a Straight Mini insert
65 mm of room under the bar. Assembled size 108 x 72 x 90 mm
Buy the digital files on EtsyOne download includes every base and insert, so you can 3D print this pairing and any other combination.

The illustrated PDF guide has every step in more detail.

Step 01
Measure from the resting point of the post or hook to the lowest point, including connected findings. Choose more hole-to-base clearance than that measurement.
Room under the bar for each height.
Step 02
3D print the base flat on its underside and the insert flat on its smooth back.
Base and insert flat on the print bed.
Step 03
The short connector at the bottom has one flat side. Match it to the flat side of the opening in the base, then lower the insert straight in by hand. Stop when its wider ledge rests on the raised top of the base. Do not force a tight fit.
Flat face to flat face, then straight down.
Step 04
Hang one pair through the left and right holes. Make sure the earrings clear the stem and base. For studs, the post must pass through the 4 mm thick bar with enough length left to fasten its back.
A stud post through the bar, with its back behind.Make it your own
Choose a stand colour that keeps the outline of the earrings easy to see. For a set of listing photos, repeat the stand colour and background so buyers can compare the jewellery colours.
Place taller stands behind shorter ones on a table so the pairs stay visible. A shared stand colour can tie the display together while the jewellery supplies the colour.

Choose a base footprint for your shelf or photo space. This black Short Softwave stand on Compact Round displays one pair of layered Cherry drops.
Use the stand to photograph one complete pair. Try a front view and an angled view so the clay edges and findings stay visible.
Keep a favourite pair on your dresser or shelf, ready to put on. Choose a stand colour you like beside the jewellery.

A black T-bar displaying a pair of yellow Flame studs.
Build kits for earrings that suit the stand, and two display kits that work alongside it.
What you will need
Use what you already own.
Links marked "Affiliate link" may earn us a commission at no extra cost to you. Check sizes and materials before checkout.
A matte surface option for your display. Check how it looks under your photo lights.
Prints the STL files. A printer you already own, or a local 3D printing service, is enough.
Check the printed holes and parts against the sizes in the guide before you make a batch.
Reference
The modelled measurements and starting settings. Printed parts vary a little with your printer, filament and slicer.
Stud posts and ear wires pass through the holes (the exact sizes are under Sizes and fit). 3D-printed holes vary a little with your 3D printer, so try one pair in your first stand. Clip-on earrings and heavy jewellery aren't what this stand is for.
Use Full or Compact Round with any height, or Slim with Mini or Short. Each stand is for one lightweight pair. Before using it at a market, hang the pair you plan to display and gently nudge the stand on your table to check that it stays upright. Keep the display out of strong wind and heat.
Yes. Send the base and insert files with the guide for a private 3D print, at the settings in the guide. Check one assembled stand with your earrings before ordering more. The service must not reuse, publish, share or resell the files.
Yes. Use your 3D-printed stands for photos and displays in your own jewellery business, including a shop or stall. You may sell your finished polymer clay jewellery. The stand files and 3D-printed stands stay in your own use; they cannot be sold, gifted or supplied to customers.
Each stand is for one lightweight pair. Softwave has two alternative hole spacings so you can choose the position that suits that pair.
Print and use the stands in your own studio or jewellery business, including photos, your shop or stall. Sell the jewellery you make. Keep the printed stands and digital files in your own business: do not sell, gift, wholesale or supply them to customers. Read the included Maker Licence.
If a file is missing, won't open or doesn't match the listing, message us through Etsy messages with the kit name and filename, and we'll put it right.
Message us on Etsy