Conditioning
Polymer clay conditioning techniques for softening crumbly blocks, firming sticky clay, and rolling uniform sheets.

Articles
Conditioning Polymer Clay: Stop Cracked Edges and Canes
Your slab cracked at the edge, or your cane distorted because one color was softer than the rest. Condition until every color folds the same way, then do the fold test before you build the cane.
Read the build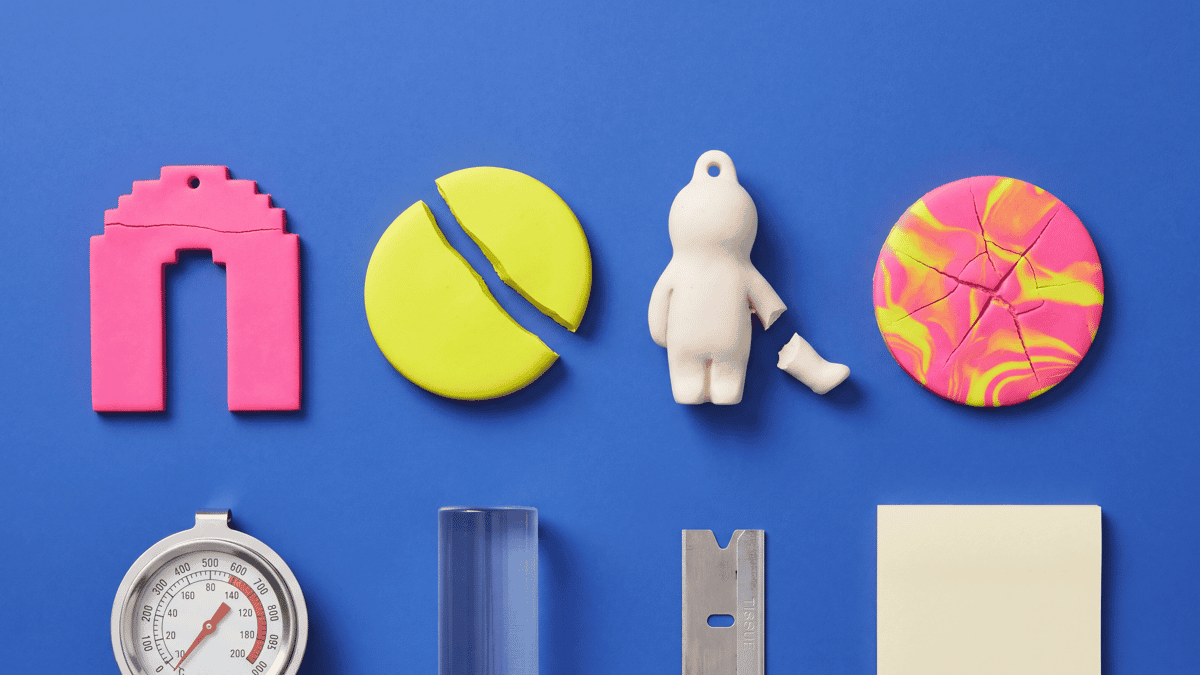
Why Is My Polymer Clay Cracking? Causes and Checks
Earrings can snap at the post, thin connectors can crack, and pieces can break after cooling. Diagnose the crack location, then check bake, support, thickness, and conditioning.
Read the build
How to Fix Soft, Sticky Polymer Clay So It Stops Dragging
Your clay sticks to everything and the edges smear because it came out of the package too soft or your hands warmed it up. Test short paper leaching rounds, firmer-clay blends, and cooler work sessions before cutting.
Read the buildPolymer clay conditioning
Check clay firmness before changing cutters.
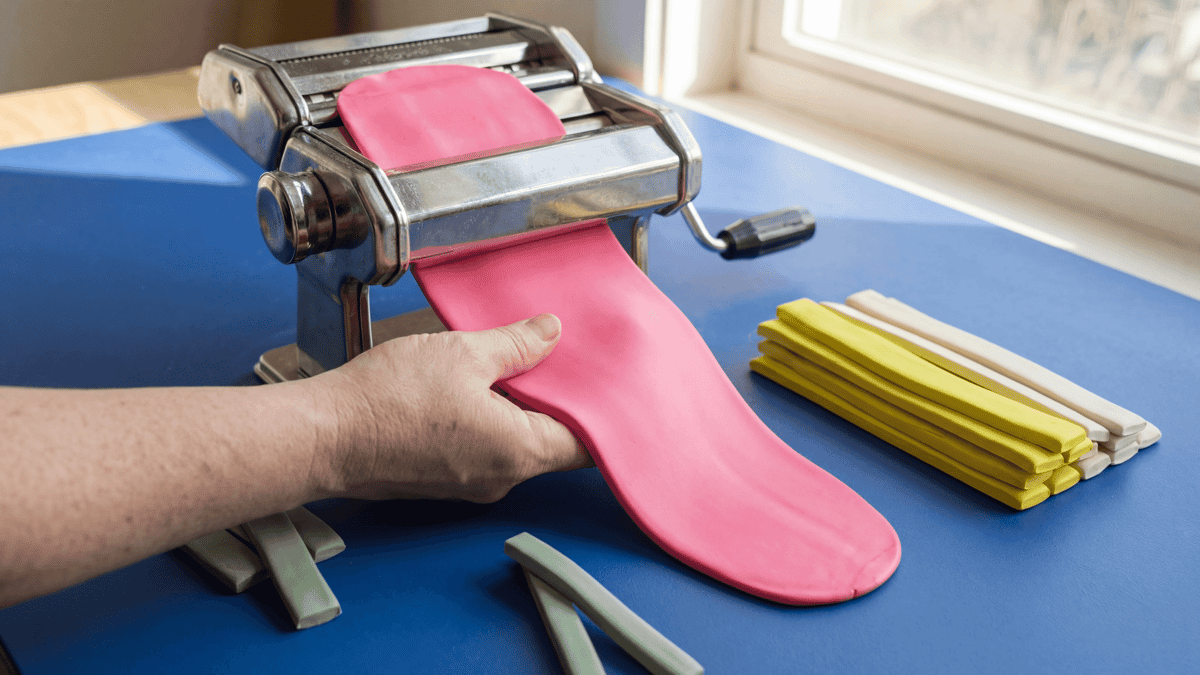
If clay is too stiff, it crumbles and cracks; if it is too warm, it sticks to rollers and smears under your cutter. These guides cover suggested conditioning methods, such as using liquid clay to revive old blocks, leaching sticky clay between sheets of paper, or resting warm slabs in the freezer. Get the texture right before you roll your slab.
Weekly notes
Get weekly polymer clay conditioning notes
New project notes, small checks, and practical links each week. Free, no spam, unsubscribe anytime.
We will not share or sell your email. Unsubscribe anytime.