Layered cutter files
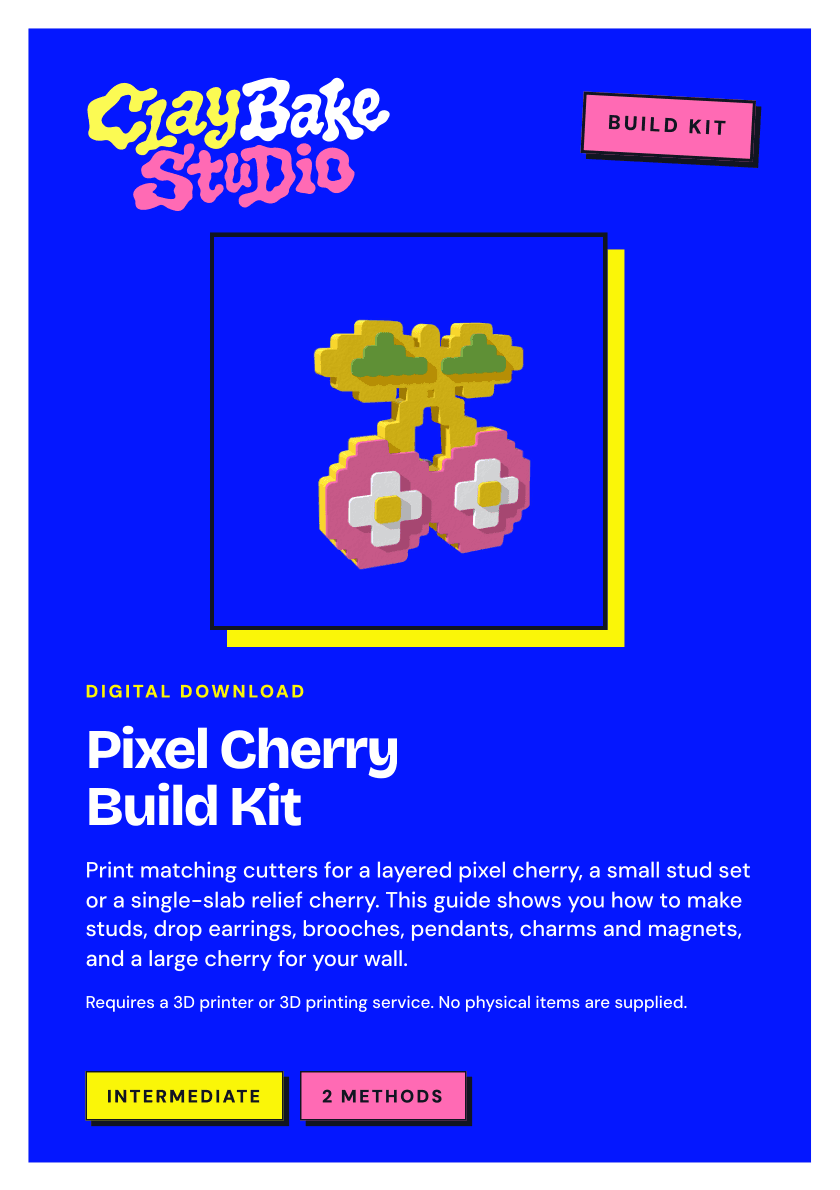
30 cutter 3D-printable filesSix matching cutters build each layered cherry.
- Separate stud sets in 20 and 24 mm, plus full jewellery sets in 36, 44 and 52 mm.


View all 18 tool previewsShow fewer tool previews


3D print the tools. Make it in clay.
3D print the cutters, then make a double cherry in polymer clay with leaves, flowers and square centres.
Digital download: STL files to 3D print, plus a PDF guide. Requires a 3D printer or 3D printing service.


Three STL-only cutter ZIPs, a build guide with full-size A4 mounting templates at the end, and a separate maker licence. Use a compatible printer or printing service; no physical tools, clay or findings are supplied.
Six matching cutters build each layered cherry.
The cherry design in one slab.


A 140 mm cherry design without the jewellery backing circle.


Total design height, including the upper circle on full jewellery sizes. Stud and wall-art designs have no upper circle.
Choose the attachment taught for the method and size. Smaller dedicated stud tools retain the leaf, flower, square-centre and stem-opening detail.
| Size | Clay outline (W x H) | Use it for |
|---|---|---|
| 20 and 24 mm | 19 × 20 or 23 × 24 mm | Dedicated small layered or small relief designs |
| 36 mm | 28 × 36 mm | Layered drops and pendants; layered or relief magnets |
| 44 mm | 35 × 44 mm | Relief drops and pendants; layered or relief magnets |
| 52 mm | 41 × 52 mm | Pendants, decorative keychains, brooches, magnets or bag charms |
| 140 mm | 133 × 140 mm | Layered or relief wall art with matching rear hangers |
Making methods
The layered method stacks separate colour pieces on a yellow base cut to the cherry silhouette. The relief method cuts the outline and presses the detail into one slab. Both keep the opening between the stems clear.
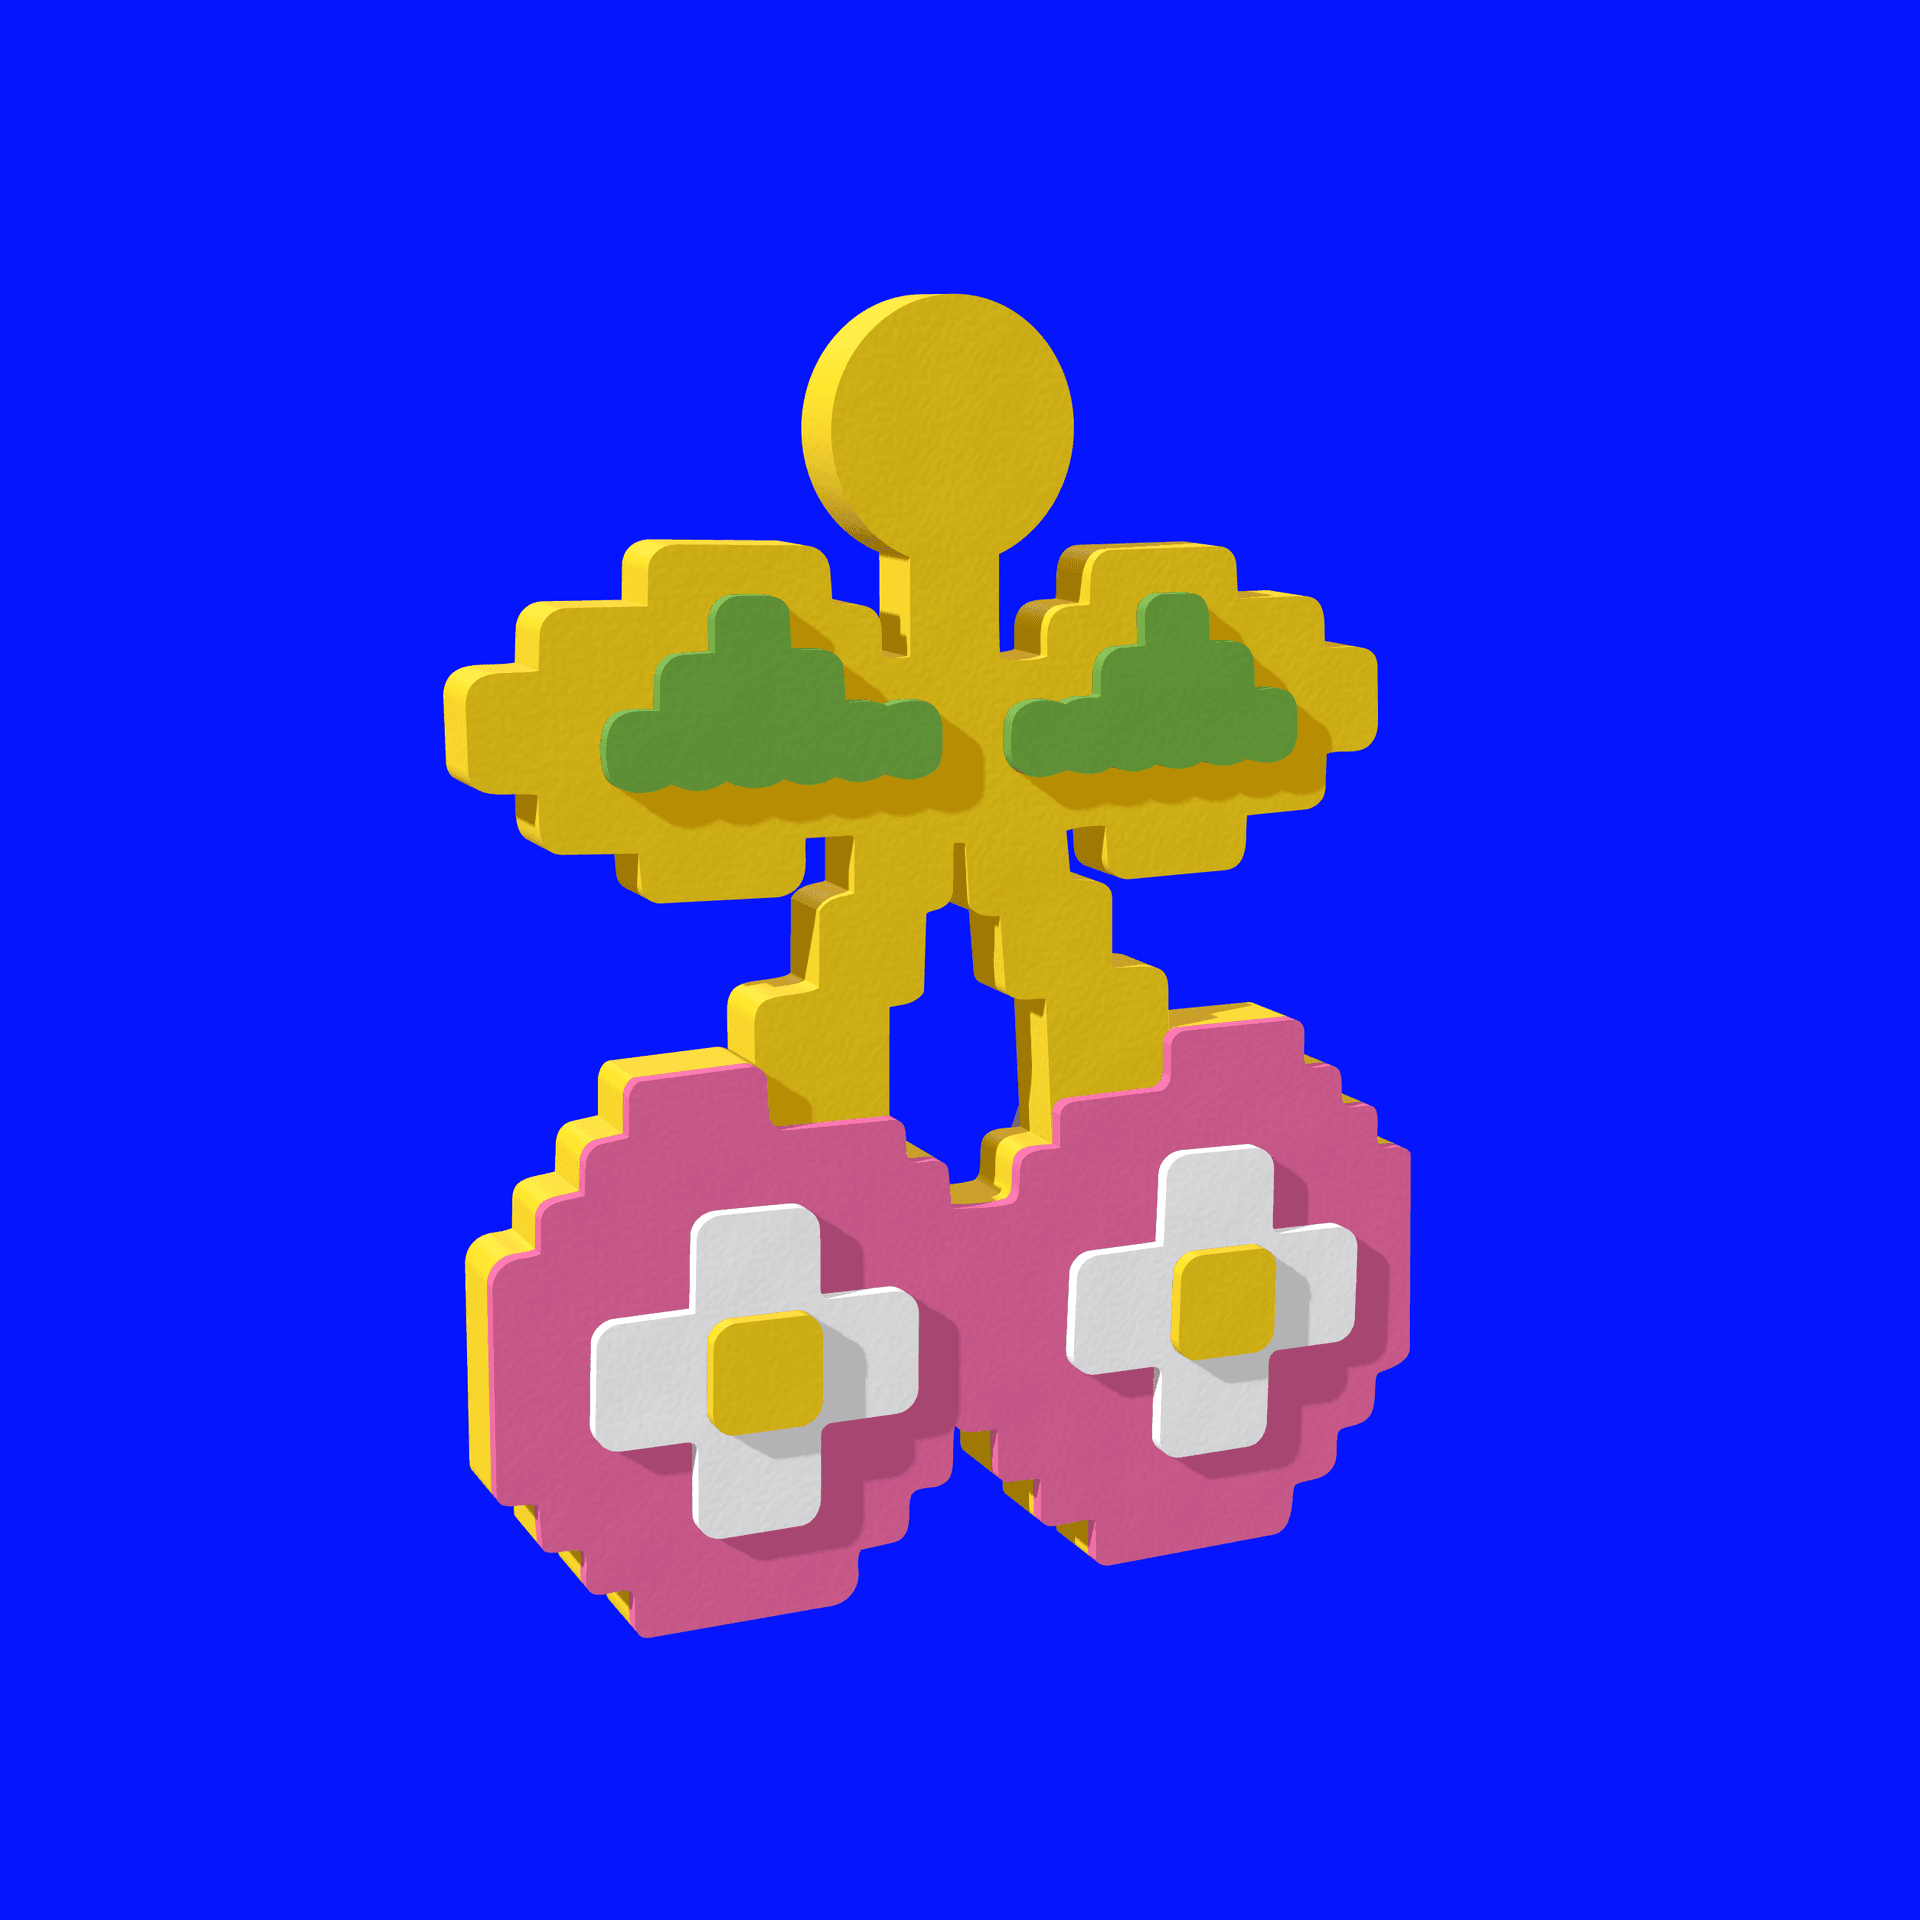
Cut the base, fruit, leaves, flowers and square centres from your chosen clay colours, then stack them to build the raised design. The small stud sets retain the same details in thinner colour pieces.
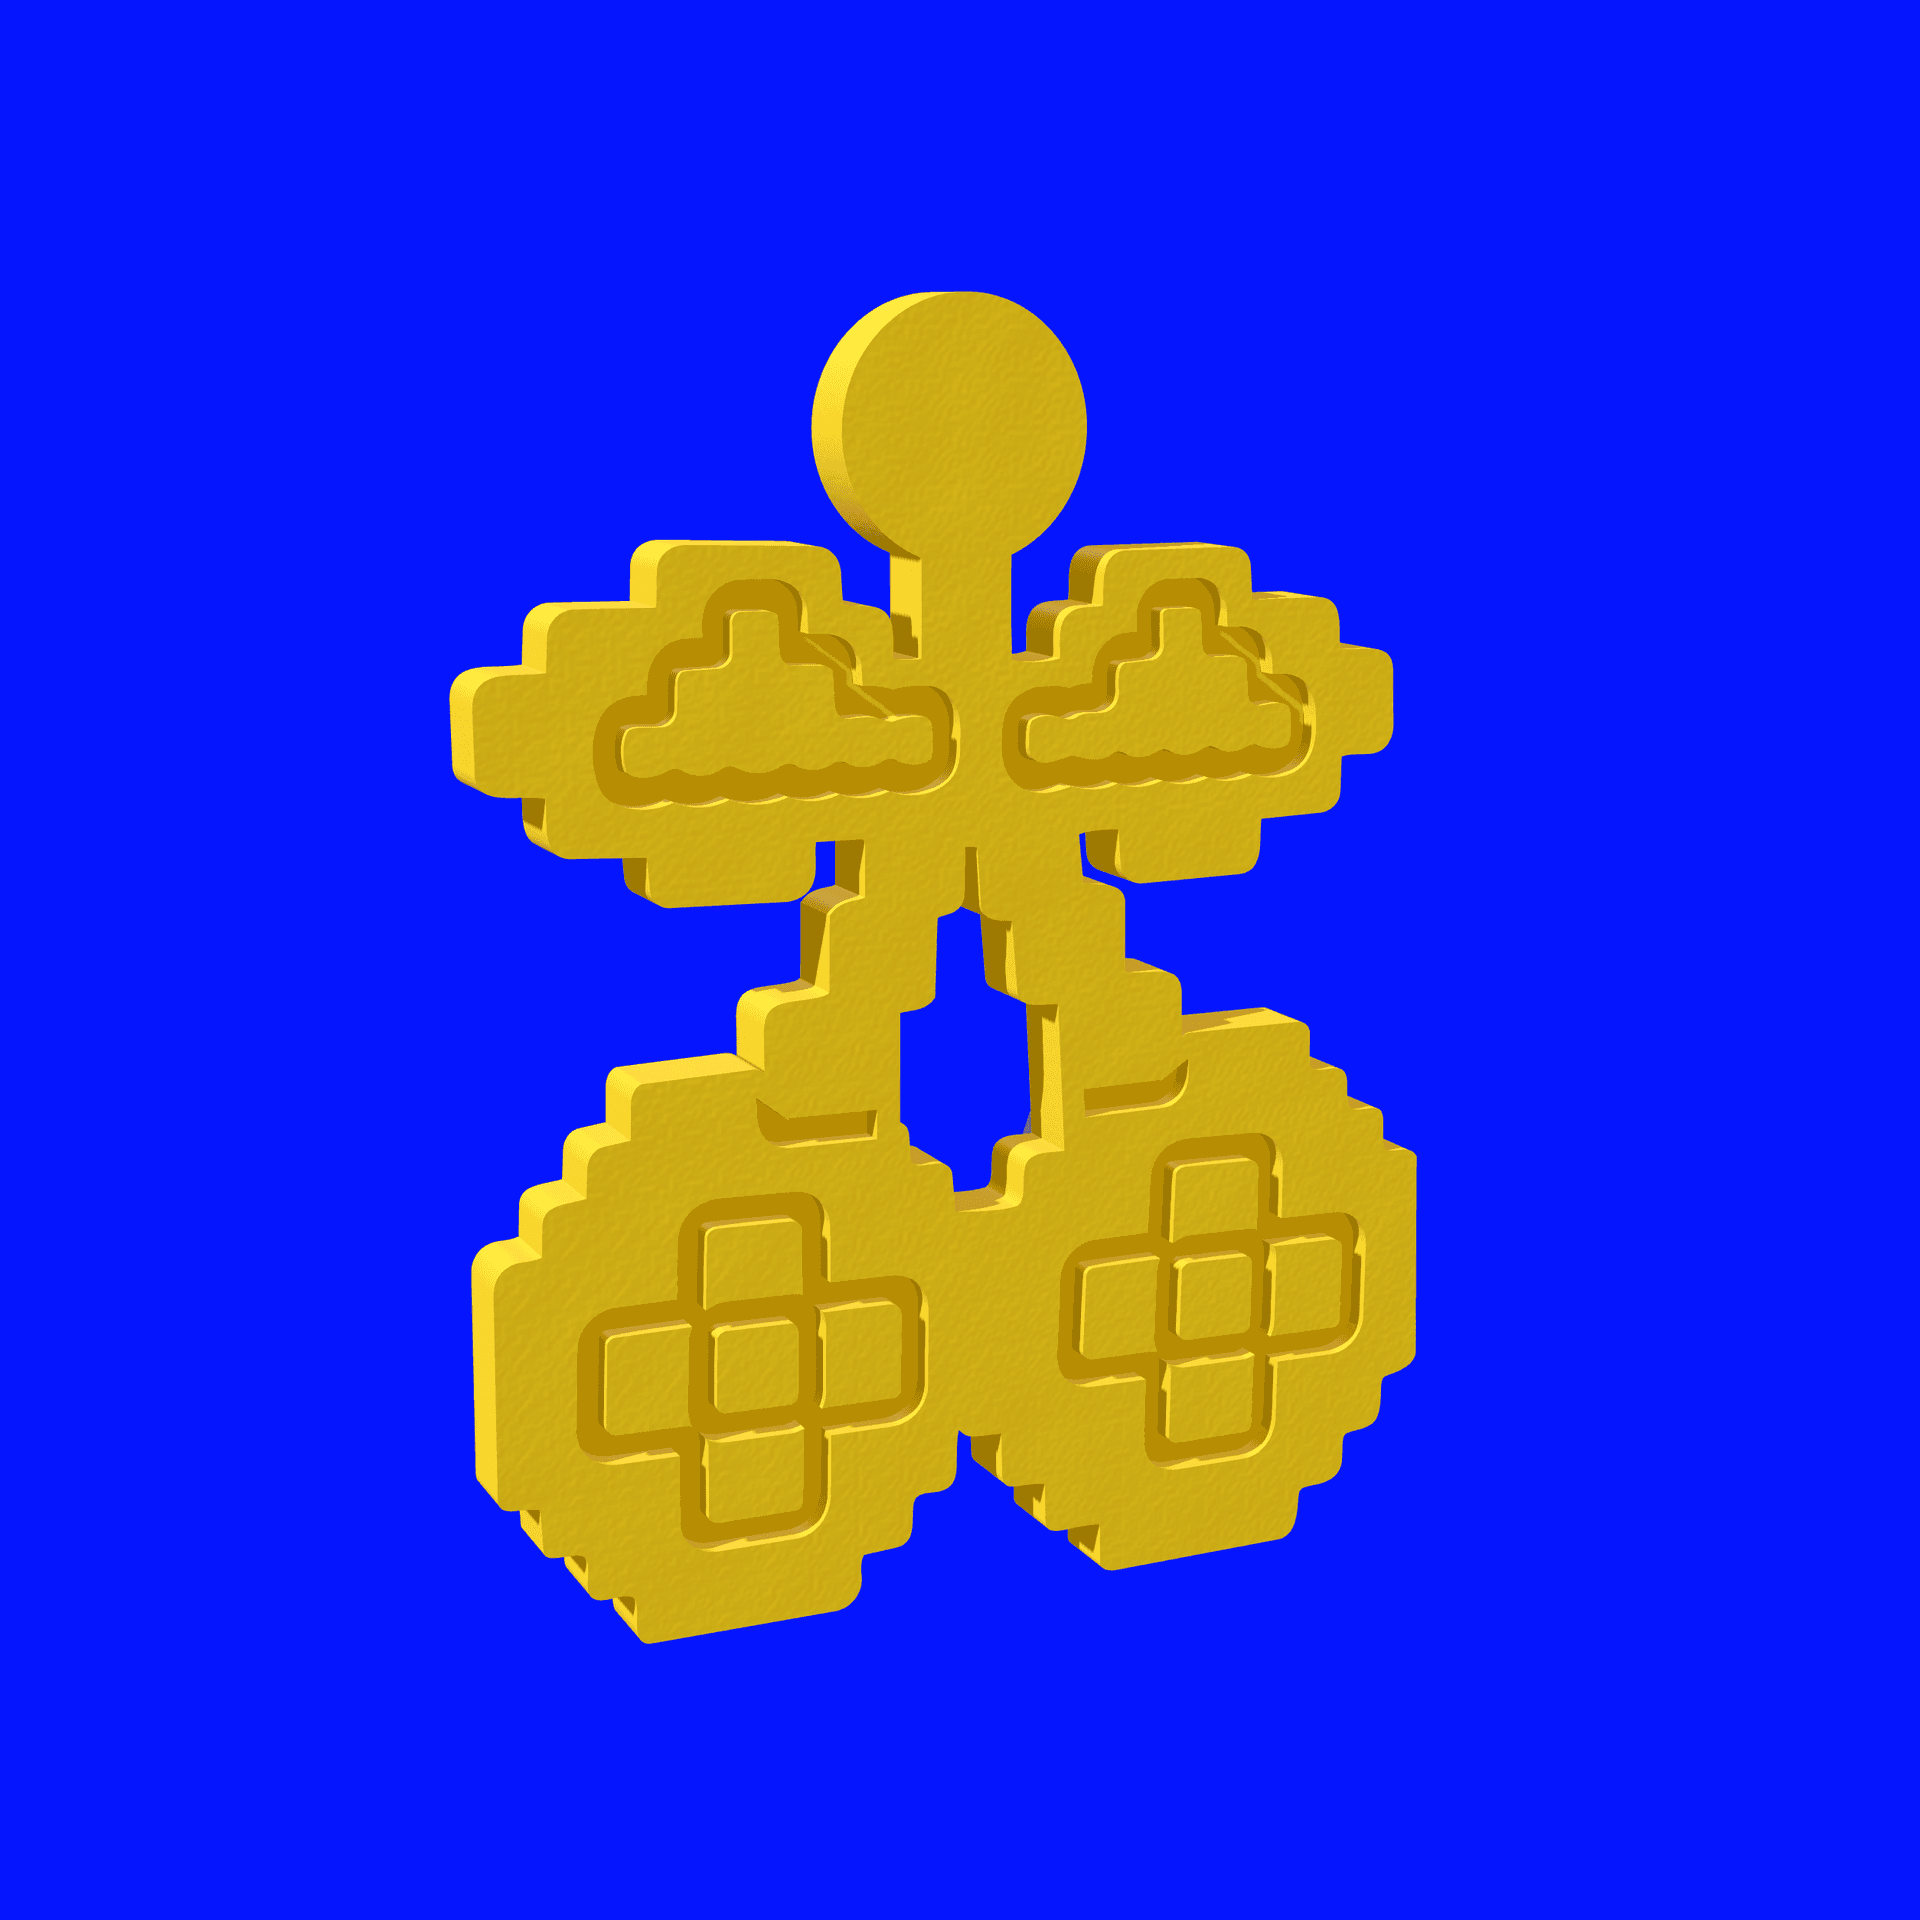
Press the cherry outline and its detail into one slab. Leave it one colour or paint the baked detail. The small stud version has recessed flower shapes with raised square centres; the larger versions use pressed outline detail.
Your first piece
Print the matching files for one size and method. Keep the remaining sizes for another project.
Press the detail in one piece. Follow the guide’s magnet instructions for the two rear attachment positions.
The 36 mm layered pendant gives the flowers and centres more room than the small studs while you learn the stacking order.
Keep the leaves, flowers and square centres in a small no-circle design. Follow its thin-layer method rather than shrinking a larger set.
Wall art display
Make the 140 mm layered or relief cherry as wall art. Its two marked holes can hold one pair of matching drop earrings, while two printed hangers sit out of sight behind the leaves.
See the small studs, hanging pieces and wall display together.
Compare the finished layered and relief pieces and their attachments.
Choose one matching cutter set, make a layered or relief cherry, then add the attachment for your piece. The guide gives the complete making and mounting steps.

Step 01
Choose the files for one size and method. Keep the supplied scale and use that set throughout the piece. A printing service must be able to follow the guide’s small-feature print settings.
The supplied 36 mm base cutter.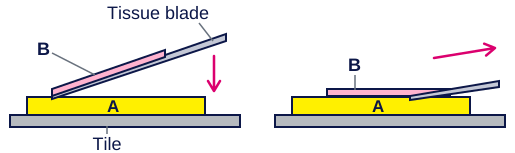
Step 02
For layered colour, cut the separate shapes and place fruit and leaves on the base, then flowers and centres. For relief, press the outline and detail into one slab. Keep the opening between the stems clear.
Place the separate colour pieces on the base.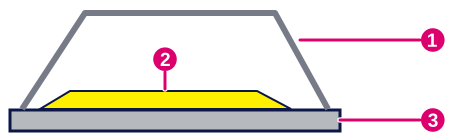
Step 03
Follow your clay packet for baking, then let the piece cool before smoothing edges or painting the detail. Keep the attachment’s glue area bare.
Bake on an oven-safe tile, then let the clay cool.
Step 04
Use the matching post, ring, pin or magnet instructions. Wall art uses two short hangers behind the leaves, with matching wall studs, and hangs freely at the bottom.
The wall cherry uses two printed hangers behind its leaves.The download supplies files and instructions. You provide printed tools, polymer clay, your making and baking setup, and the attachment for your chosen piece.
Use what you already own. Optional supplies depend on the method and attachment you choose. Links marked "Affiliate link" may earn us a commission at no extra cost to you. Search links open results to compare; check sizes and materials before checkout.
You may sell the finished polymer clay pieces you make. You may not sell, share or redistribute the digital files or 3D-printed tools. See the included Maker Licence for the full terms.
If a file is missing, won't open or doesn't match the listing, message us through Etsy messages with the build kit name and filename, and we'll put it right.
Message us on Etsy